
 Pin
Pin
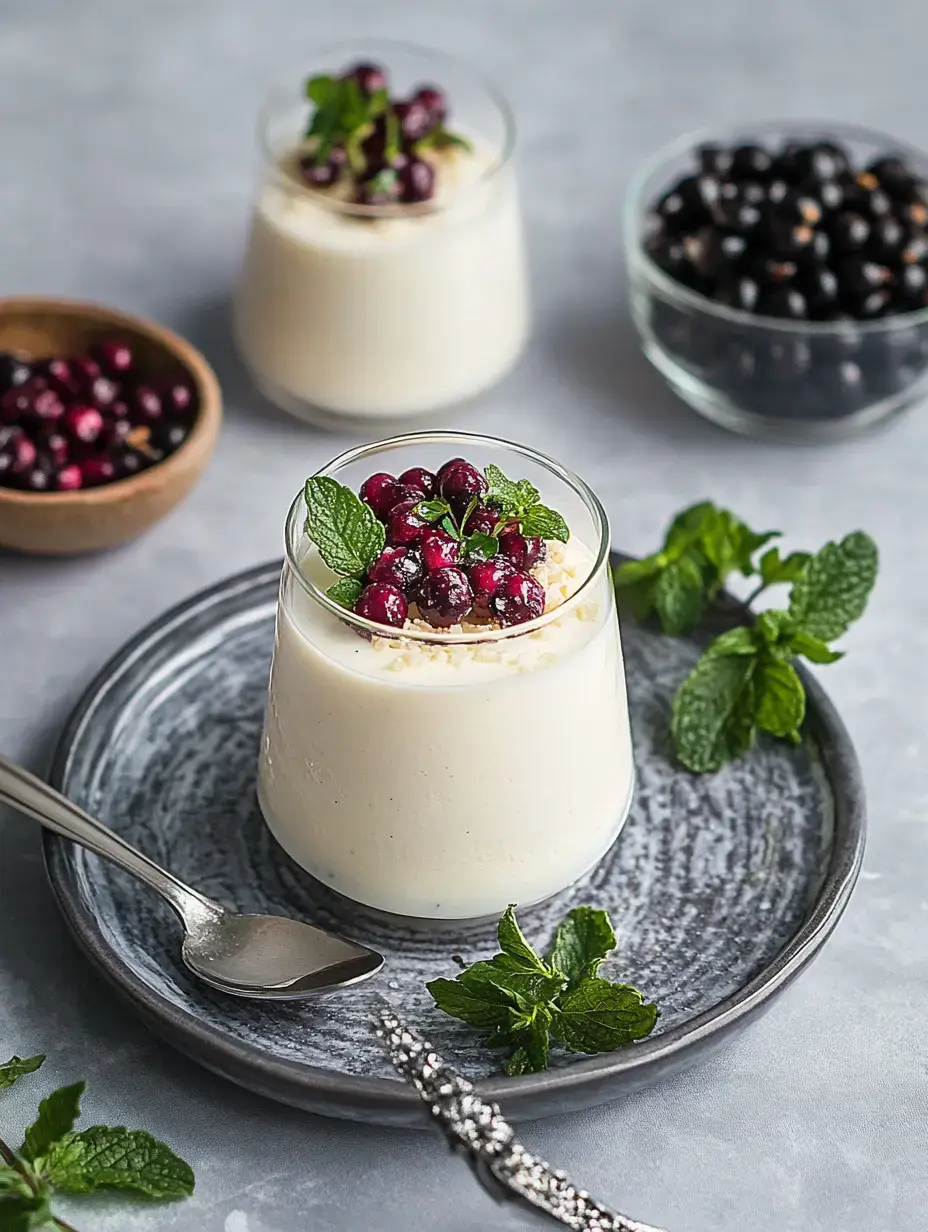
I stumbled upon the wonder of Vanilla Bean Panna Cotta while traveling through Italy one summer and it's now one of my favorite sweet treats ever. The velvety texture paired with authentic vanilla creates an amazing dessert experience. It looks super fancy but don't be fooled – it's actually pretty easy to whip up. Whenever I bring it out in cute glass containers with fruit on top, everyone thinks I bought it from some upscale café.
Effortless Yet Sophisticated
What's really great about this dessert is how it turns just a few simple items into something truly spectacular. I can make it the day before which gives me plenty of time to handle other stuff. The authentic vanilla bean makes the flavor pop, and those tiny dark flecks look so impressive. It's become my trusty standby when I want to wow friends without spending forever cooking.
Let's Round Up Our Supplies
Here's all you need for amazing panna cotta:
- Whole milk
- White granulated sugar
- Madagascar vanilla bean paste or a whole vanilla pod
- One packet unflavored gelatine
- Fresh heavy whipping cream
Using top-notch cream and vanilla will really lift your dessert to another level.
Working Your Magic
First, soak your gelatine in cold water for about 5 to 10 minutes until it's completely soaked up. While that's happening, gently heat your cream, milk and sugar in a pot, stirring until the sugar melts away. We're aiming for steam, not bubbles.
Remove from heat then mix in your vanilla and the soaked gelatine until it's all nicely blended. Pour this creamy mix into your serving glasses. Let them cool down a bit before putting them in the fridge to set – they'll work their magic overnight.
 Pin
Pin
Stunning Final Touches
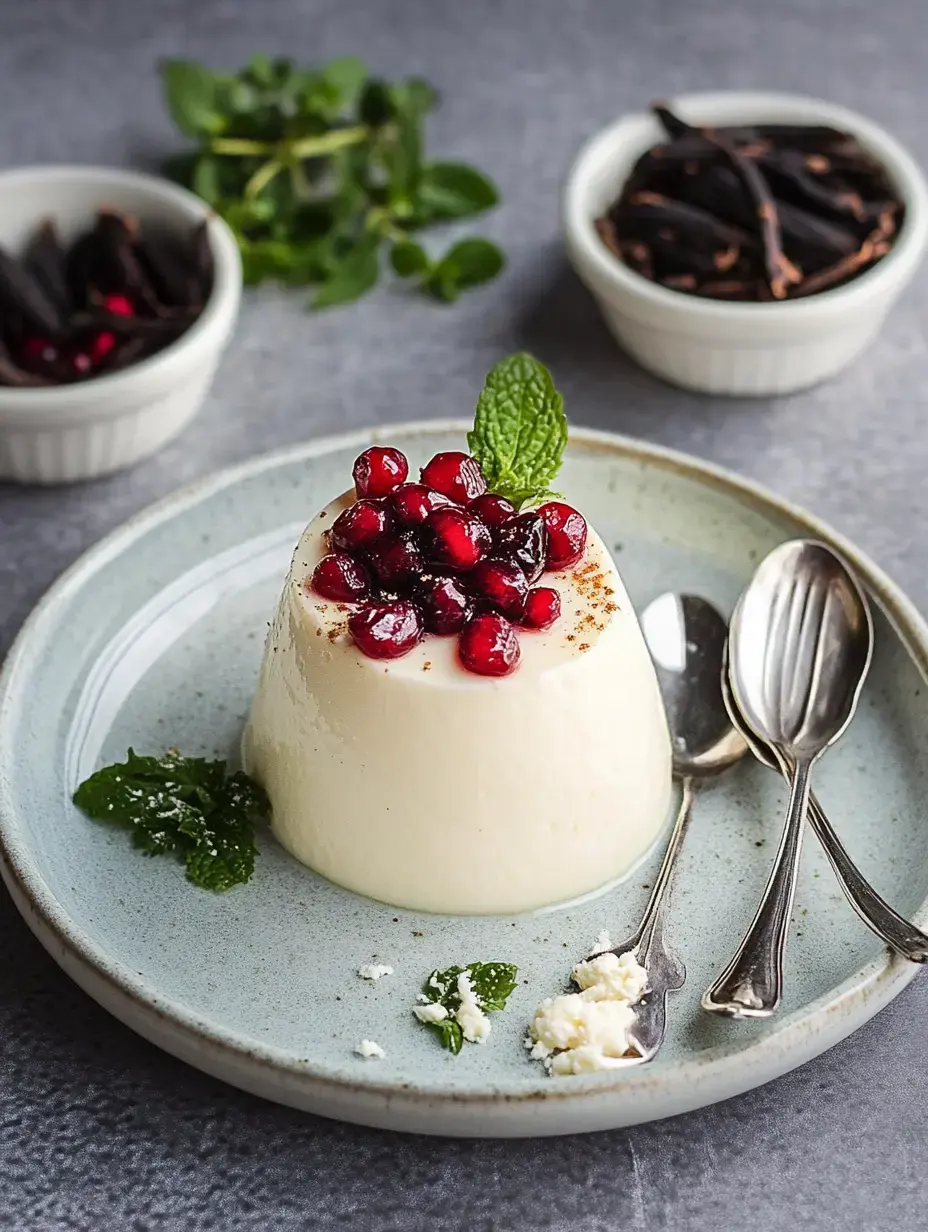
I always top these with bright red pomegranate seeds or some fresh berries right before I serve them. A little mint leaf adds such a nice pop of color. During special occasions I might sprinkle them with edible gold or add a little berry sauce. There's something magical about the mix of smooth creamy panna cotta with the tang of fresh fruit.
Kitchen Tools
You won't need fancy equipment for this – just a decent pot and whisk. I prefer using small 6 ounce glass yogurt containers or tiny mason jars for serving since they really show off those pretty vanilla specks. Getting everything clean and set up before you start makes the whole thing so much easier.
Secrets For Getting It Right
After making this tons of times, I've figured out some key tricks. Always grab the freshest cream you can and use actual vanilla bean paste or pods. Keep an eye on your cream mix – we don't want it bubbling. Check that your gelatine has completely melted for that smooth finish. And don't rush the setting time – leaving them in the fridge overnight works best.
 Pin
Pin
Final Thoughts
This creamy Italian classic offers a velvety vanilla flavor and rich texture. Handy to prepare before time and ideal for special meals.
Recipe Questions & Answers
- → Why prep the gelatin first?
Starting with cold water lets the gelatin fully soften, so it blends in seamlessly with the warm cream and avoids chunks.
- → How can I tell if it’s done setting?
It’ll have a slight jiggle but be solid. Plan for a 6-hour minimum chill time, though leaving it overnight is best.
- → Is it easy to make ahead?
Absolutely—store it in the fridge for up to 3 days. Wait to add toppings until you're ready to serve.
- → What’s the deal with vanilla paste?
Vanilla paste has big flavor and those lovely little bean flecks. You can swap for extract if that’s what you have.
- → Why didn’t mine turn out smooth?
If it’s lumpy, the gelatin might not have melted fully. Next time, just pour through a fine strainer before chilling.