 Pin
Pin
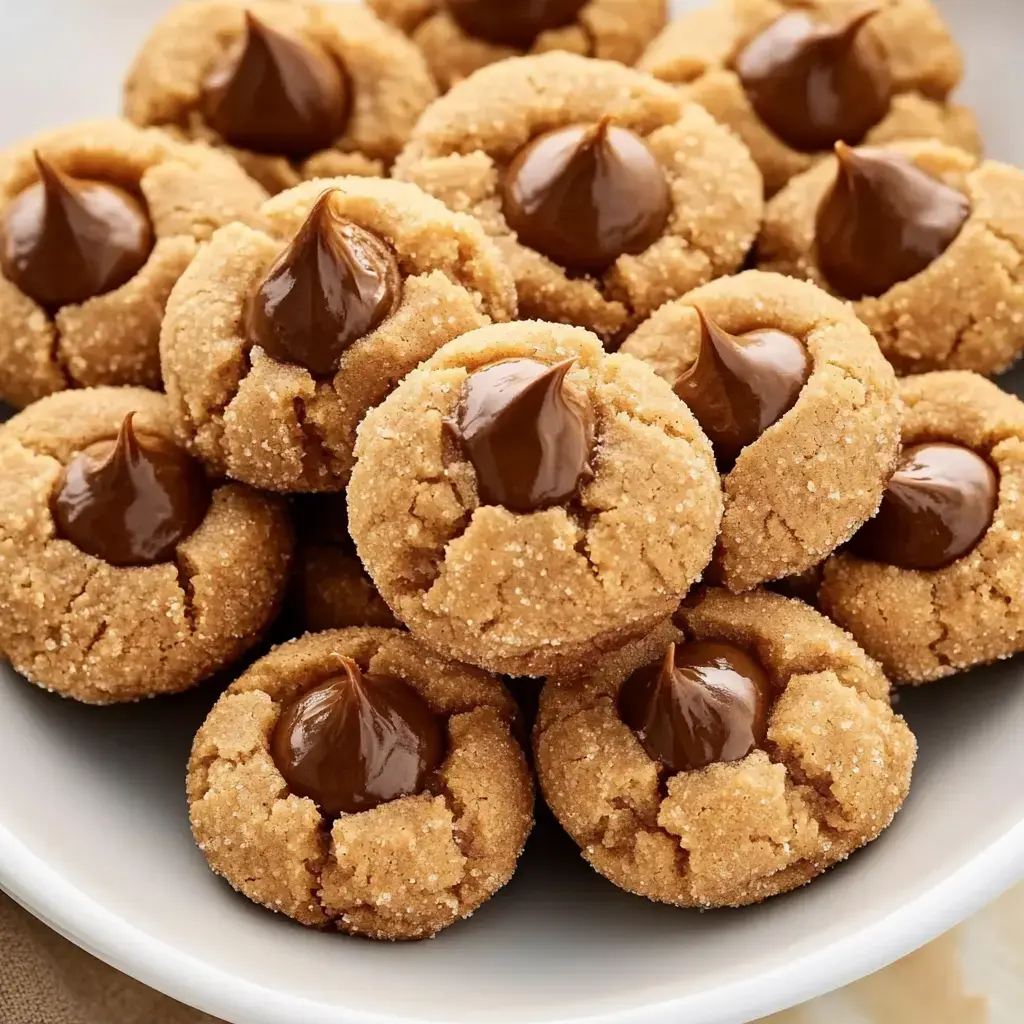
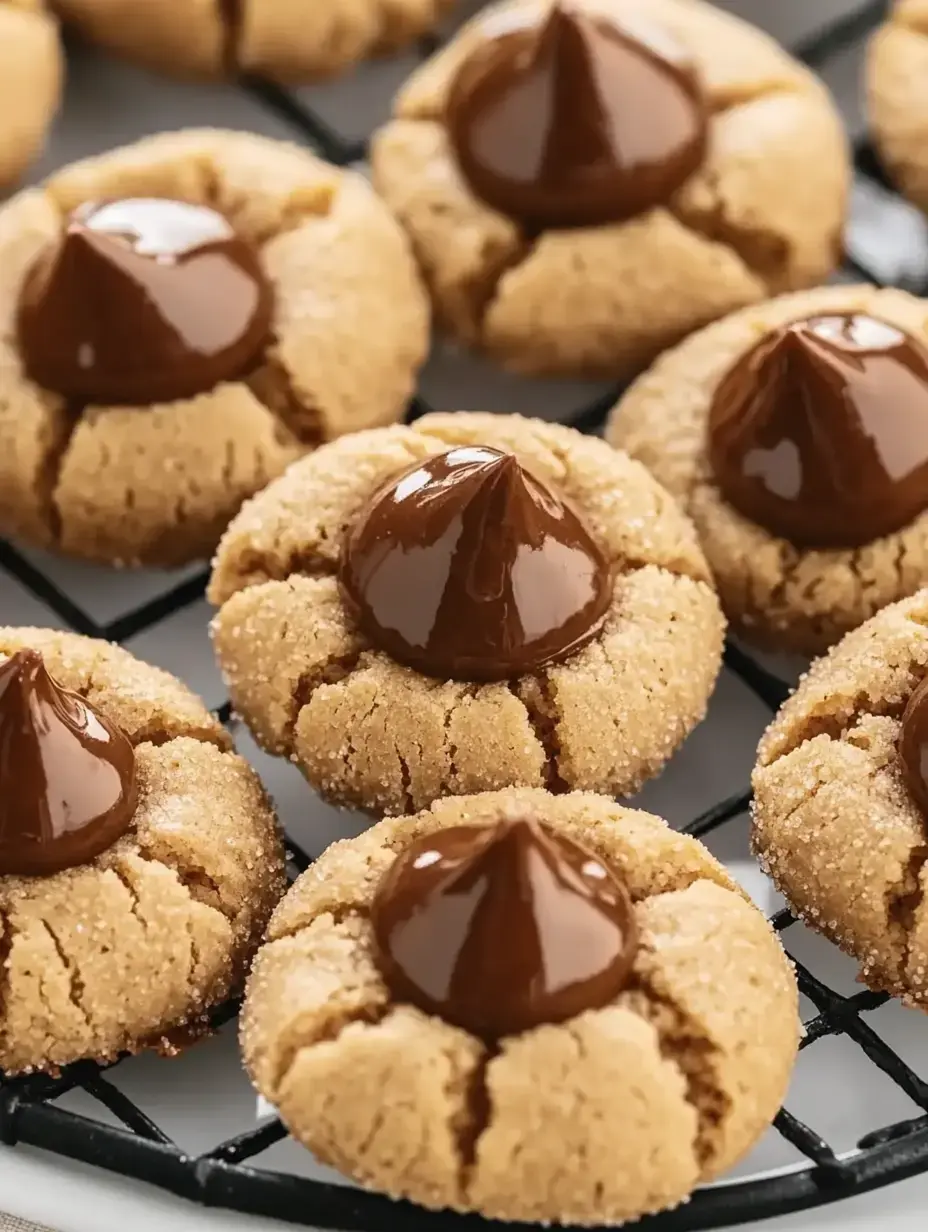
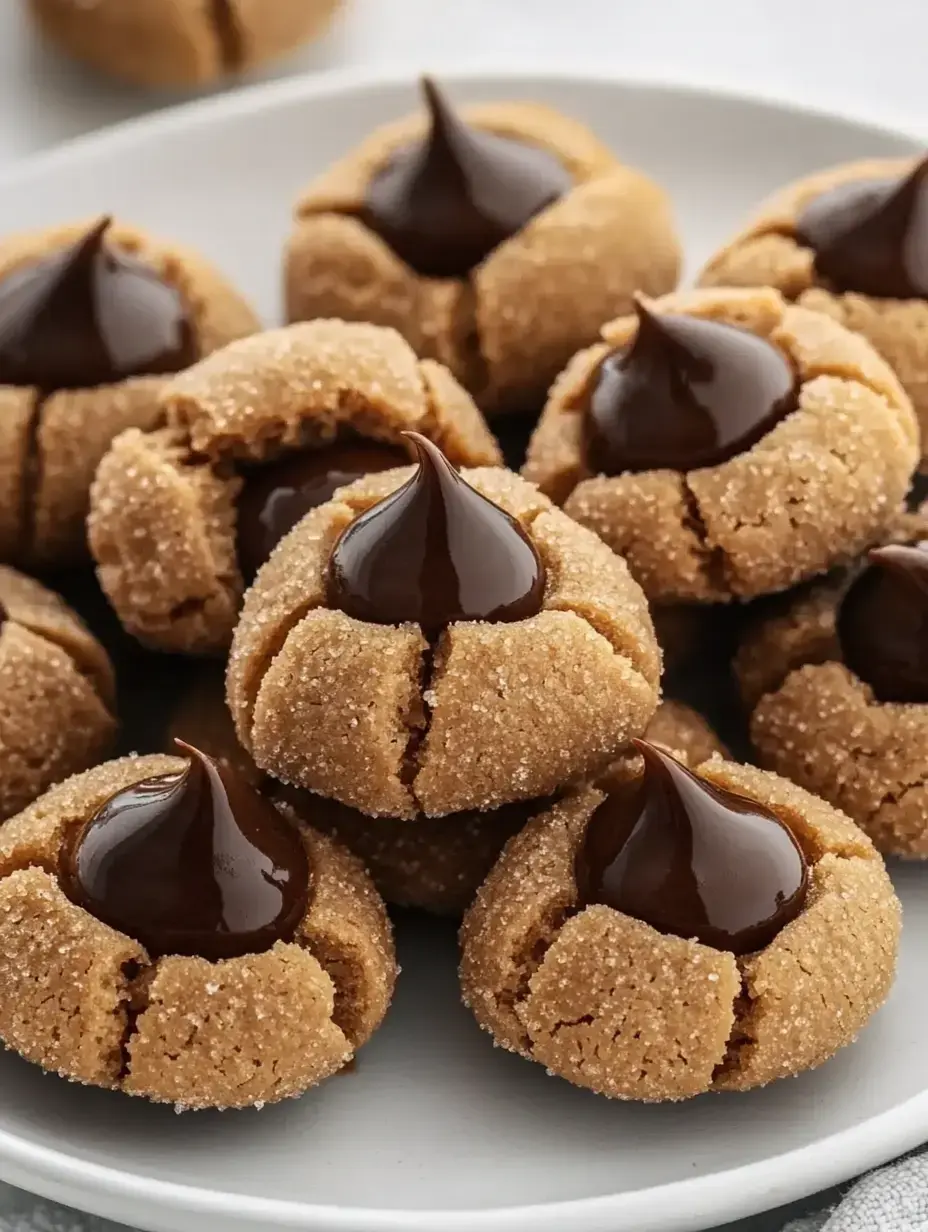
When I whip up these peanut butter blossoms, my home gets filled with the most wonderful memories. These treats, featuring that soft peanut butter base with a chocolate kiss nestled on top, always bring out smiles. I've been making them since my early days in my grandma's kitchen, and they still warm my heart every time. There's something truly special in each bite.
These Are Surprisingly Simple To Make
MAIN INGREDIENTS: My pantry's always stocked with these basics: all-purpose flour, baking soda, salt, smooth peanut butter (we're big fans of JIF at our house), butter, white sugar, brown sugar, a large egg, vanilla, and those classic Hershey's Kisses.
QUICK STEPS: We'll start by combining the dry stuff, then beat the peanut butter-butter mixture with our sugars, drop in an egg and vanilla, and mix everything together. After cooling the dough, we'll coat our balls in sugar, bake until just right, and finish each with a chocolate kiss.
TOTAL TIME AND YIELD: You'll need about 2 hours and 25 minutes (mostly just waiting for the dough to chill), and you'll end up with 28 beautiful cookies.
What Makes These Cookies So Special
I've tweaked this recipe for years and found some amazing tricks. First off, cooling the dough isn't something you can skip—it's what stops your cookies from spreading into flat discs. My best tip? I store those Hershey's Kisses in the freezer—they're way easier to handle when cold. My friends at cookie swaps always wonder how mine look so good. And the taste? They've got just the right balance of peanutty goodness and sweetness—they'll soon be your favorite too.
What You'll Need To Gather
Here's what you'll want for these family favorites:
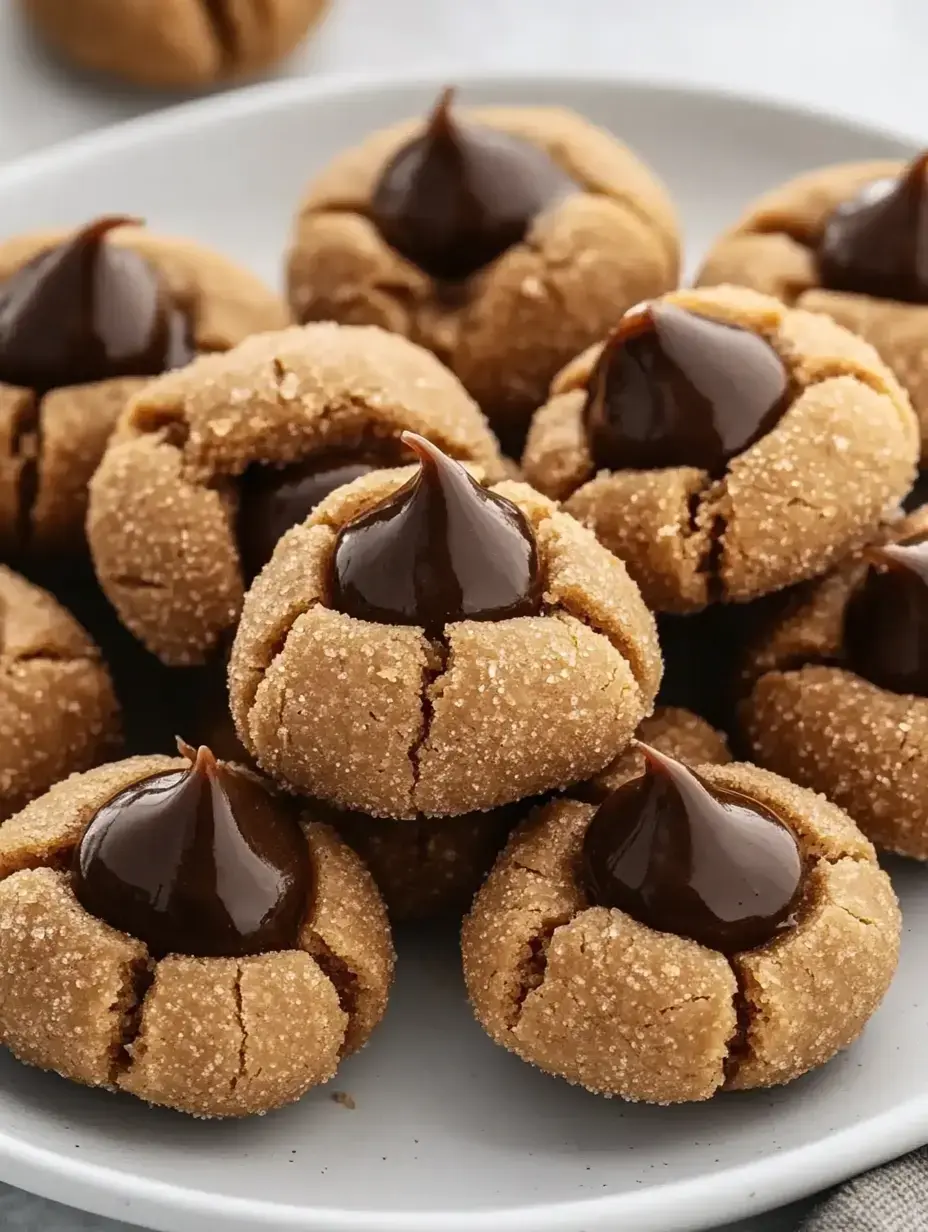
That peanut butter gives them their nutty goodness. Rolling them in sugar adds such a pretty shine. The chocolate kisses make the perfect finishing touch.
Here's what to grab at the store:
- 1 ½ cups all-purpose flour
- ¾ teaspoon baking soda
- ½ teaspoon salt
- ¾ cup creamy peanut butter
- ½ cup unsalted butter, softened completely
- ⅓ + ½ cup granulated sugar (⅓ for dough, ½ for rolling)
- ⅓ cup light brown sugar, packed
- 1 large egg, room temperature
- 2 teaspoons vanilla extract
- 28 Hershey's Kisses (stick them in the freezer right now!)
 Pin
Pin
Simple Substitution Ideas
Through countless batches, I've come up with these tasty twists my family can't get enough of:
- Mix in some crunchy peanut butter for extra bite—my kids always ask for seconds!
- Switch to turbinado sugar for rolling—it looks amazing and gives a wonderful crunch.
- My husband's favorite version uses dark chocolate kisses instead of milk chocolate.
- Try a tiny splash of almond extract in place of vanilla sometimes. Just remember it's stronger, so use half the amount.
- My little ones love picking colored sugars for the coating—the red and green at Christmas time always turns out cute!
Let's Get Baking
Get ready for your kitchen to smell amazing! I've made these so many times I could do it blindfolded, and I'm happy to share all my little secrets.
BAKER'S NOTE Don't rush the butter softening in the microwave—let it sit out naturally! Same with the egg—room temp makes all the difference.
STEP ONE: First, mix your flour, baking soda, and salt in a bowl. Just put it aside for now.
STEP TWO: Now comes the good part! Blend your peanut butter, softened butter, and both types of sugar until everything looks smooth and creamy. My hand mixer on medium works perfectly for this.
Mixing Up Cookie Goodness
STEP THREE: Now add your egg and vanilla. Keep the mixer going until everything looks nice and blended. I really enjoy watching it all come together!
STEP FOUR: Slowly add in your dry ingredients. I always run my spatula around the bowl to catch any missed spots. You want a dough that feels soft but doesn't stick to your fingers.
The Most Important Waiting Game
STEP FIVE: Now comes the part that makes all the difference! Cover your bowl and stick it in the fridge for at least an hour. Sometimes I'll leave mine overnight if I get busy, and they still turn out great. Don't skip this cooling step—it's what makes these cookies stand out from others.
 Pin
Pin
Prepping For The Oven
STEP SIX: While waiting, line your cookie sheets with parchment paper—it works like magic for easy cleanup! Put some sugar in a small bowl for coating. This is when I start getting really excited—we're getting close to the best part!
Creating Cookie Shapes
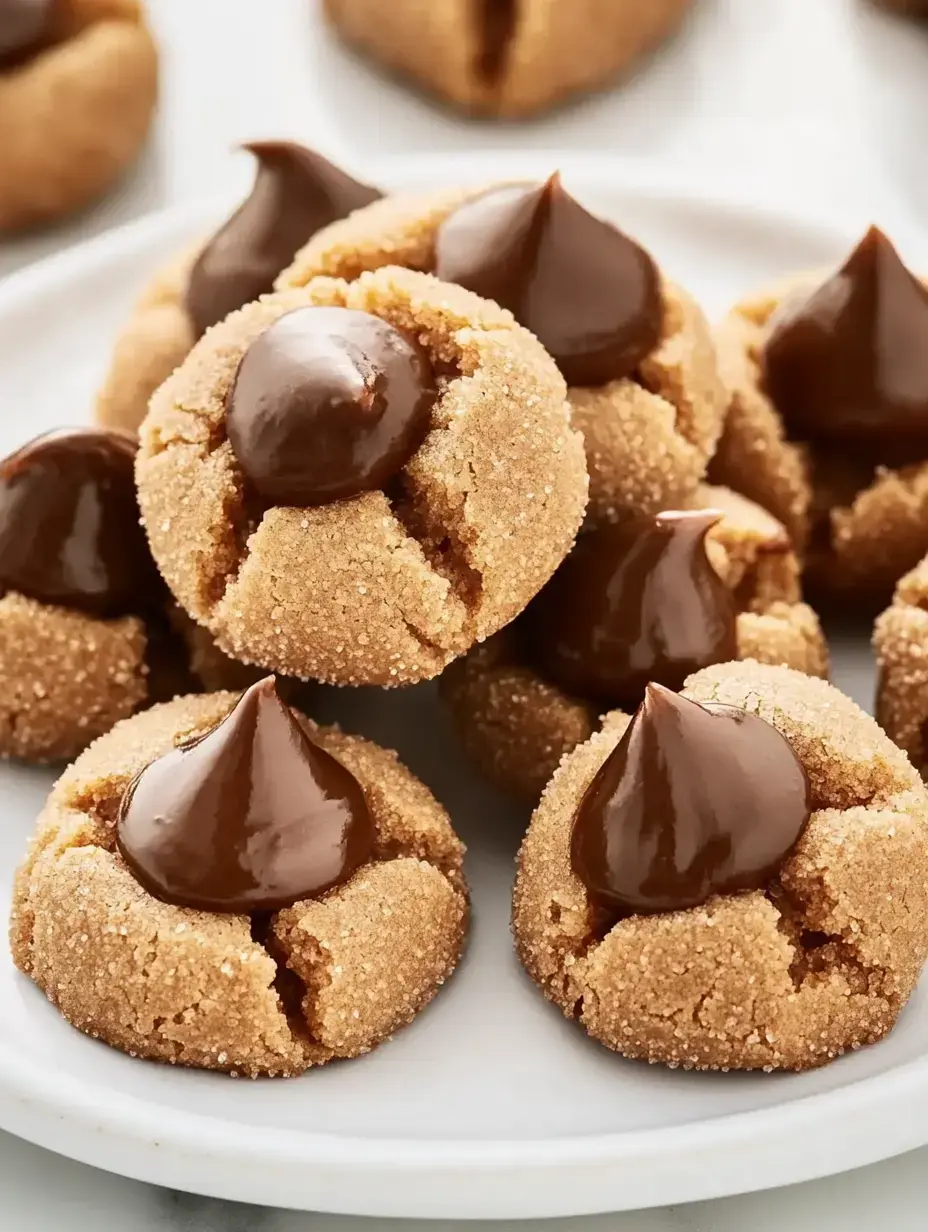
STEP SEVEN: Now for my favorite part! Grab portions of dough (I use a 1½ tablespoon scoop—it's just right), roll them into balls, and coat them in sugar. Place them on your lined sheets. Each one is like a little promise of something delicious coming soon!
PRO TIP Watch your oven's temperature. Every oven runs a bit differently, and getting the timing right makes these cookies perfect.
Final Prep Before Baking
STEP EIGHT: Set your oven to 350°F. While it warms up, put your cookie sheets with the sugared dough balls back in the fridge. This extra cool-down is my trick for cookies that hold their shape better. I learned this after many batches that spread too much!
Into The Oven They Go
STEP NINE: Arrange about 9-12 cookies on each sheet so they have space to grow! Bake them for 10-12 minutes. You'll know they're done when the edges turn slightly golden and the sugar coating starts to crack a bit.
PRO TIP Keep those chocolate kisses in the freezer until you need them. Cold kisses keep their shape better when pressed into warm cookies!
 Pin
Pin
The Final Touch
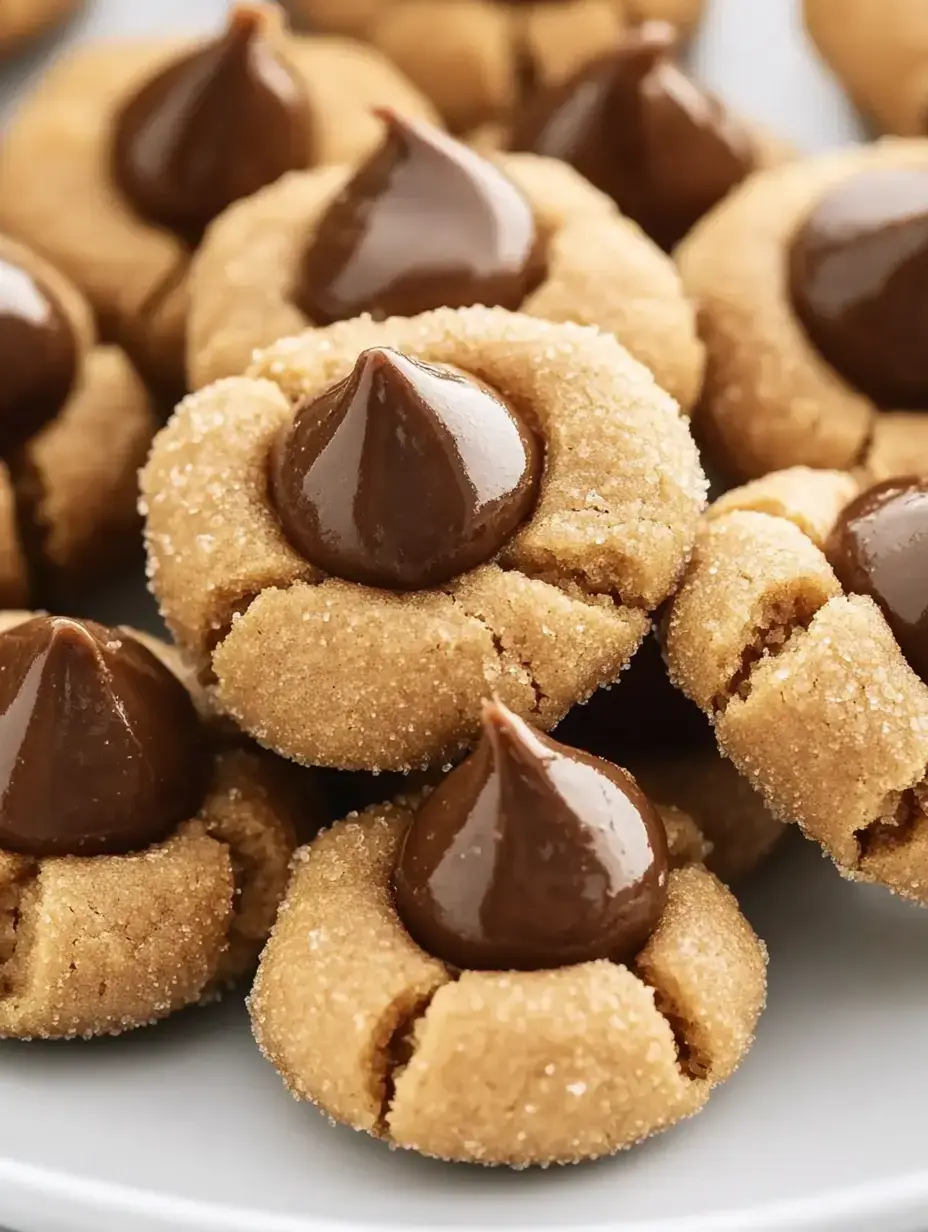
STEP TEN: This part needs quick action! Take the cookies out and right away press a cold Hershey's Kiss into the middle of each one. I love watching them sink slightly into the warm cookie.
STEP ELEVEN: Let them sit on the hot baking sheet for five minutes—don't skip this! Then move them to a cooling rack. Now comes the hardest part—waiting for them to cool down before eating!
Ways To Enjoy Your Cookies
These treats work for so many occasions! They're perfect with afternoon coffee or tea. At cookie exchanges, they're always the first ones gone. Sometimes I'll serve them with a scoop of vanilla ice cream for something extra special. And be sure to check out my other cookie recipes—they're just as reliable!
When To Serve These Tasty Treats
I've brought these cookies to all sorts of gatherings. They're always popular at holiday cookie exchanges—everyone knows them right away!
They make Christmas Eve feel extra cozy next to a mug of hot chocolate.
Wrapped in pretty containers, they become heartfelt holiday presents.
My kids jump for joy when they find these in their lunchboxes.
They look beautiful on any dessert table, holiday season or not.
And sometimes I bake them just because—who needs a reason for homemade cookies?
Storing Your Goodies
Need to plan ahead? Here's what works best:
MAKE AHEAD: You can keep the dough in the fridge overnight—just wrap it well.
COUNTER STORAGE: They'll stay good in an airtight container for up to five days—though at my house they vanish much faster!
FREEZER FRIENDLY: Want to save some for later? They freeze really well for up to two months. Just let them thaw on the counter when you want a sweet treat.
 Pin
Pin
Fixing Common Cookie Problems
After making these countless times, here's how I fix the usual issues:
- Cookies spreading too flat? Your dough got too warm. Stick it back in the fridge!
- Chocolate kisses losing shape? Make sure they're super cold, and push them in gently.
- Cookies too dry? You might have added too much flour. I always spoon it into measuring cups, never pack it down.
- Sugar not sticking well? Try rolling the balls right after you shape them.
The Magic In Every Bite
These aren't ordinary cookies—they're little moments of happiness! The mix of peanut butter with chocolate is timeless for good reason. My testing buddies and I worked through many batches to nail down the perfect texture—soft and chewy but sturdy enough to support that chocolate kiss. Even if you're new to baking, you can nail these—I guarantee it!
Common Questions Answered
These are the things folks ask me most:
- Don't use natural peanut butter in this recipe—the regular creamy stuff works way better.
- You can totally freeze the dough balls! Just roll them in sugar before you bake them.
- Keeping those kisses cold is a must for pretty-looking cookies.
- Feel like trying something new? Different chocolate types work great—just keep them about the same size.
Baking Memories Together
Making these peanut butter blossoms always reminds me of my grandmother's kitchen. They're not just cookies—they're tied to memories of floury countertops and kitchen giggles. I hope they become part of your family traditions too. Enjoy your baking adventure!
 Pin
Pin
Recipe Questions & Answers
- → Why should I freeze the chocolate kisses?
Chilling the kisses keeps them from losing their shape when placed on hot cookies. They'll attach to the cookie but won’t completely melt.
- → Is it okay to prep the dough early?
Absolutely, just keep it covered in the fridge for up to 48 hours to keep it from drying out.
- → Why are my cookies spreading too much?
To prevent spreading, chill the dough balls before baking and keep unused dough cold. Warm dough on a hot baking sheet will spread out too much.
- → Can crunchy peanut butter replace creamy?
Stick to creamy peanut butter for smoother cookies. Crunchy can cause uneven spreading and change the texture a bit.
- → What’s the best way to store these cookies?
Pack them in an airtight container at room temperature. Layer wax paper between them, and they’ll last up to five days.
