
 Pin
Pin
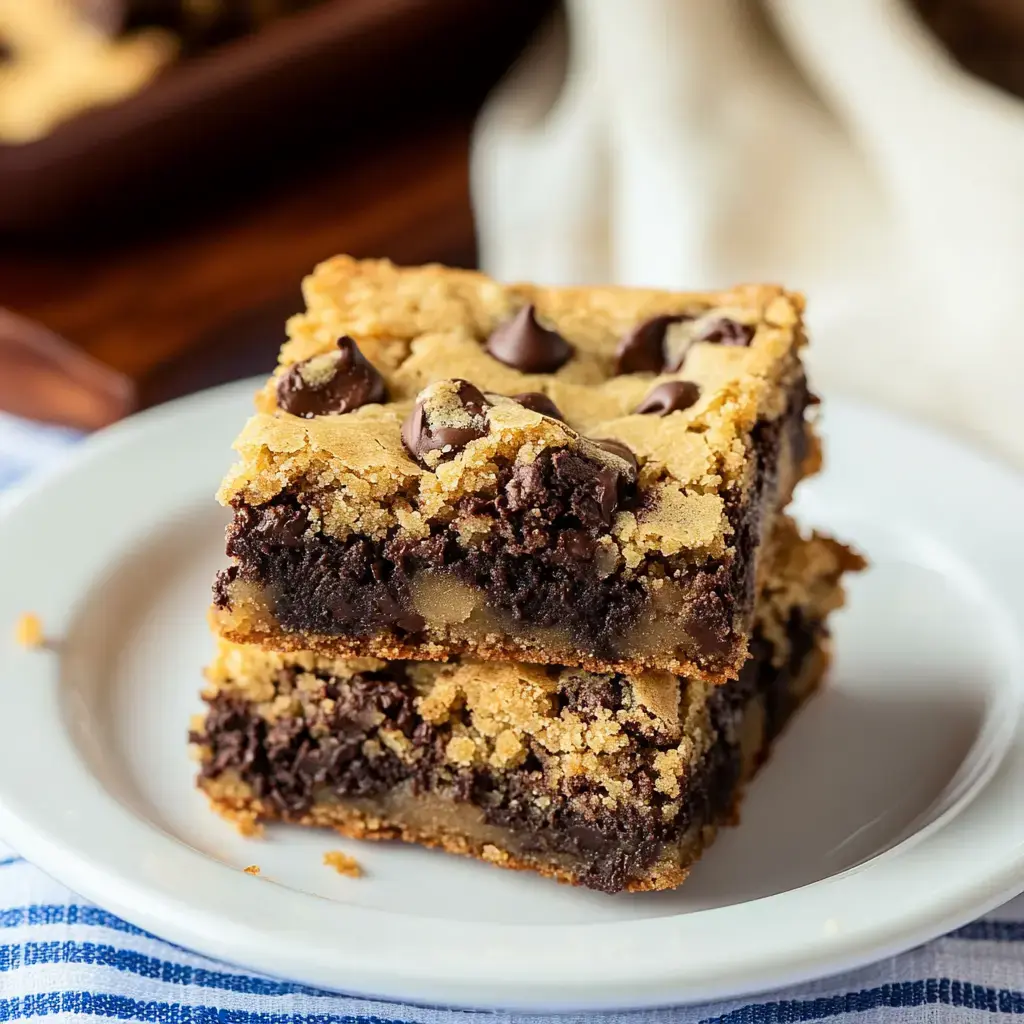
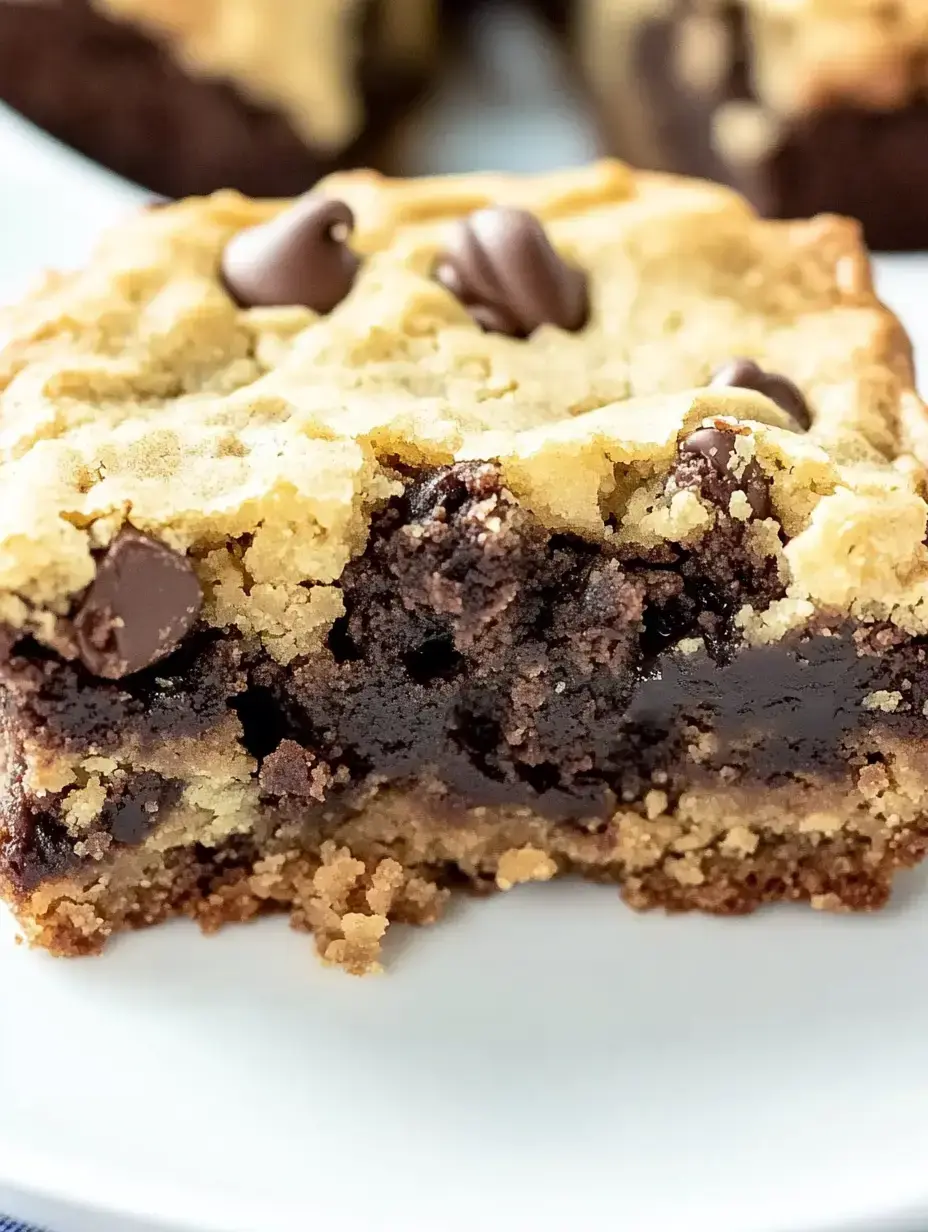
I've gotta tell you about these unbelievable Chocolate Chip Cookie Brownies from my kitchen! I whipped these up one day when I couldn't pick between cookies or brownies, and now my kids won't stop asking for them. Take a bite and you'll get this amazing combo of buttery, soft cookie and rich, gooey brownie all packed into one tasty square. I swear, you'll never look at plain brownies the same way again!
The Secret Behind These Incredible Treats
You know what makes everyone smile right away? These dessert bars do just that. I've spent ages getting the balance just right between the cookie top and that fudgy brownie bottom (my family didn't mind testing batch after batch!). They're super portable too - everyone wants me to bring them to gatherings and bake sales. What I love most? They work great dressed up fancy or kept simple.
What You'll Need
Grab these items to make your dream dessert:
- Kitchen staples:
- All-purpose flour for building both delicious layers
- Brown and white sugar to make everything wonderfully chewy
- Basic helpers: baking powder and soda for the lift we need
- Salt to bring out all the yummy flavors
- Refrigerator items:
- Eggs for both parts of our treat
- Unsalted butter (salted works too just cut back on extra salt)
- The main attractions:
- Milk chocolate chips (any variety works fine I've gone through them all!)
- Quality bittersweet chocolate for the amazing brownie foundation
- Cocoa powder to amp up the chocolate flavor
- Real vanilla extract because it really does make everything taste better
Time To Create
I can't wait to show you how easy this is! Start by heating your oven to 350°F. Here's my go-to pan trick: spray your 9x13 dish, put down parchment paper with some hanging over the edges, then give another quick spray. Your bars will come out perfectly later!
For our awesome cookie mix, combine the dry stuff in a bowl. Now for the fun part - in your big bowl, beat the butter and sugars till they're super fluffy. Don't rush this step! Add your egg and vanilla, then slowly mix in the dry ingredients. When you throw in those chocolate chips, try not to eat too many (I always do!).
For the brownie part - my favorite section - I melt chocolate and butter together. No fancy double boiler? No problem! Just put a bowl over some simmering water. When it's all smooth, we'll mix in everything else until it looks glossy and amazing.
 Pin
Pin
Assembling Your Masterpiece
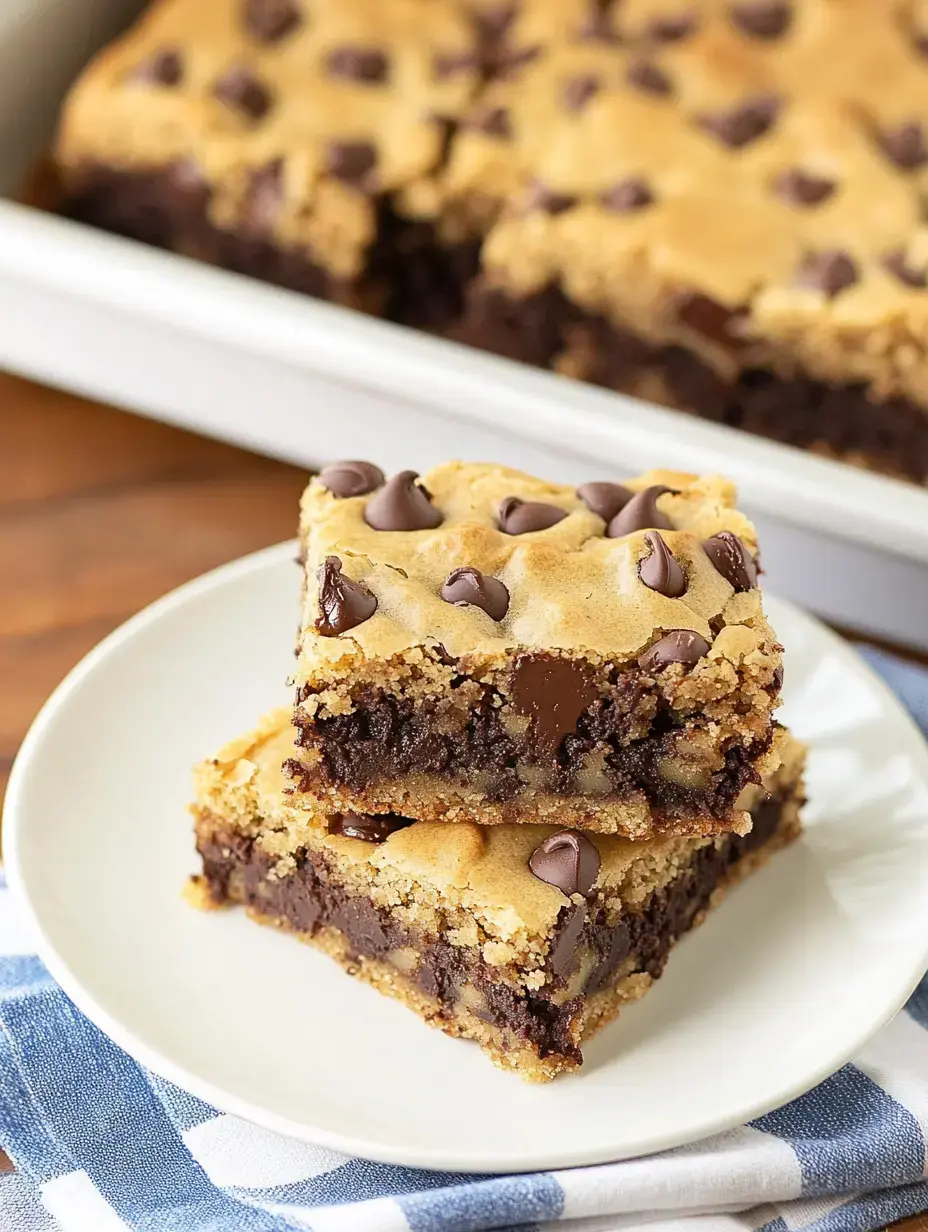
Now comes the best bit! Pour that gorgeous brownie mix into the pan first and smooth it out. Then use my favorite method - break up that cookie dough all over the top. Don't stress about making it perfect, those random clumps create amazing texture!
Cover with foil for the first 20 minutes of baking - that's my trick for perfectly cooked layers. Then let it finish uncovered until it's just right. When you take it out, you'll want to dig in right away, but letting it cool completely makes such a difference!
Add Your Personal Touch
I've tried so many different versions of these bars over the years! Check out these family favorites from our kitchen:
- Want some crunch? Throw in chopped walnuts or pecans to either layer.
- During Christmas, I mix in crushed candy canes with a tiny bit of peppermint extract - the kids go wild!
- Try sneaking peanut butter cups between the two layers - it's absolutely divine.
- Going for a campfire feel? Mix graham cracker bits into the cookie part and toss mini marshmallows over the brownie before adding the cookie top.
- My top pick? Use white chocolate chips in the cookie mix, then drizzle melted white chocolate on the finished bars. Feeling extra fancy? Serve warm with vanilla ice cream and hot fudge. So good!
Common Questions
After making these tons of times, here's what people usually ask:
- Need a gluten-free version? Just use your favorite one-to-one flour blend - I've done this myself!
- Go ahead and switch up your chocolate chips - white, dark, or milk all taste great.
- They'll stay fresh about 3 days in a sealed container on your counter, or 5 days in the fridge (but they never last that long at my house!).
- You can definitely freeze them! Wrap them up well and they'll keep for 3 months. Perfect for unexpected guests or midnight snacking.
- Want to get ahead? Make both batters a day early, keep them in the fridge, then let them warm up before you put them together.
Great For Any Gathering
These treats have become my go-to for everything from school fundraisers to family celebrations. They work for fancy events but are simple enough for a random weeknight treat. Plus, they make your whole house smell wonderful while they bake!
 Pin
Pin
How To Share The Joy
Want to know the best way to serve these? Still a bit warm with cold vanilla ice cream on top. For parties, I cut them into tiny squares so everyone can grab one. And grab some napkins - these tasty treats can get messy!
The Magic In Every Bite
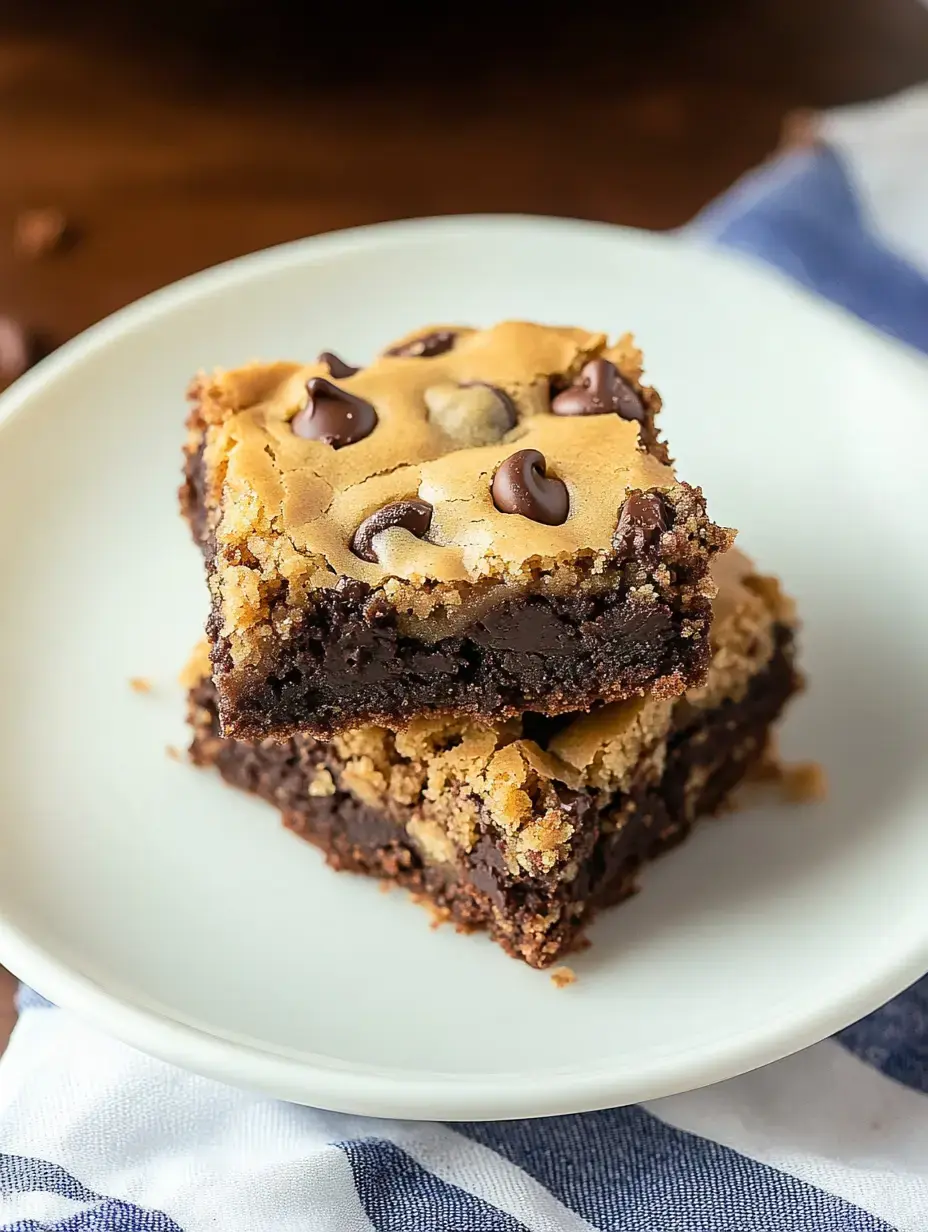
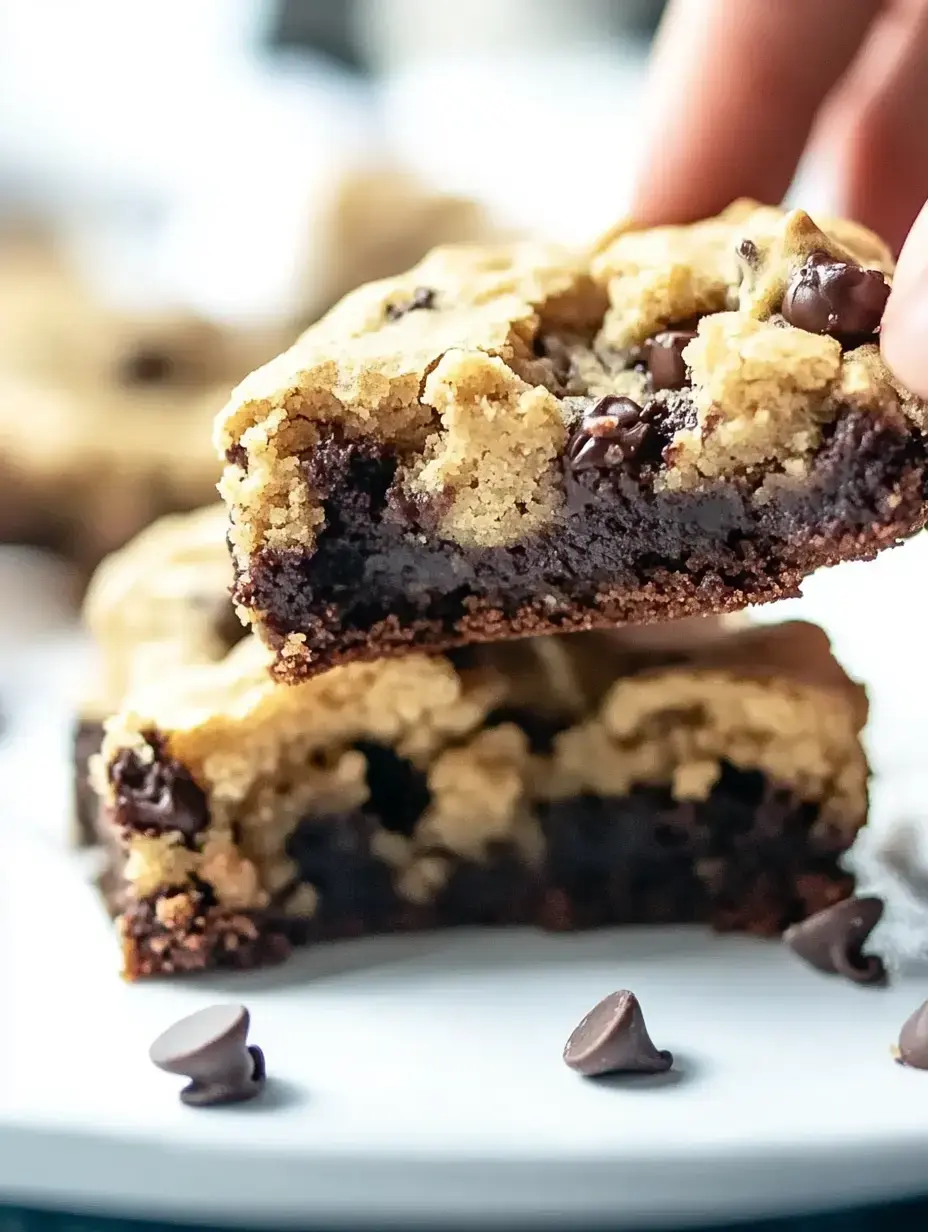
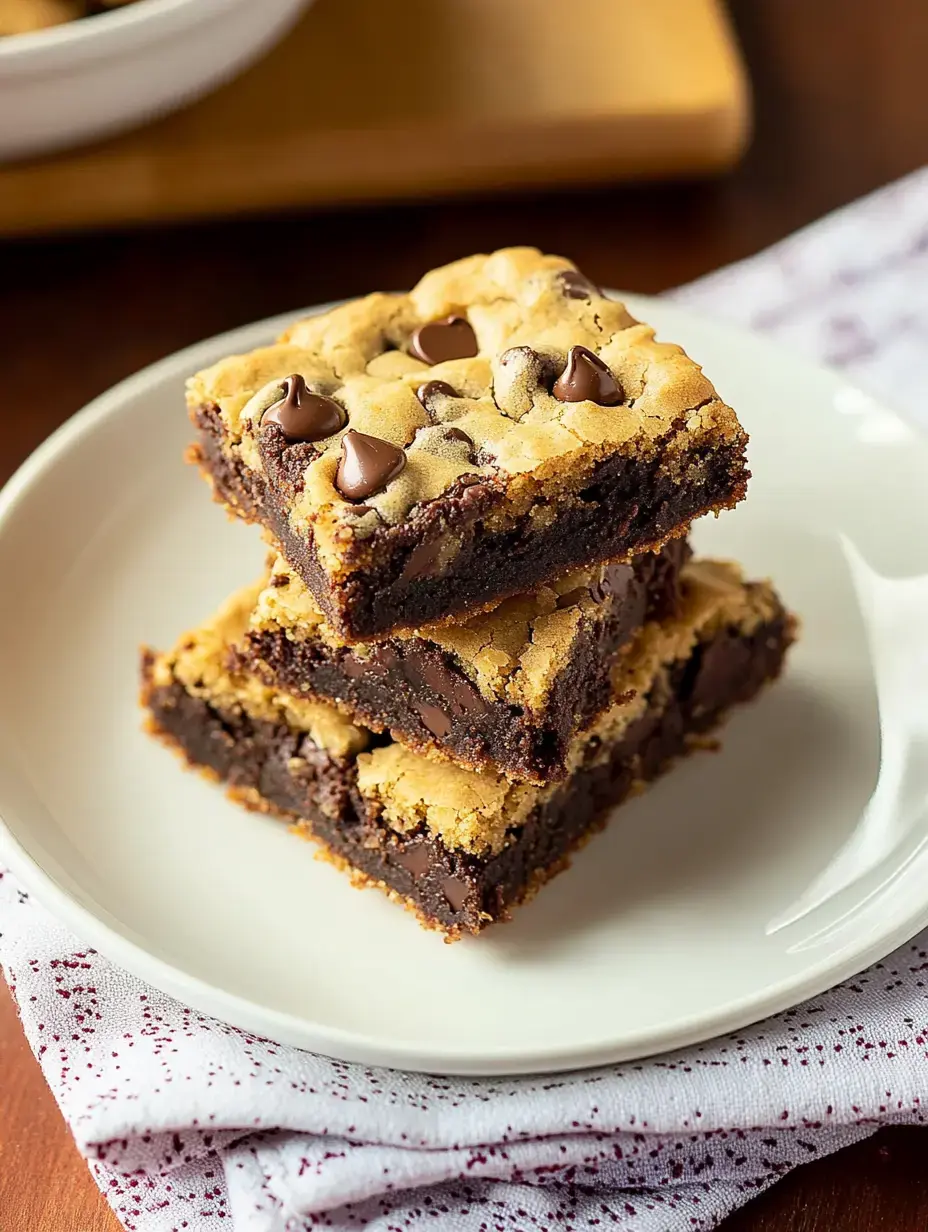
What makes these bars so amazing is how different each layer is - that fudgy brownie bottom with the soft, buttery cookie on top gives you the most incredible texture in each bite. It's like having two favorite desserts at once, and they're way better together!
Storage Tips
Here's my tested storage method: keep them in a sealed container with wax paper between layers if you stack them. They'll stay yummy at room temp for three days, or stick them in the fridge for up to five. Though honestly, having leftovers isn't usually something we worry about!
Freezer Friendly
One of my best mom hacks is keeping these stashed in the freezer! Wrap each one in plastic, then put them in a freezer container. They'll stay good for three months, but they never hang around that long. Just take them out the night before you want them.
 Pin
Pin
Crowd-Pleasing Favorite
From summer cookouts to birthday parties, these bars always get all the attention. I love watching people's reactions when they take their first bite. They're always the first dessert to vanish from any table!
Endless Variations
What's great about this treat is how many ways you can change it up. Sometimes I add crushed nuts, sometimes I swirl in caramel, and for holidays, I might sprinkle on festive decorations. Every version turns out delicious - just go with what sounds good!
Comfort Food At Its Best
There's something really special about combining two classic sweets into one. These bars remind me of baking with my mom when I was little, bringing together everything wonderful about cookies and brownies. They're like comfort food in dessert form!
Make Them Even Better
Let's talk about extras! A splash of caramel sauce, some whipped cream, or even a swirl of peanut butter can make these bars even more amazing. My children love helping choose what to add - it's become our special baking tradition!
 Pin
Pin
Foolproof Baking
Don't worry about the two-part nature of this treat! I've broken everything into easy steps that even my teenager can handle. It's actually a fantastic starting point for building kitchen confidence.
Homemade With Love
Looking for something thoughtful to give someone? These bars are perfect! I pack them in cute boxes or jars for teachers, neighbors, and friends. They always bring huge smiles and people asking how to make them!
Two Favorites United
You know how some things just belong together? That's these bars! The thick, rich brownie perfectly pairs with the soft, chewy cookie top. They were meant to be together!
Chocolate Bliss In Every Square
These cookie brownies have brought so much happiness to my kitchen and I bet they'll do the same for yours. Whenever I bake them, they remind me why I love baking - it's about making something yummy that brings folks together. Whether you're making these for a special day or just because, I'm sure they'll become a staple in your baking lineup!
 Pin
Pin
Recipe Questions & Answers
- → Why use foil during baking?
Foil keeps the top cookie layer from turning too dark before the brownie part finishes baking. It helps everything cook evenly.
- → Are other chocolate chips okay?
Absolutely! Try milk, dark, or semi-sweet chips for a twist. Each option adds a unique flavor to your bars.
- → Why is parchment paper useful?
Parchment makes removing the bars easy after baking, so cutting them's a breeze. Plus, cleanup is way faster.
- → Can I freeze these treats?
Totally! Wrap them well and they'll keep in the freezer for up to 3 months. Let them thaw in the fridge overnight before eating.
- → How can I tell they’re ready?
The top should be golden, and sticking a toothpick in should pull out a few crumbs. Be careful not to overbake or they’ll dry out.