
 Pin
Pin
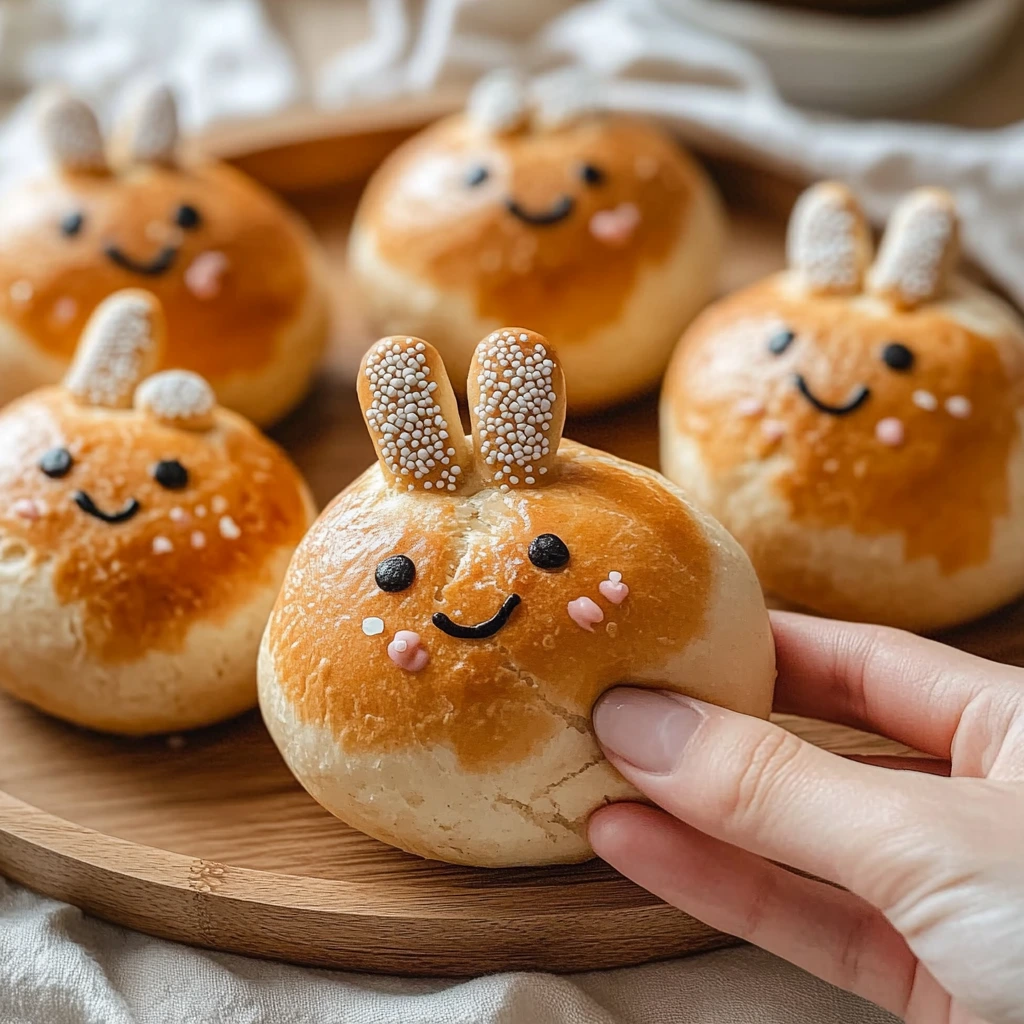
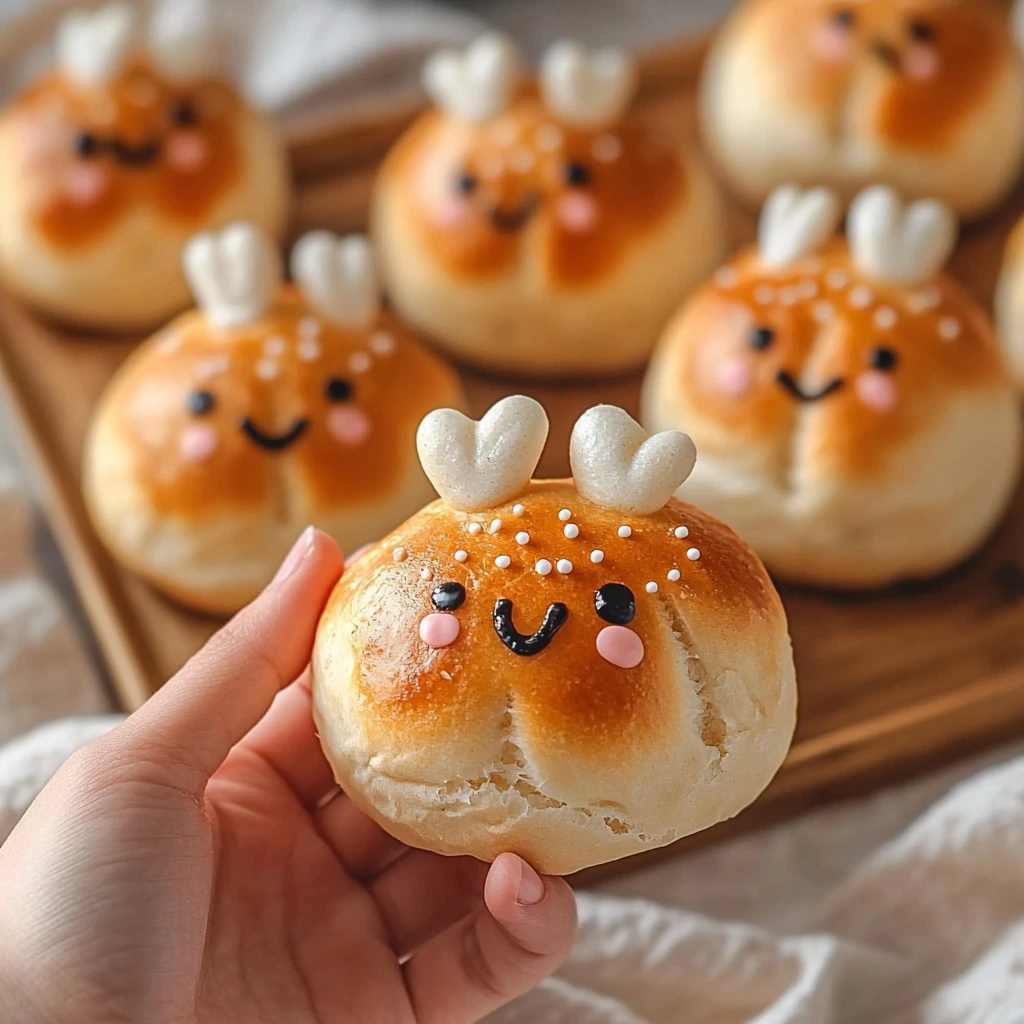
Turn plain yogurt dough into cute Easter bunny rolls that'll make your holiday table more fun. These sweet little buns need just two main things and make perfect little rabbits with ears—they're great to make with kids. Every roll comes out soft and fluffy, ready to make everyone smile.
While looking for something special for Easter bread, I found this easy way to bring holiday shapes to the table without any hard steps.
Key Ingredients
- Regular yogurt: Works better than Greek style
- Self-raising flour: Gives the right amount of puff
- Melted butter: Makes them look golden
- Dash of salt: Makes the bread taste better
- Food markers: For drawing cute faces
Bunny-Making Steps
- Start The Dough:
- Mix your yogurt and flour until you get a soft ball.
- Get The Right Feel:
- Put flour in bit by bit until it feels smooth but still soft.
- Cut Into Parts:
- Split the dough for making bodies and ears.
- Shape Your Bunnies:
- Stick the ears onto round bodies at small angles.
- Bake Them Right:
- Look for a nice gold color while keeping them soft inside.
- Let Them Rest:
- Cool them a little before you add faces.
- Finish Them Up:
- Use food markers to draw faces if you want.
 Pin
Pin
My grandma always told me the trick to great bread shapes was being gentle—if you rush, you'll end up with tough buns.
Tasty Serving Ideas
Make your buns look extra special by putting them on a wooden board with some flowers and greenery. They're best warm with soft butter and honey. You could make a breakfast spread with colored Easter eggs, fresh fruit, and spring flowers too. Put them on old-fashioned plates with some herbs to make them look fancy.
Fun Twists to Try
Change up these buns by playing with different looks and tastes. You can mix herbs into your dough, or try making different animals instead. Add some cheese for a savory option, or brush them with honey butter to make them sweet. Try making them colorful with natural food dyes, or sprinkle seeds on top for some crunch.
Keeping Them Fresh
Make sure they stay tasty by storing them right. They're best right after baking, but you can keep them in sealed containers for a day. Warm them up quickly before eating. If you want to make them ahead, freeze the shaped dough and bake straight from frozen. Keep decorated buns apart so the designs stay nice.
 Pin
Pin
These bunny buns have become something we always make for Easter in our family. They're easy to put together, but taking time with shaping them and handling them gently makes them turn out really cute for both kids and adults. Just remember, don't rush the shaping part and watch them while they bake to get perfect bunny buns every time.
Recipe Questions & Answers
- → Can I swap plain yogurt with Greek yogurt?
- Sure thing! Greek yogurt works perfectly. The buns might turn a bit denser but still super tasty.
- → I don’t have self-raising flour. What do I do?
- No worries! Mix 1 cup of plain flour with 1 teaspoon of baking powder. Easy fix!
- → How should I store the buns so they last?
- Keep them in an airtight container at room temp for 2 days or toss them in the freezer to keep longer.
- → Can the dough be prepped beforehand?
- Absolutely! You can refrigerate it for up to 3 days or freeze it to use anytime in the next 4 months.
- → Are vegan swaps possible?
- Yes, you can! Switch out yogurt and butter for plant-based options, and they’ll turn out great.