
 Pin
Pin
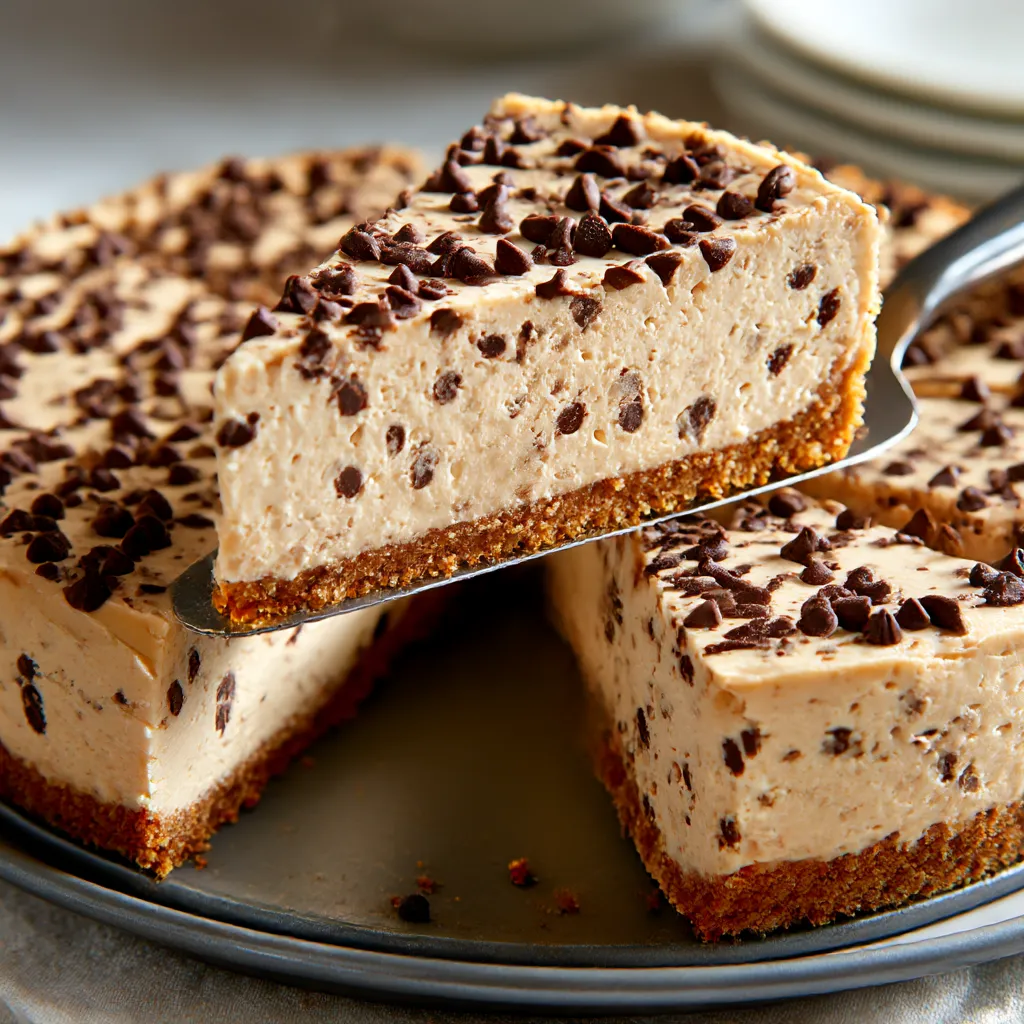
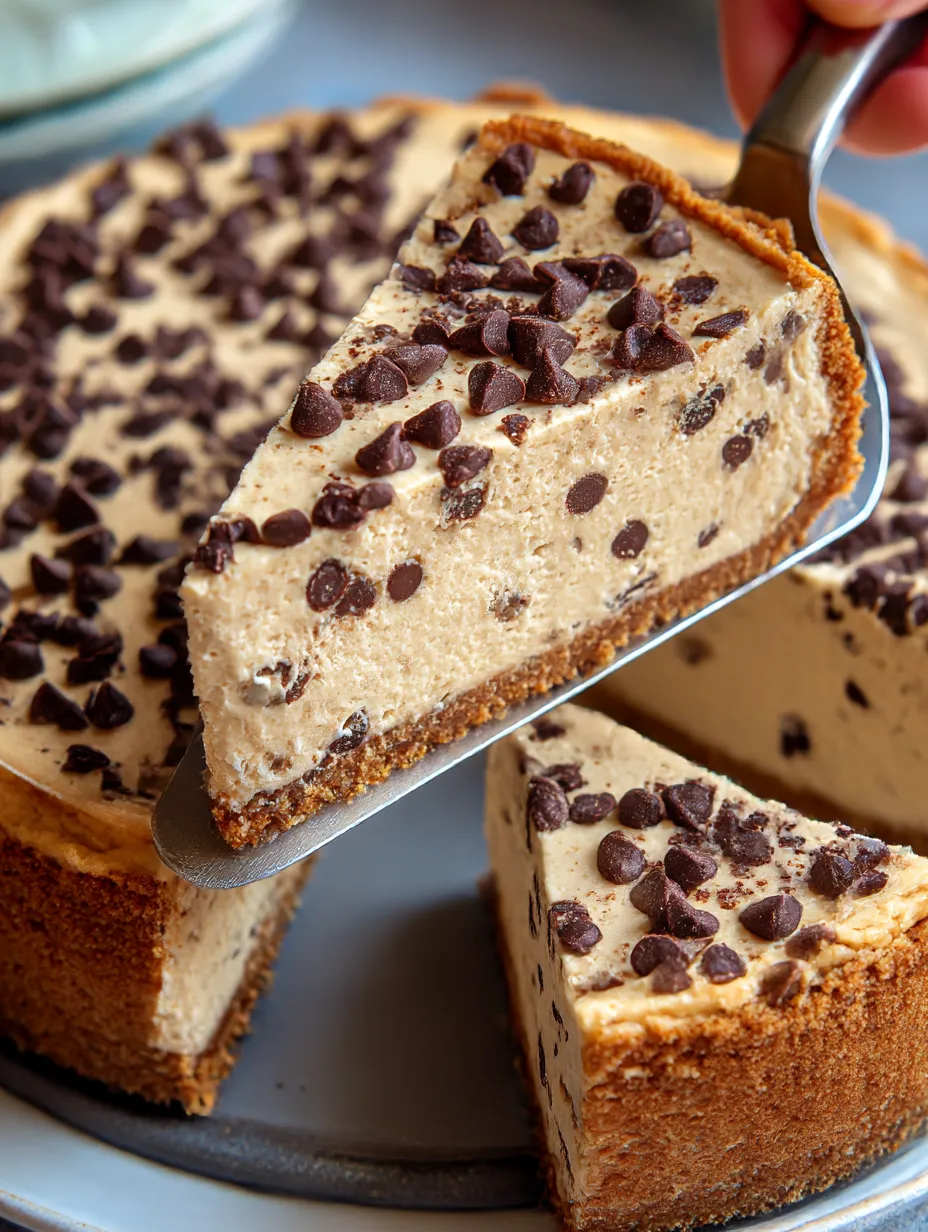
Whenever cravings for something sweet pop up but I still want to eat healthy, this high-protein cheesecake totally does the trick. It’s smooth and rich, super fluffy, and you’d never guess it packs a protein punch and comes together with just the basics from your fridge. I’ve taken this to family parties and it vanishes fast—way before any other sweet treats.
The first time I put together this cheesecake was for a buddy who’s big on lifting weights and needed a dessert that wouldn’t mess with their gym progress. They were so into it we ditched birthday cake and just have this now.
Luscious Ingredients
- Pick your favorite crust: Classic grahams, a mix of oats and nuts, or even skip it for a lighter bite. Press it into the pan and it’s good to go.
- Go-to cream cheese or vegan version: Super important for that classic rich and smooth feel. Blocks without extra fillers blend easiest.
- Greek yogurt or plant-based swap: Adds protein and makes things less heavy. Full fat works for extra creamy, and watch out for hidden sugars.
- Choose your protein powder: Gives the whole dessert a solid protein boost and stops it from getting too dense. Pick a vanilla or unflavored kind you like the taste of.
- Sweetener you like best: Whatever works for you—coconut sugar for a hint of caramel or your favorite sugar-free blend. Powdered types stir in easiest.
- Real vanilla extract: That bakery smell comes from the real deal. It really makes a difference so pick genuine extract.
Simple Step-by-Step
- Chill Time is Key:
- After baking, let your cheesecake totally cool on the counter. Once it’s not hot (it’ll still jiggle a bit in the middle), move it to the fridge. Give it a good six hours—overnight is even better for that perfect set and creamy bite.
- Slow and Steady Cooling:
- When half an hour is up, shut off the oven but leave your cheesecake inside for about five more minutes. Keeping the heat gentle stops cracks from popping up.
- Bake It:
- Pour your batter over your crust, then level out the top with a spatula. Pop your pan on the middle rack right above the water bath. It goes for about 30 minutes—don’t open the oven till time’s up.
- Filling Comes Together:
- Chuck the cream cheese, yogurt, protein powder, your sweetener, and vanilla in a big bowl. Blend with a sturdy blender, stand mixer, or food processor. Stop mixing as soon as it looks smooth and fluffy—overmixing can ruin the texture.
- Getting Your Crust Ready:
- Set up a 9-inch springform pan lined and filled with crust, making sure you press it in nice and even. Stick it in the fridge while you whip up the filling.
- Let Cream Cheese Warm Up:
- Let the cream cheese hang out on the counter until it softens. It’ll blend into the batter way easier and helps everything come out super even.
- Oven and Water Bath Prep:
- Set a rack in the middle of your oven then put another one below. Fill a baking pan most of the way with water and set it low. The steam keeps your cheesecake moist and stops surface cracks.
 Pin
Pin
Greek yogurt totally steals the show for me since it makes every slice airy and creamy. That first cut with no cracks was a big moment at our house. My dad was shocked it was the healthy option.
Storing Made Easy
Your cheesecake keeps well in the fridge for around five days if you seal it up tight so it doesn’t taste like whatever else is in there. Want to keep it longer? Wrap up individual slices and pop them in the freezer for up to three months. Let them thaw in the fridge overnight for the best bite.
Swaps and Substitutes
Trade regular cream cheese for a solid vegan option if you need. Greek yogurt can be swapped out for coconut or lactose free yogurt. Pick any protein powder (plain or vanilla works) and try honey, sugar-free, or whatever sweetener you like. Make it with a graham, gluten free, nut, or even no crust at all—the choice is yours.
Fun Ways to Serve
Go wild with toppings—pile on berries or pour on a bit of melted dark chocolate for an extra special touch. Try sprinkling on some nuts or swirling in fruit puree. For a fun twist, set thin slices of banana over the top and add a pinch of cinnamon.
Story & Background
Cheesecake has been around since Ancient Greece, but this extra protein version is all about today’s energy and nutrition goals. Taking what’s tasty and making it work for active folks, it’s the best of both worlds.
Recipe Questions & Answers
- → How does adding protein powder affect the texture?
Protein powder gives the filling a little more thickness, so it feels just a bit denser and ups the nutrition. If you blend it in well, it stays really creamy and smooth.
- → Can I use a dairy-free alternative for the cream cheese and yogurt?
Totally! You can grab vegan cream cheese or a dairy-free Greek yogurt and still get that lovely creamy feel and familiar taste.
- → What type of sweeteners work best?
Pick what you like—regular sugar, monk fruit, or coconut sugar all work. Just go with the flavor and nutrition you’re after.
- → Why is a water bath used during baking?
Baking with a water bath helps everything heat up evenly and gently, so the cheesecake turns out smooth and you don’t have to worry about cracks.
- → How long should the cheesecake chill before serving?
You’ll want to let your cheesecake rest in the fridge six hours or longer so it gets nice and firm for easy cutting.
- → Are there crust options for this cheesecake?
Use whatever crust you’re in the mood for—graham crackers, almond flour, or just skip it for fewer carbs.