
 Pin
Pin
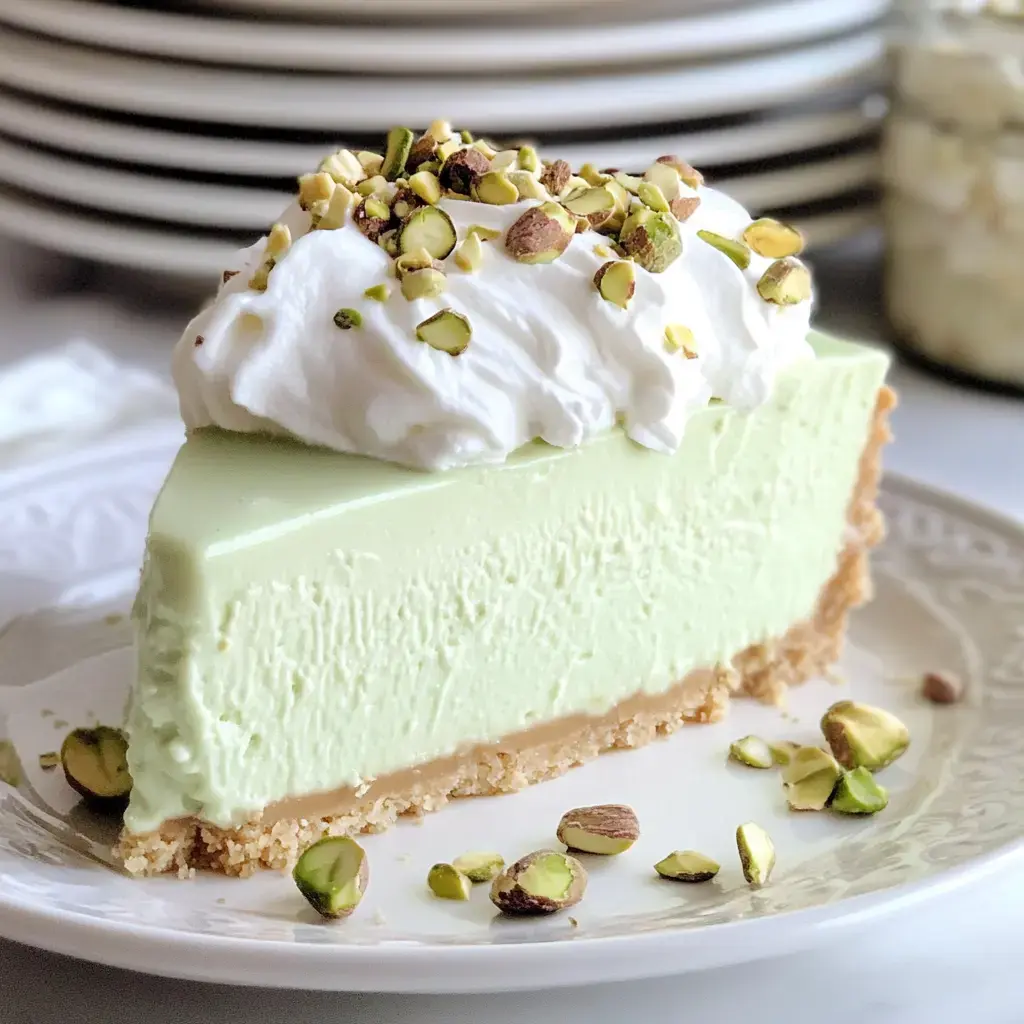
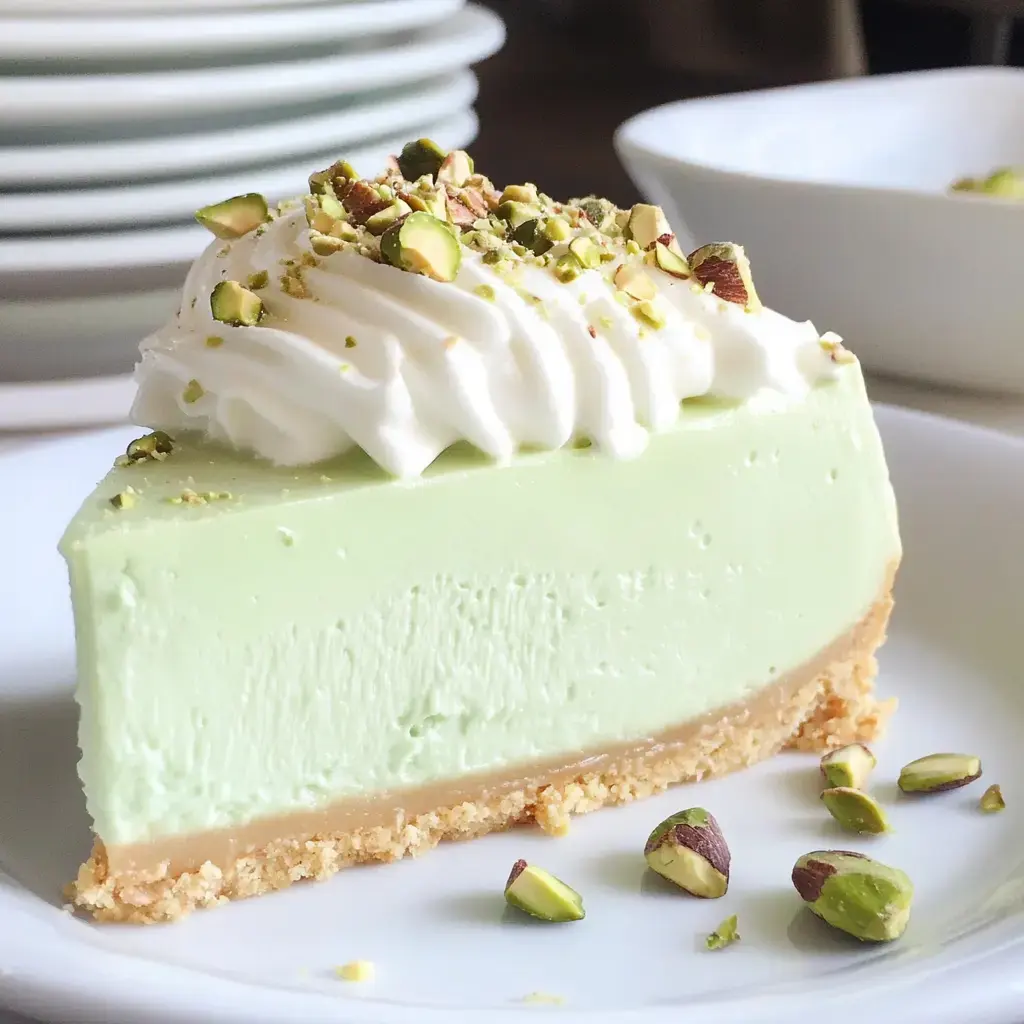
Easy Dreamy Pistachio Cheesecake
My kitchen fills with irresistible aromas whenever I make this creamy no-bake pistachio treat. The silky pistachio filling sitting on top of a crumbly vanilla wafer base reminds me of weekend baking with my grandma. What's great is I don't even need to turn the oven on. Every bite delivers that authentic pistachio goodness wrapped in velvety creaminess.
What Makes This Cheesecake Special
I can't get enough of this pistachio cheesecake's smooth, rich texture. Its soft green color always gets compliments at family dinners. My kids constantly ask for this sweet treat, and I love that I can fix it ahead with minimal effort. There's something magical about how the nutty pistachio mixes with the tangy cream cheese in each delicious bite.
What You'll Need
- Vanilla wafers: You'll want about 2 1/2 cups crushed into fine bits, roughly one box. You can swap in graham crackers if you prefer that flavor base.
- Granulated sugar: This gives the crust just the right amount of sweetness.
- Salt: A little bit cuts the sweetness and brings out all the flavors.
- Unsalted butter: About 6 tablespoons, melted down to hold your crust together.
- Cream cheese: Around 16 ounces, left out until soft for easy mixing.
- Instant pistachio pudding mix: One 3.4 ounce package provides that signature flavor.
- Vanilla extract: About a teaspoon to add some extra flavor notes.
- Pistachio extract: Around 1/2 teaspoon to boost that nutty taste.
- Powdered sugar: About 1/2 cup to sweeten your filling just right.
- Heavy cream: You'll need roughly 2 cups, kept cold, for both the filling and topping.
Let's Make It Happen
- Fix the base
- Mix your crushed wafers with sugar, salt, and melted butter. Push this mix firmly into your 8-inch springform pan, covering bottom and sides. Let it cool in the fridge while you work on the next part.
- Create your filling
- Whip together cream cheese, pistachio pudding, vanilla, pistachio extract, and powdered sugar until it's completely smooth. Slowly pour in heavy cream while mixing on medium-high until everything gets thick and fluffy.
- Let it set
- Pour your mixture into the waiting crust and stick it in the fridge for at least 6 hours but overnight works better. Cover it with plastic wrap or foil so it stays fresh.
- Make your topping
- Mix cold heavy cream, powdered sugar, and vanilla. Beat until it forms stiff peaks and then spread or pipe it on top of your set cheesecake.
 Pin
Pin
Insider Tricks
I've made this cheesecake countless times and picked up some handy tricks. Grind those wafers until they're powder-fine for the best crust. Don't rush softening your cream cheese or you'll get chunks in your mix. The flavor gets way better if you can wait overnight before digging in. I always whip the cream topping fresh right before we eat for that perfect finishing touch.
Storage Smarts
You can keep this dessert in your fridge for about five days and it'll taste just as good. Just wrap it up well so it doesn't dry out. I often make it days before parties and sometimes I'll even pop it in the freezer without the whipped topping for up to a month as a backup dessert. Don't worry, it stays amazingly creamy even after freezing.
Recipe Questions & Answers
- → Can I make this dessert in advance?
Yes! It stays fresh in the fridge for up to 5 days. Just save the whipped cream topping to add on the serving day for the best results.
- → Do I need both extract flavors?
Both pistachio and vanilla bring out the best flavor, but skipping pistachio extract will still taste great since the pudding mix does the job.
- → Can I switch wafers for graham crackers?
Absolutely! Use the same crumb amount, and you’re good to follow the rest of the instructions as is.
- → Why bring cream cheese to room temperature?
Softened cream cheese mixes much easier and avoids any lumps. Leave it out of your fridge for at least an hour before you begin.
- → How do I fix a crumbly crust?
If the crust is falling apart, add a tablespoon more melted butter and press it firmly in the pan. Let it chill to set well.