First, pound out the chicken smooth. Dunk in flour, beaten egg, and then panko for crunch. Fry it up until golden. Mix ketchup and some easy Asian flavors for a quick sweet & tangy dip.
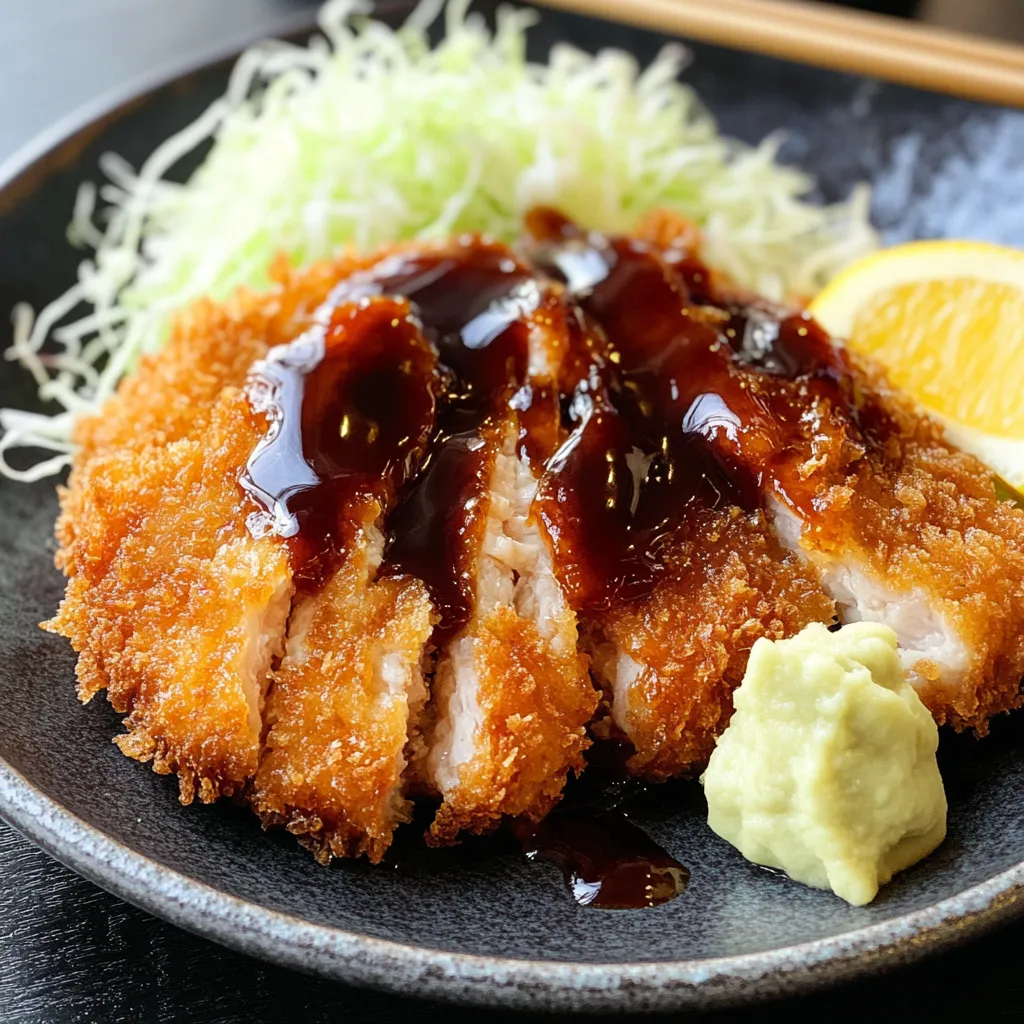
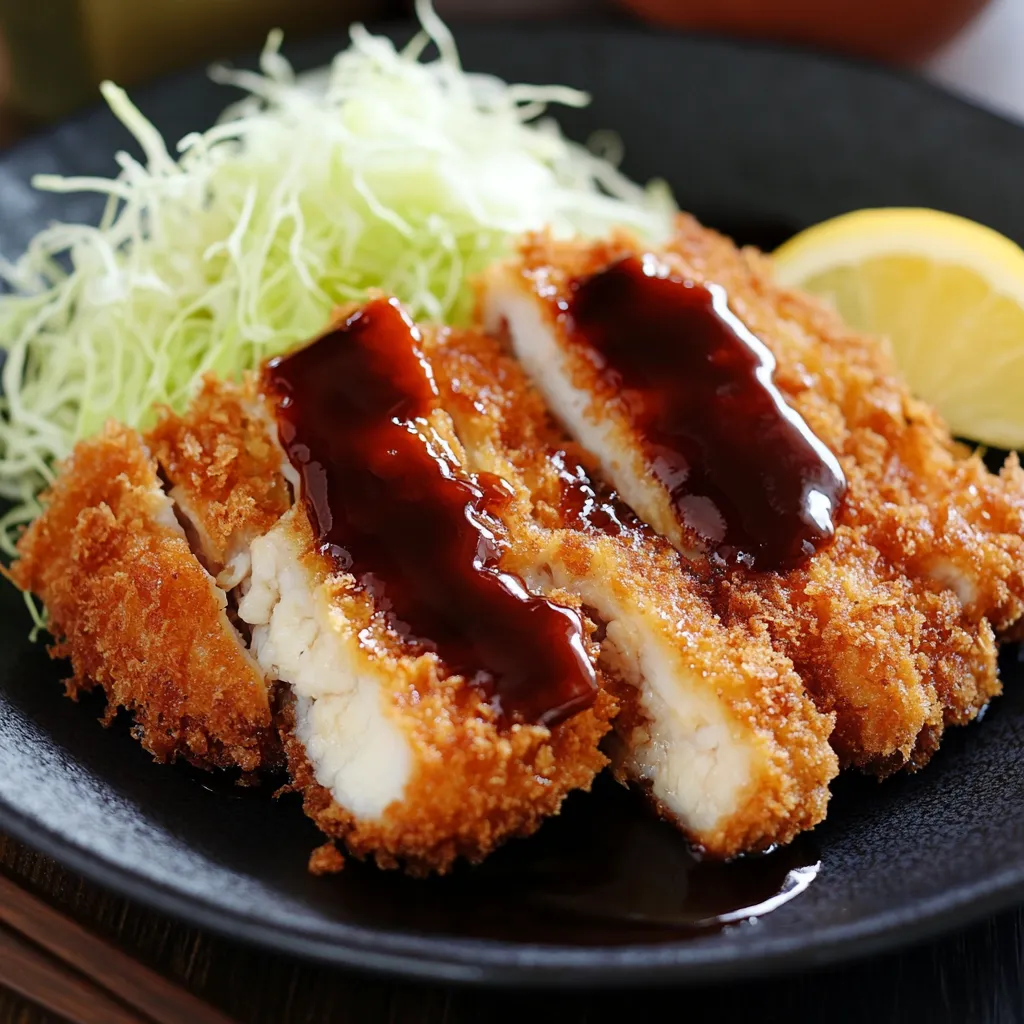
Bite into juicy chicken covered in an insanely crunchy, toasty crust—pure comfort. This Japanese dish uses just a handful of basics to whip up something seriously tasty without breaking a sweat at home.
A Japanese friend's mom once showed me the secret moves—flattening the chicken properly and keeping the oil at just the right heat. Pushing the panko onto every piece has saved my dinner nearly every time.
Must-Have Ingredient Rundown
* Chicken breasts: Go for boneless, skinless ones and smash them out evenly
* Panko breadcrumbs: These flakes are what make the crunch a star
* Neutral oil: Stick with something like canola or veggie oil that won't burn quick
* All-purpose flour: Starts the coating process so everything sticks
* Fresh eggs: Hold the breadcrumbs in place so nothing falls off while cooking
Flawless Katsu How-To
Rest Before Slicing
Let fried chicken chill on a rack to keep it crispy before you cut.
Frying Until Golden
Each side needs about 3-4 minutes, just until they're brown and stunning.
Getting the Oil Just Right
Heat your oil to 350°F—try to keep it there the whole time.
Powerful Breading
Toss chicken in flour, then into egg, and finally press into panko until it's covered.
Season the Meat
Salt and pepper both sides so your chicken picks up flavor.
Pound It Out
Gently flatten chicken to half an inch, using plastic wrap and even presses.
PinChicken Katsu | chefemmakitchen.com
I fell in love with this dish months ago in a cozy Tokyo apartment kitchen. Watching how my friend’s mom took her time with the breading taught me the magic was in not rushing.
Top Side Options
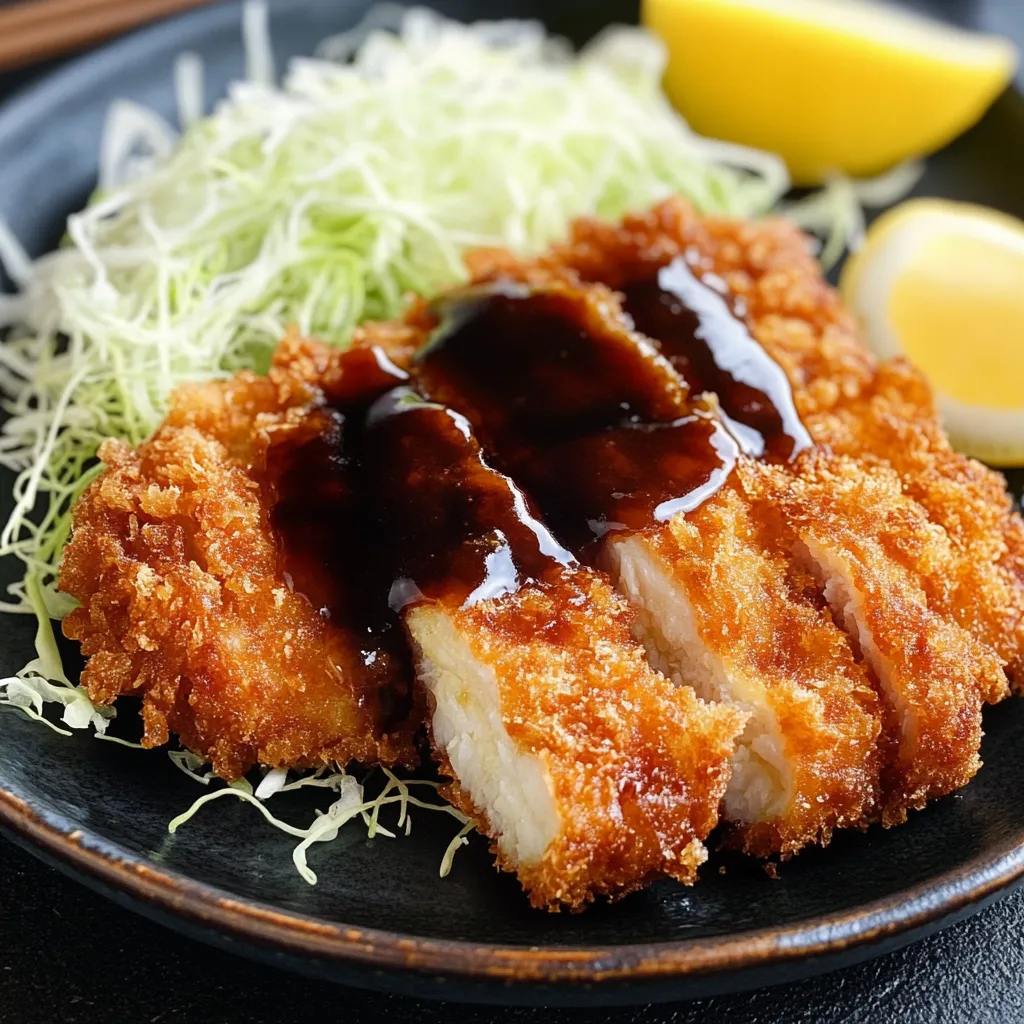
Turn your katsu plate into a whole spread. Serve with soft, hot rice and tangy cabbage tossed in rice vinegar. Splash on some tangy tonkatsu sauce if you want it classic. Soup like miso really brings it all together for that full Japanese night.
Fun Twists to Try
Switch things up with tasty tweaks. Use chicken thighs for extra moisture. Pour on hot Japanese curry for a bold spin. Stack katsu in fluffy milk bread with sauce for a katsu sando. Or bake it at 400°F for a lighter crunch.
Keep it Fresh
Don’t lose that crunch. Stash leftovers in a container lined with paper towel to catch any sogginess. Heat them in a 350°F oven for 10 minutes so they're crisp again. Skip the microwave—it just ruins the coat.
Seriously, Chicken Katsu is my comfort food superstar. A few simple ingredients turn into a magical meal. Whether you stick to tradition or add your own spin, everybody ends up smiling.
Helpful Kitchen Habits
Set up your coating station in an easy line for smooth moves. Keep one hand for dry and one for wet to avoid sticky fingers.
Change up the Sides
Switch your extras with the seasons—cool cucumber salad for summer, warming curry in winter. There's always a fresh way to serve this up.
Storage Game Plan
Get ahead by breading chicken and freezing it raw. Thaw it in the fridge the night before and cook as usual.
After all these tries, I can say Chicken Katsu is so much more than the steps you follow—it's proof that if you treat basic things with care, they can blow you away. Every crisp, juicy bite feels like a cozy hug from Japan and gives you that feeling of nailing a classic.
PinEasy Chicken Katsu | chefemmakitchen.com
Recipe Questions & Answers
→ Can I bake this instead of frying?
For sure! Spritz with oil and bake at 400°F around 20-25 minutes. Flip it once. It won't get super crispy but it's still tasty.
→ What can I serve with chicken katsu?
Great with rice, thin sliced cabbage, a bowl of miso, or even try it with Japanese curry to make katsu curry.
→ Can I make the sauce ahead?
Absolutely! The sauce actually gets better if it sits overnight in the fridge. It'll stay good about two weeks, cold.
→ Why isn't my coating sticking?
Dry off your chicken well and press that panko in so it clings. Let the crust sit for five minutes before frying.
→ Can I use regular breadcrumbs?
Panko gives you that crunch, but you can use regular—just be ready for less crispiness.
Effortless Chicken Katsu
Crunchy panko chicken cutlets with a yummy sweet sauce you can make at home. It’s that comfort dish you get at Japanese spots, but a breeze.
101 tablespoon mirin (that sweet Japanese cooking wine)
112 tablespoons soy sauce
121 tablespoon packed brown sugar
131 1/2 teaspoons Worcestershire
141 garlic clove, chopped up
151 teaspoon grated fresh ginger
Steps to Follow
Step 01
Toss ketchup, soy sauce, brown sugar, mirin, Worcestershire, ginger, and the garlic into a bowl and stir it all up. Let it chill together for at least thirty minutes. Gives everything time to get tasty.
Step 02
Use a mallet to gently smack each chicken breast till they're about half an inch thick. Sprinkle both sides with salt, black pepper, and drizzle on a bit of soy sauce.
Step 03
Grab three bowls: fill the first one with flour, beat the egg and put it in the second, dump panko in the third.
Step 04
Start by dusting the chicken with flour. Dip it in the egg next, then press it into the panko so it gets a good outside crunch.
Step 05
Pour oil in a skillet and get it hot—about 350°F. Slip your chicken in and fry each side about 4 or 5 minutes. Should turn a nice golden color and cook all the way through.
Step 06
Pop cooked chicken on paper towels to soak up extra oil. Slice it up and share with that homemade tangy sauce.
Additional Notes
Let the sauce hang out in the fridge overnight—it gets way yummier
If your oil's hot enough, you'll get the crispiest crust
This sauce is awesome on stuff like pork cutlets or coconut shrimp too
Tools You'll Need
Rolling pin or something to pound meat
Three wide bowls for coating
Big non-stick pan
Paper towels for draining
Allergy Information
Check every ingredient for potential allergens. Consult a healthcare professional for concerns.

 Pin
Pin
 Pin
Pin
 Pin
Pin