 Pin
Pin
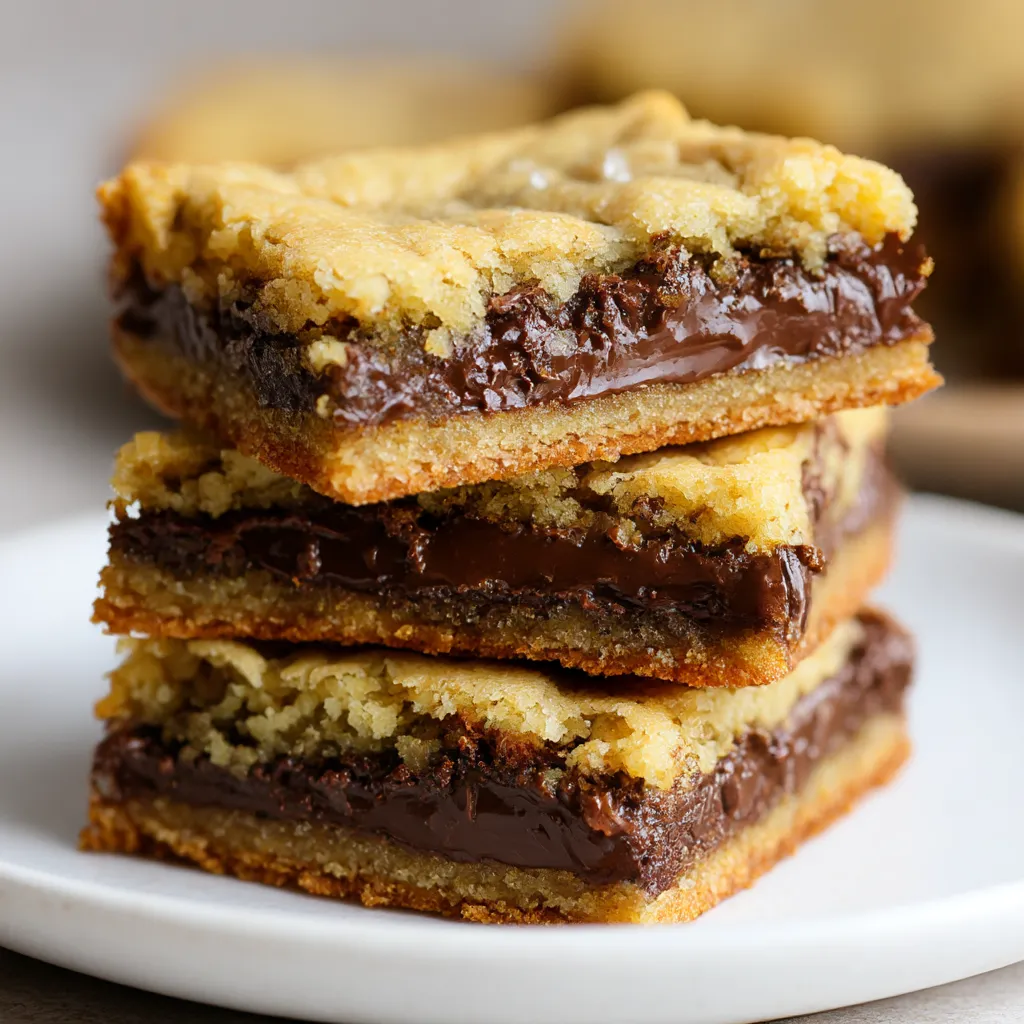
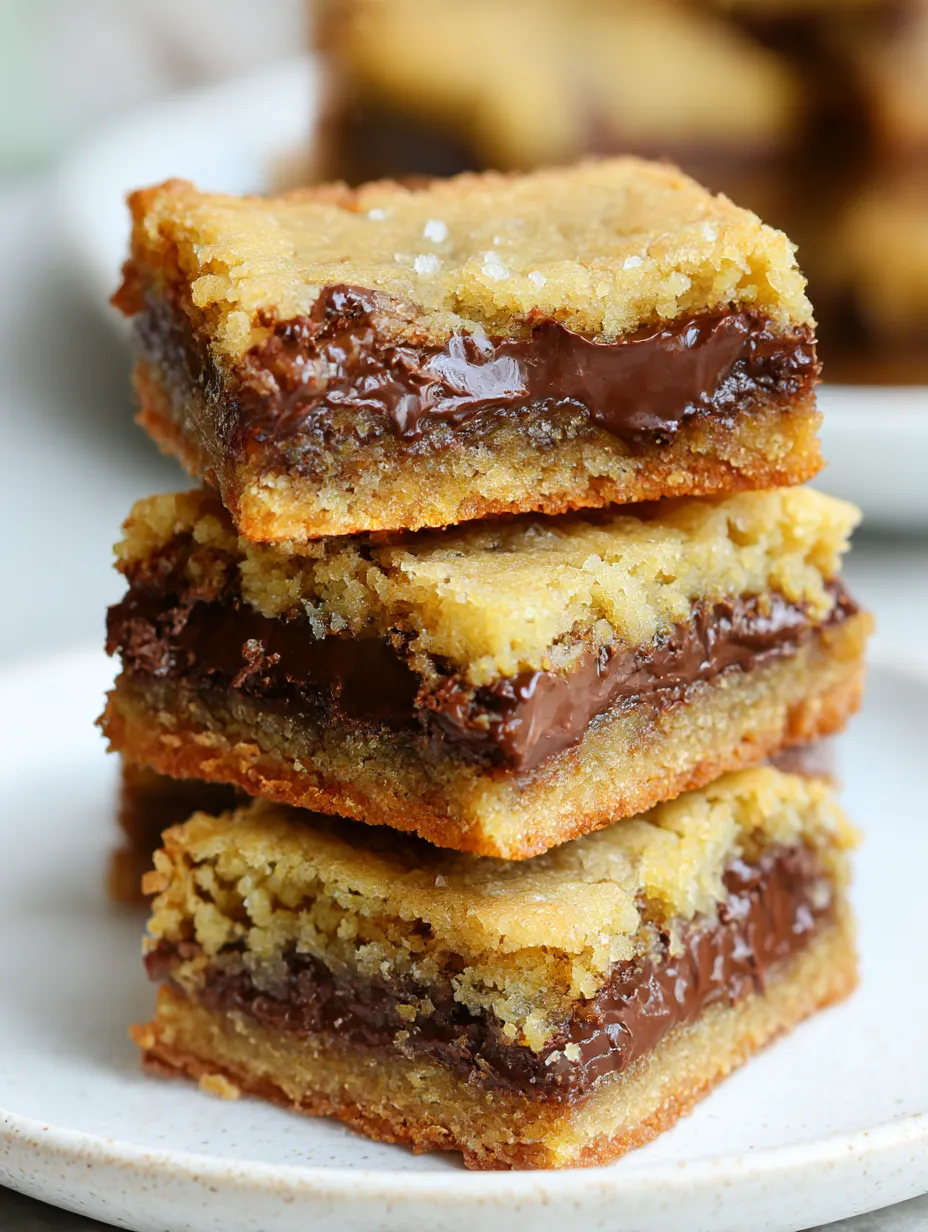
Fudge Stuffed Blondies are the kind of indulgent dessert that disappears fast at any party The buttery blondie dough wraps a dreamy chocolate fudge middle so every square has rich gooey bites and a beautiful layered look With just a single bowl for the base and a super simple fudge made on the stove these always hit the spot when you want a sweet bake in under forty minutes
The first time I brought these to my friend’s birthday they vanished before dinner started That fudge center just gets everyone talking
Ingredients
- Semisweet chocolate chips: Bring rich chocolate flavor and melt smoothly in the fudge Filling
- Sweetened condensed milk: Adds creamy sweetness and helps the fudge set in thick layers Look for cans without extra thickeners
- Unsalted butter: Used in both the fudge and blondie dough so choose a good quality butter that tastes fresh
- Light brown sugar: Provides moisture softness and a caramel hint for the blondies Make sure it is soft and packed
- Large egg: Binds the blondie dough and gives a little lift Use at room temperature for best mixing
- Vanilla extract: Rounds out the flavor and adds warmth Go for pure vanilla if you can
- Fine salt: Balances sweetness and keeps the flavor layered
- All purpose flour: Builds the blondie base You want it fresh and unbleached if possible
- Nonstick spray or parchment: Keeps everything from sticking so all those gooey layers come out in neat squares
Step-by-Step Instructions
- Prep the Pan:
- Line an eight inch square pan with foil or parchment pressing into the corners Spray lightly with nonstick spray for easy release later
- Make the Fudge:
- Combine chocolate chips sweetened condensed milk and one tablespoon butter in a small saucepan Set on low heat Stir constantly with a spatula until it melts into a glossy smooth fudge Let cool a bit so it thickens up
- Mix the Blondie Base:
- In a big bowl stir melted butter with the brown sugar until there are no lumps Mix in the egg and vanilla until the batter is shiny and light brown Sprinkle on the salt and flour then fold together just until you cannot see flour Stopping here keeps the blondies chewy
- Layer It Up:
- Scoop half the blondie batter into your pan and press flat with an offset spatula or your fingertips Take chunks of cooled fudge flatten them with your hands and layer over the base so every bite gets some fudge Top carefully with the rest of the blondie dough spreading gently to seal in the fudge
- Bake and Cool:
- Bake for about twenty five minutes until the top turns lightly golden and the edges look set The center should feel just a little soft when pressed with your finger Let cool in the pan until completely firm This helps the fudge settle and makes slicing easier
 Pin
Pin
The fudge filling is my favorite part Sometimes I make a double batch just so I can swipe a spoonful before layering it in My cousin always says it tastes like brownie and blondie had the perfect baby
Storage Tips
Once cooled slice the blondies and tuck them in an airtight container Layers of parchment help if you are stacking them Room temperature is fine for up to two days For fresher edges or if you want to freeze them wrap each bar individually and thaw at room temp before serving
Ingredient Substitutions
Try swapping in dark chocolate chips for a deeper fudge or use white chocolate if you want a twist You can make the blondie dough gluten free by using a cup for cup style flour blend If you only have salted butter just reduce or skip the added salt
Serving Suggestions
These blondies are amazing with a scoop of vanilla ice cream or as part of a dessert board with berries For a party drizzle extra melted chocolate on top before slicing or sprinkle sea salt flakes for that bakery touch
Recipe Questions & Answers
- → How do I achieve the gooey fudge center?
You want to take them out of the oven a little early. Let them cool all the way so the fudge in the center stays gooey and thick.
- → Can I substitute different chocolate for the filling?
For sure, swap in milk or dark chocolate chips instead of semisweet. Just know it’ll taste a little different, depending on what you use.
- → What pan size works best for even baking?
If you’ve got an 8x8 pan, use that. It keeps everything the perfect thickness and bakes the bars nice and evenly for easy cutting.
- → Is it necessary to line the baking pan?
Totally worth it—lining with parchment or foil makes it simple to pull the bars out and slice them, even though the center is extra gooey.
- → How should these blondies be stored?
After they've cooled and you've cut them, pop the bars in a container with a lid and leave them on your counter. They're best within three days.
