
 Pin
Pin
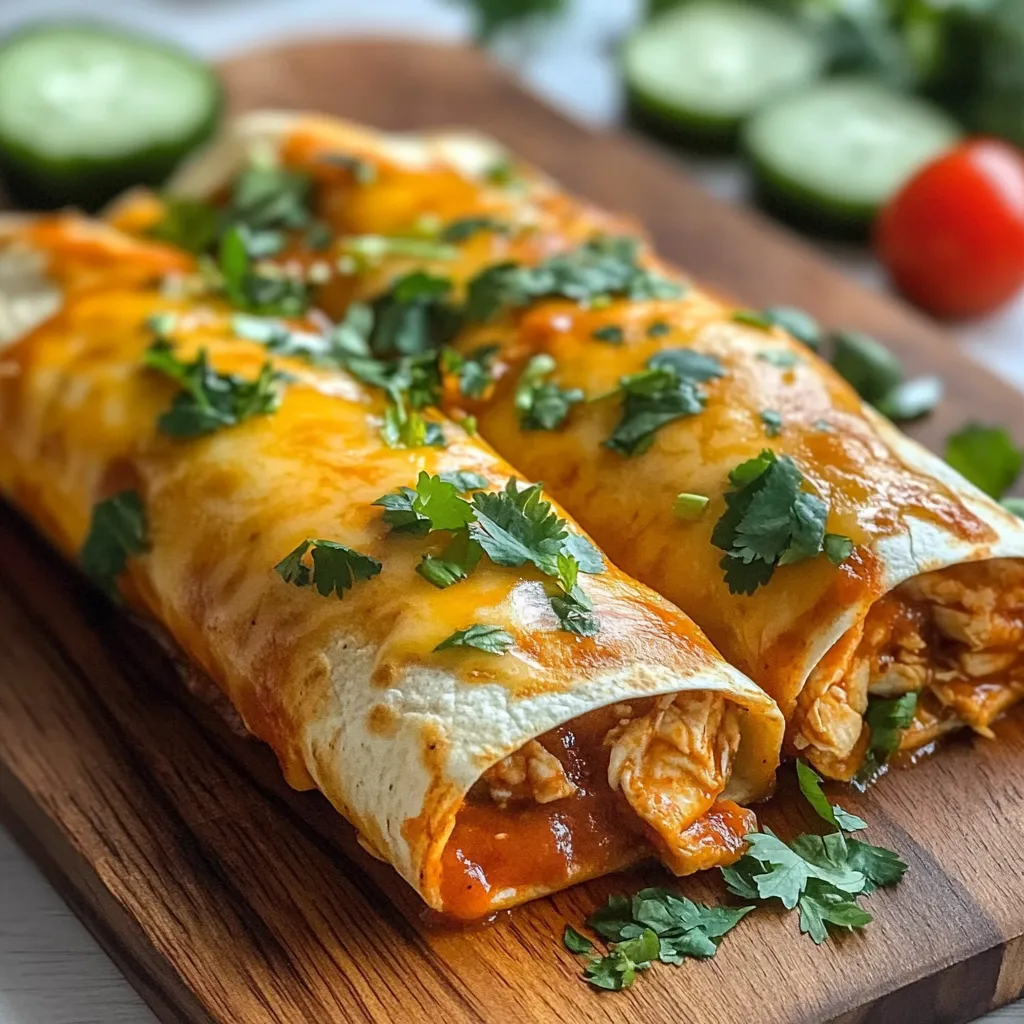
Crunchy tortilla wraps filled with juicy seasoned chicken and gooey cheese create that unmistakable chimichanga snap without deep-frying. This oven version gives you all the texture and bold Mexican taste you want but keeps things easy and mess-free in your kitchen.
I remember the first time I made these baked chimichangas for my family. My brother-in-law, who's crazy about authentic chimichangas, took one bite and said they were "way better than what restaurants serve." That perfect mix of the crispy shell and juicy filling inside gets everyone grabbing seconds.
Smart Ingredient Choices
- Right Tortillas: Go for big 10-inch flour tortillas that bend without breaking. Too stiff and they'll crack when you roll them, too soft and they won't get crispy in the oven.
- Tasty Chicken: Store-bought rotisserie chicken saves time and packs flavor. Mix dark and white meat for the tastiest filling that stays moist.
- Cheese Mix: Sharp cheddar with Monterey Jack gives you great flavor that melts perfectly. Grate it yourself instead of buying pre-shredded for smoother melting.
- Wet Stuff: Pick chunky salsa or diced tomatoes with green chilies for moisture that won't make things soggy. The chunks add nice texture inside.
- Flavor Boost: Cumin, chili powder, garlic and onion powders bring that Mexican taste without too much heat. These spices get even better as they bake.
Winning Technique Tips
- Mix It Right:
- Toss all filling stuff together in a big bowl so spices and cheese spread everywhere evenly. The chicken should be warm enough to partly melt the cheese so everything sticks together when baking.
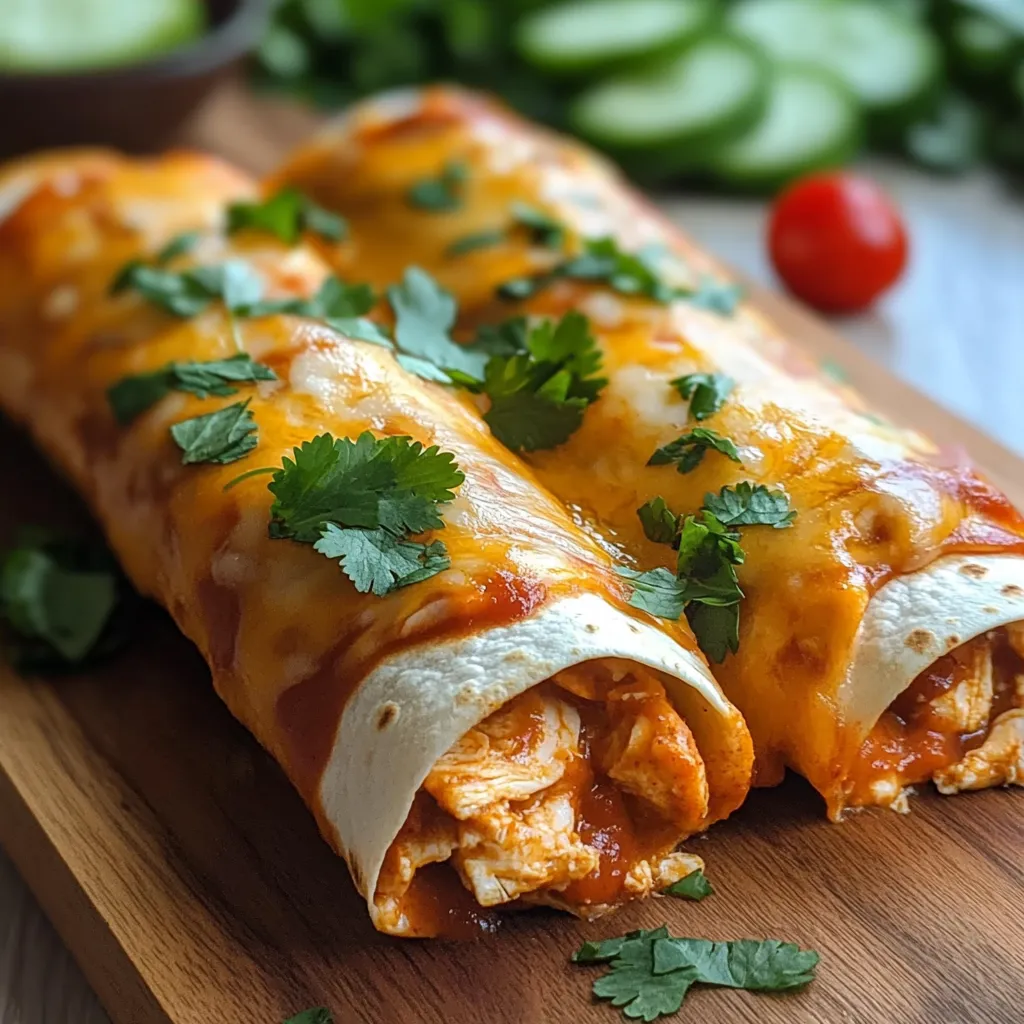
- Roll Like A Pro:
- Put the tortilla flat and add exactly 1/3 cup filling just below the middle in a straight line, leaving an inch free on both sides. Fold the bottom up over your filling, then fold in both sides toward the middle. Roll it up from bottom to top with a bit of pressure to make it tight. This way your filling stays put and doesn't leak.
- Keep It Closed:
- Put each rolled chimichanga on the baking sheet with the seam facing down so the weight of the filling keeps it shut naturally. No need for toothpicks this way, and they'll hold their shape while baking.
- Oil Is Key:
- Brush the whole outside with olive oil or melted butter, especially the edges and corners where crisping starts. This thin layer helps them brown evenly and gives you that signature crunch.
- Smart Baking:
- Heat your oven to 400°F and space the chimichangas apart so air can flow around them. Bake for 10 minutes, turn the pan around, then bake another 10-15 minutes until they're deep golden brown and feel firm when touched. This two-part approach heats the filling through while making the outside perfectly crispy.
 Pin
Pin
My grandma taught me the secret to amazing chimichangas. "Roll them like you're wrapping a baby," she always said, showing me how to tuck everything in tight while keeping the filling spread out evenly. Her trick turned what could be a messy food into something neat and perfectly portioned.
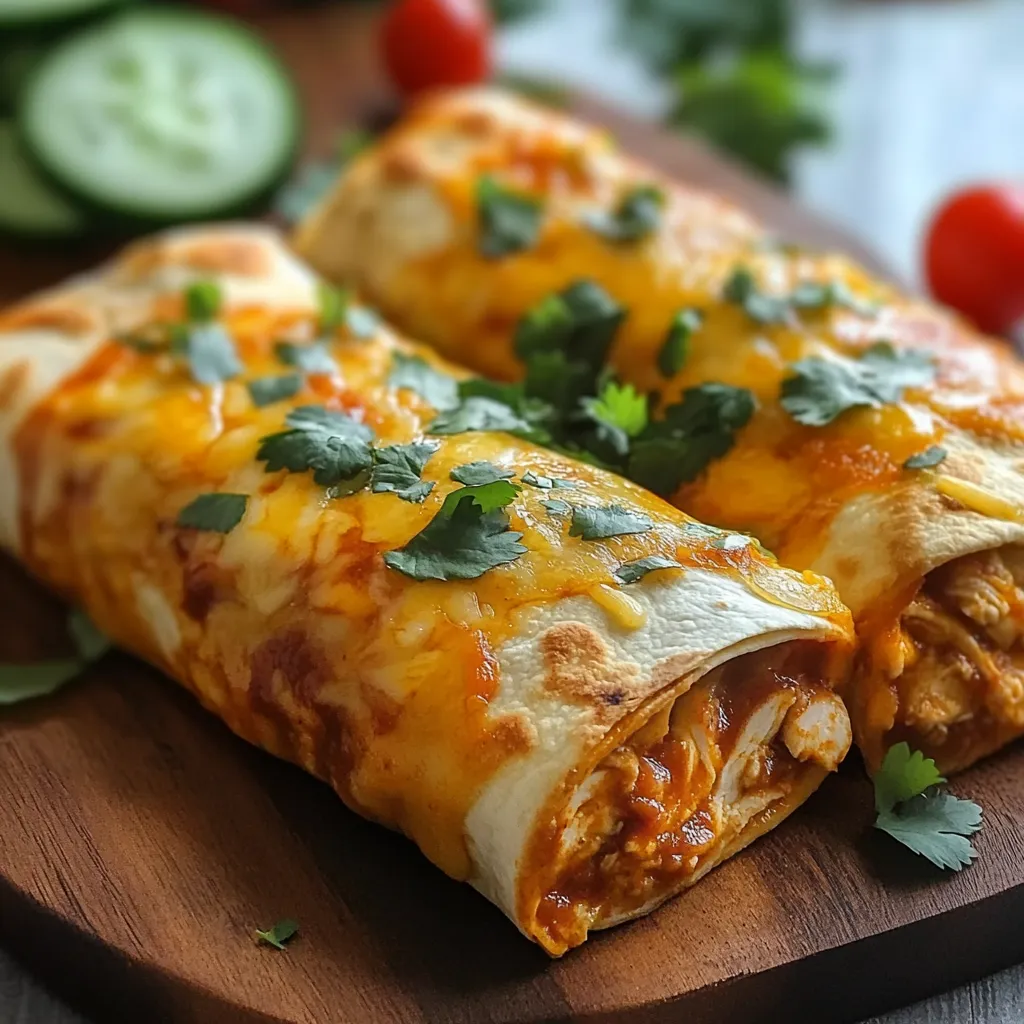
Ways To Serve It
Set up a toppings station with guacamole, sour cream, and different salsas so everyone can dress up their own. Serve them on Mexican rice with black beans on the side for a full dinner. Add lime wedges and fresh cilantro to brighten everything up.
Fun Twists To Try
- Swap chicken for black beans and corn to make them vegetarian
- Throw in cooked peppers and onions for extra crunch
- Add Mexican chorizo if you want more kick
- Make morning chimichangas with scrambled eggs and bacon bits
Keeping It Fresh
Store any leftovers in a sealed container in the fridge for up to three days. When you want to eat them, heat in a 350°F oven for 10-15 minutes to get them crispy again. You can also make them ahead - just roll them up, wrap each one in plastic, and keep in the fridge for up to 24 hours before baking.
These Baked Chicken Chimichangas hit that sweet spot between tasty comfort food and smarter eating. Baking them gives you that awesome crunch and rich flavor you want while keeping things simple in the kitchen with minimal cleanup – showing that lighter versions of your favorites can taste just as good as the original.
 Pin
Pin
Recipe Questions & Answers
- → Can I make the chimichangas in advance?
- Sure! You can prepare them up to a day early and store covered in the fridge. When baking straight from the fridge, just add 5 extra minutes. You can also freeze unbaked ones for up to 3 months.
- → How do I make these gluten-free?
- Just swap out the flour tortillas for gluten-free ones. Heat them a little to make them flexible, so they don't break when folding.
- → What's the best way to warm up chimichanga leftovers?
- Use an oven or a toaster at 350°F for about 10-15 minutes to get them crispy again. An air fryer works too, just bake at 350°F for 3-4 minutes. Avoid the microwave since it softens the crunch.
- → Can I swap the chicken for something else?
- Totally! Ground meat, pulled pork, or meat substitutes are great swaps. If you want it vegetarian, go with roasted veggies, black beans, or rice.
- → Why do my tortillas keep unrolling?
- Warm up the tortillas before stuffing them to make them more bendable. Toothpicks can also help hold them in place (just remember to pull them out before eating!).