
 Pin
Pin
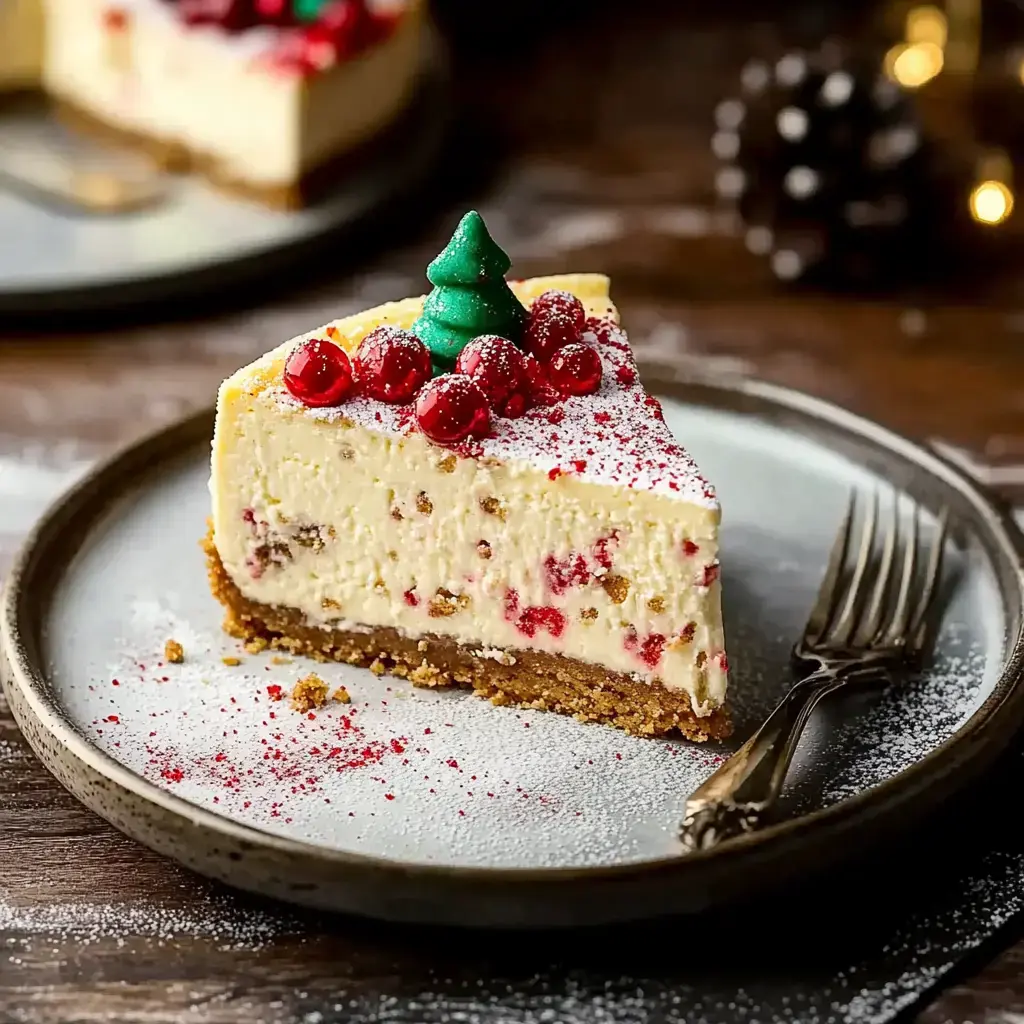
Want to make everyone's mouth water at your holiday table? My Sugar Cookie Cheesecake is your ace in the hole. I dreamed up this knockout treat last Christmas by mixing two things I can't get enough of - silky cheesecake and soft sugar cookies. Every single bit from the cookie bottom to the white chocolate drizzle on top is bursting with holiday spirit. My folks call it Christmas wrapped up in a cheesecake, and honestly, that hits the nail on the head.
The Magic Behind This Wonderful Cheesecake
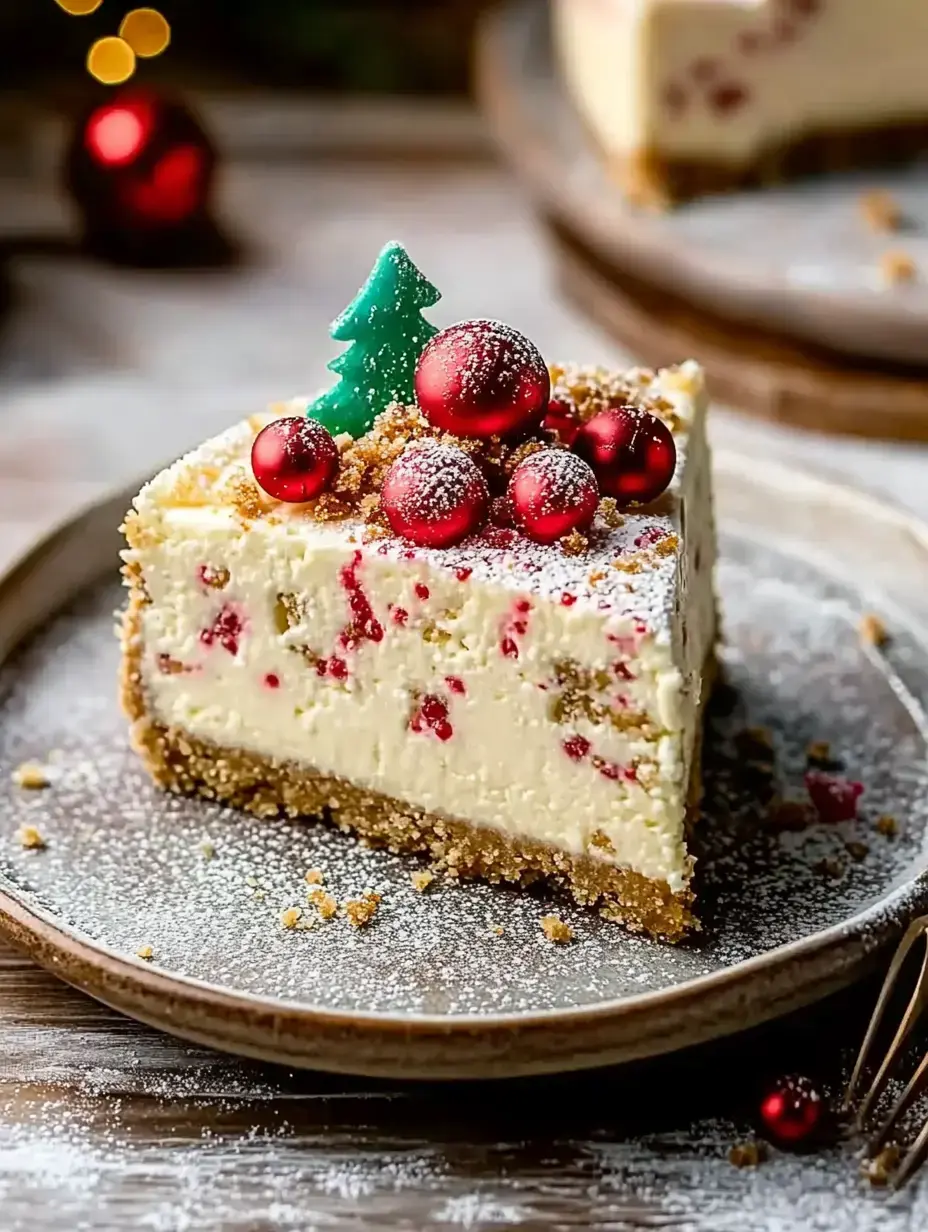
Let me break down why this sweet treat has turned into a must-have at our holiday get-togethers. For starters, it's got that festive vibe with bright Christmas sprinkles and hidden chunks of sugar cookie dough all through it. You can't help but grin when you spot it. And guess what? You can whip it up a day ahead since it needs to cool off anyway. That's one thing crossed off your list during the crazy holiday rush.
A Taste Of Holiday Bliss
Think about taking a bite of this cheesecake. You'll get the soft sugar cookie base, smooth vanilla cheesecake stuffed with bits of cookie dough, and velvety white chocolate on top all at once. The mix of feels and tastes work together just right, making something rich and fancy but not too sweet.
What You'll Need To Get Started
For your cookie base, grab 1 ¾ cups regular flour, ½ teaspoon baking soda, ½ teaspoon salt, ¾ cup soft unsalted butter, 1 cup sugar, 1 teaspoon real vanilla, 1 big egg plus 1 yolk at room temp, and ⅓ cup Christmas sprinkles.
For those cute little cookie dough balls, you'll want 1 ½ cups regular flour, ½ teaspoon salt, ½ cup soft butter, 1 cup sugar, 1 teaspoon vanilla, 5 tablespoons milk, and ⅓ cup fun sprinkles.
Our main event - the cheesecake mix - needs 32 oz soft cream cheese, ⅔ cup sugar, ¾ cup sour cream, ½ cup heavy cream, 1 teaspoon vanilla, 4 big eggs, and most of your cookie dough balls.
Finish everything with a dreamy white chocolate topping using 1 cup white chocolate chips and ⅓ cup heavy cream.
 Pin
Pin
Tools You'll Need
Before we jump in, get your 9 inch springform pan ready - you can't make a proper cheesecake without it. Your mixer will be your sidekick today, doesn't matter if it's standing or handheld. Make sure you've got a big roasting pan for our water bath - it'll keep your cheesecake from cracking. And grab some parchment paper too, it makes cleanup way easier, take my word for it.
Creating The Magic Step By Step
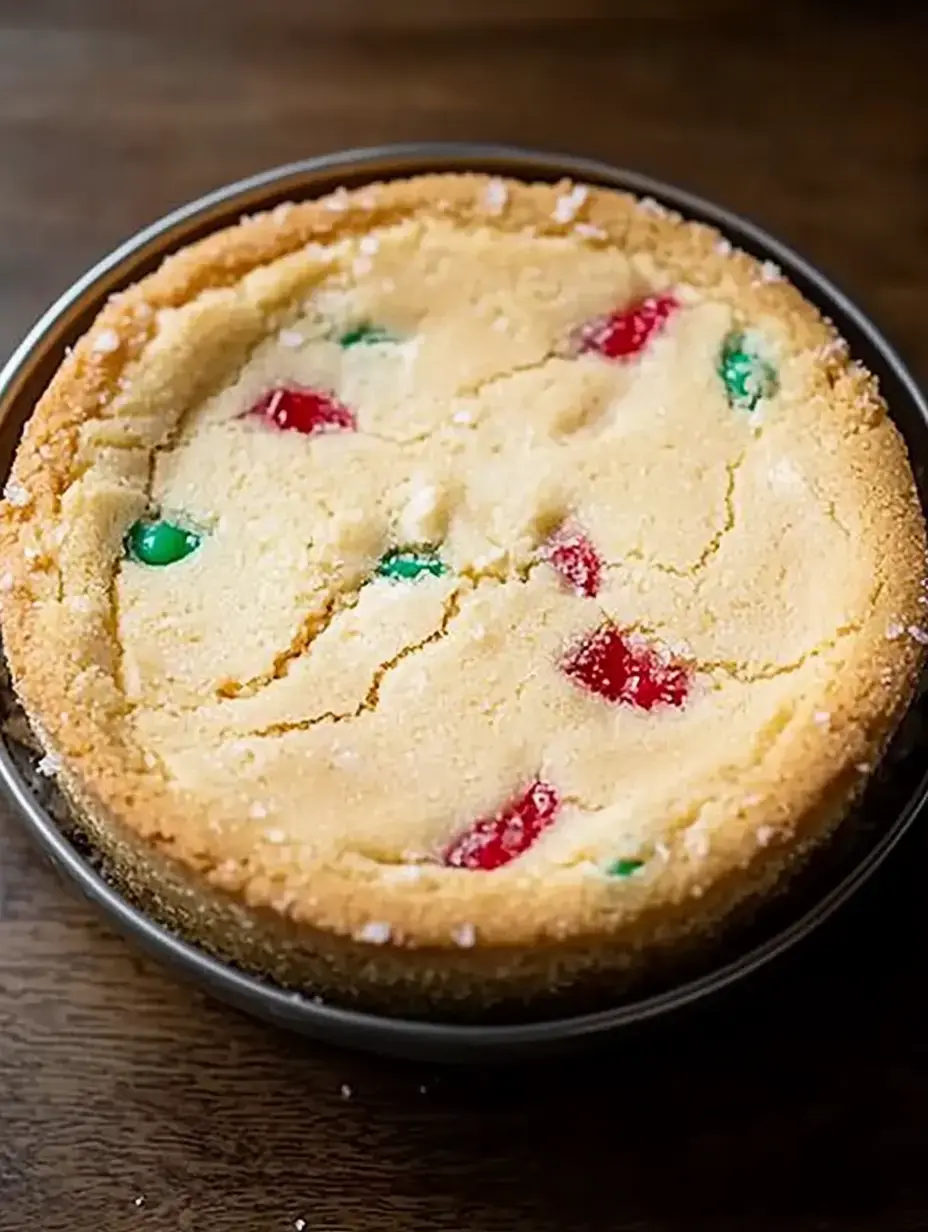
We'll kick off with our cookie base. Once your oven hits 350°F, line your pan with parchment and start mixing. Stir those dry stuff together, then beat your butter and sugar till it's light and fluffy, about 2 minutes. Throw in your vanilla and eggs, then slowly add the dry mix. Fold in those fun sprinkles last, push everything into your pan, and bake till it looks golden, around 25 minutes.
While that's getting cool, let's make those cookie dough balls. Mix it all up just like you would normal cookie dough, then roll tiny balls and toss them in the freezer. These little guys will be surprise pops of cookie goodness all through your cheesecake.
Building Your Creamy Center
Time for our smooth filling. Warm ingredients are a must here - they're how you get that silky cheesecake texture. Mix your cream cheese and sugar until totally smooth, add your sour cream, heavy cream and vanilla. Then put in one egg at a time, mixing just enough to blend. Stir in those frozen cookie dough balls and pour it all over your cooled base.
Tricks For Perfect Baking
This is where that water bath comes into play. Wrap your pan in foil, put it in your roasting pan, and add hot water halfway up the sides. Bake at 325°F for around 85 minutes. You want firm edges with a little wiggle in the middle. Then try my favorite hack - turn off the oven, open the door a crack, and let it cool slowly for 30 minutes. This stops cracks better than anything else I've tried.
The Final Touches
After your cheesecake has totally chilled, it's time for that amazing white chocolate layer. Warm your cream until it's hot, pour it over the chocolate chips, let it sit a bit, then stir until it's smooth. Pour this yummy mix over your cheesecake, let it firm up in the freezer for 10 minutes, then add your leftover cookie dough balls and extra sprinkles on top.
How To Keep And Share
This showstopper will stay good in your fridge for up to 5 days, but I've never seen one last that long. You can even freeze single slices if you wrap them well - they'll keep for 3 months. Just let them thaw in the fridge overnight when you want to eat them. I love serving slices with hot cocoa or spiced eggnog during the holidays.
Sharing Joy From My Home
This cheesecake has grown into such an important part of our holiday fun. Whenever I make it, I think about all the happiness and grins it brings to our parties. I really hope it becomes a favorite at your holiday gatherings too.
Even More Holiday Treats
If this one hits the spot, you should try my Italian Anise Cookies or Caramel Drizzled Apple Cinnamon Cookies next. They both work great on holiday cookie plates and make awesome homemade gifts too. Happy baking and merry everything from my kitchen to yours.
 Pin
Pin
Recipe Questions & Answers
- → Why should ingredients be warm?
Warm ingredients mix better, preventing lumps and ensuring your cheesecake's creamy texture isn't ruined.
- → Why use a water bath?
A water bath ensures a gentle bake, keeping the cheesecake crack-free and smooth by retaining heat and moisture.
- → Can cheesecake be made early?
Of course! You can prep it 2-3 days ahead, but wait to add the topping until just before serving for the best results.
- → Why did cracks appear on top?
Cracks pop up from overmixing or sudden cooling. Mix gently, keep ingredients warm, and don't skip the water bath for the best results.
- → How do I store leftover cheesecake?
Wrap each slice securely in plastic and foil, freeze for up to 3 months, then thaw gently in the fridge overnight before eating.