
 Pin
Pin
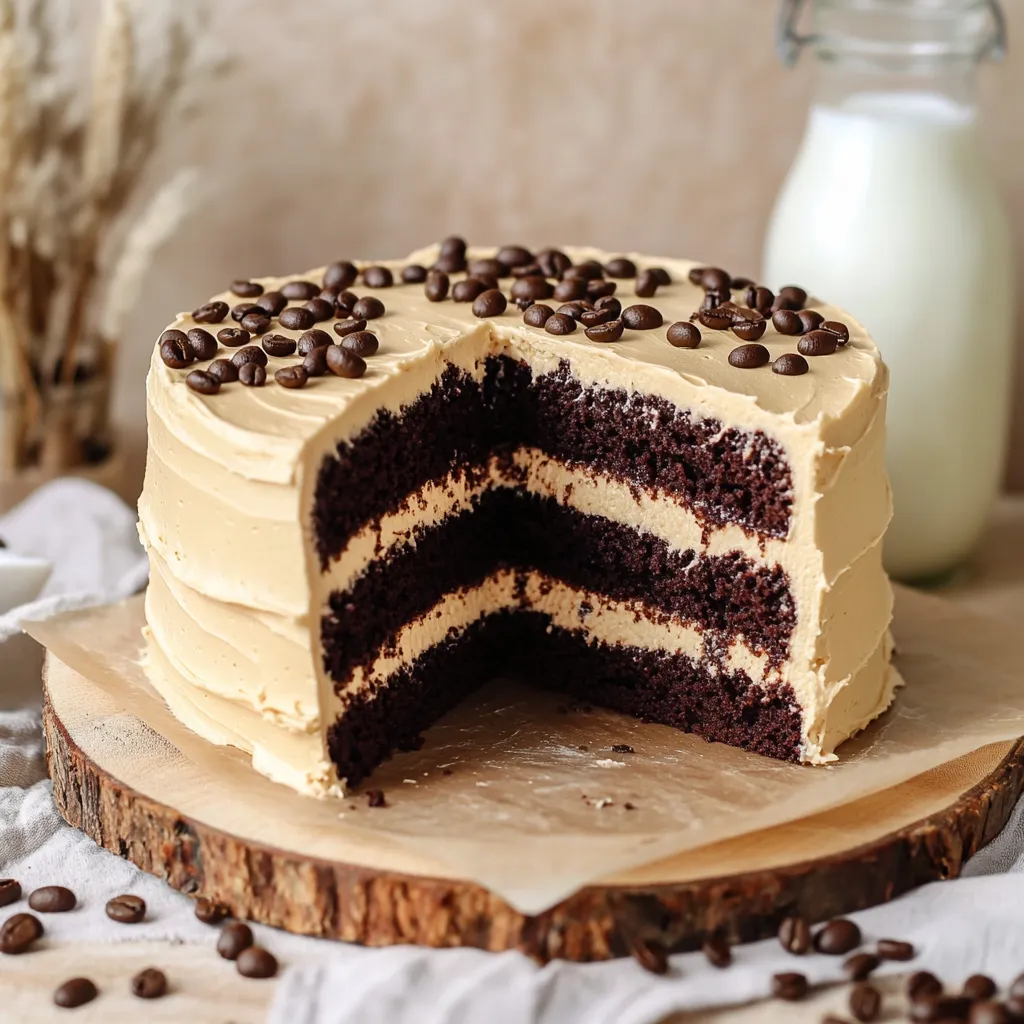
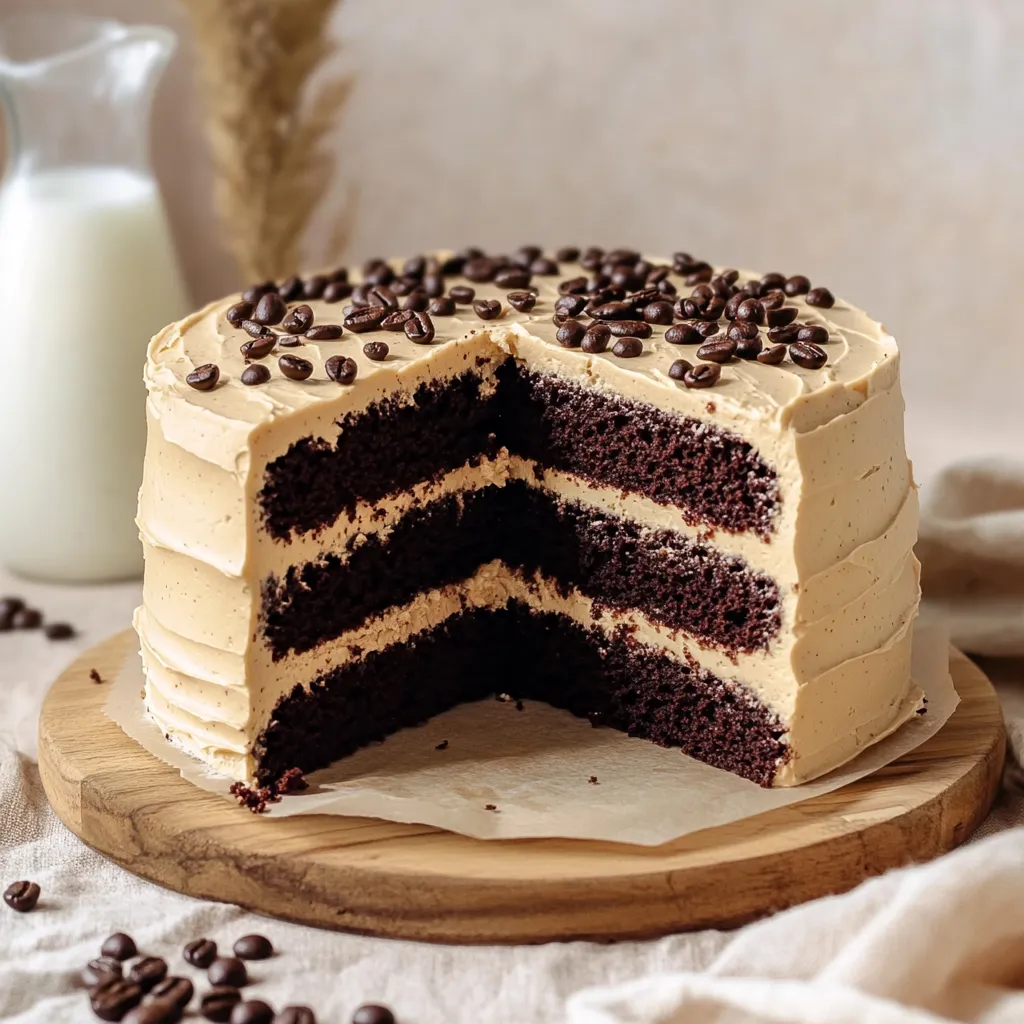
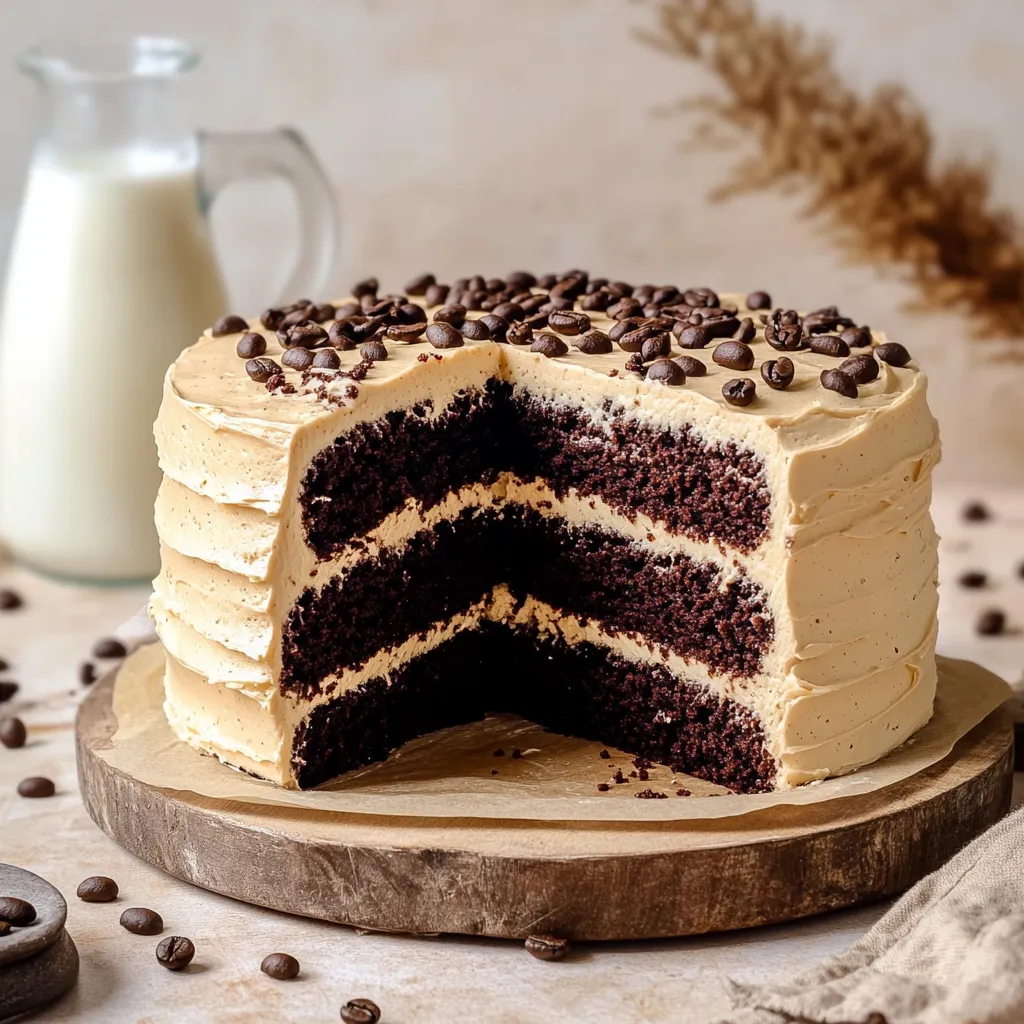
This Coffee Chocolate Cake takes pantry basics and whips them into a rich, super-moist treat that doubles up on chocolate and coffee goodness. Each dark, fudgey layer gets an extra kick from real brewed coffee, which makes the chocolate taste even deeper but never steals the show. In between, coffee buttercream that's both fluffy and bold gives each bite a silky, sweet coffee vibe. It's a triple-layer beauty that feels fancy enough for big events but is chill enough to fix any chocolate craving. Its looks and taste will totally wow your friends, and don't be surprised when everyone wants to know how you pulled it off.
This one came about after a ton of testing and mixing. I figured out that swapping butter for oil and pouring coffee right into the batter created that ultra-moist, crave-worthy texture. After a dinner with friends, nobody said a word while eating—then everyone just said it was the best chocolate cake they'd ever tried. Even my nephew, who’s not really a coffee fan, asked for this as his birthday cake. My super-private mother-in-law even wanted the details, so you know it’s legit!
Essential Ingredients
- All-purpose flour (2 cups): Gives the cake body but doesn’t make it dense
- Dutch-process cocoa powder (¾ cup): Makes it extra chocolatey and super dark
- Granulated sugar (1½ cups): Adds sweetness and keeps things soft
- Brown sugar (½ cup): Brings in moisture and a bit of toasty caramel flavor
- Baking powder (2 teaspoons): Helps the cake puff up just right
- Baking soda (1½ teaspoons): Works with sour cream for even more lift
- Salt (1 teaspoon): Makes all the flavors pop, especially the coffee and chocolate
- Eggs (2 large, room temperature): Hold everything together and add richness
- Freshly brewed coffee (1 cup, hot): Boosts cocoa taste and adds moisture
- Canola oil (½ cup): Makes for unbelievably tender and fresh-tasting cake
- Sour cream (1 cup): Keeps slices super moist and adds a tangy finish
- Vanilla extract (1 tablespoon): Levels up the overall flavor
- Cornstarch (2 tablespoons): Makes each bite really soft
- Unsalted butter (1½ cups, softened): Whips up into the perfect buttercream base
- Powdered sugar (4 cups): Gives the frosting sweetness and fluffy body
- Instant coffee (2 tablespoons): Packs a punch of coffee flavor into the frosting
Cake Building
Easy Prep
Start by making a strong cup of coffee and let it chill out on the counter while you measure everything else. This keeps the eggs from scrambling when you mix it all. Next, butter up three 8-inch round pans and drop baking parchment in the bottoms for easy cake removal. Greasing gives the edges a little crunch, and parchment keeps sticking at bay. Set your oven to 340°F (170°C); baking a little cooler helps prevent those dry outer bits.
Blend the Dry Stuff
Grab a big bowl and stir up your flour, cocoa, both sugars, baking powder, baking soda, salt, and cornstarch. Mix until you can't spot any cocoa streaks—everything should look evenly brown. Doing this spreads the salt and baking agents everywhere so your cake bakes up even with no weird surprises. Cornstarch and Dutch cocoa together mean tender cake and tons of flavor.
Mix the Wet Stuff
In another bowl, crack in eggs, pour in the coffee, add oil, toss in the sour cream, and splash in some vanilla. Whisk until it all looks totally smooth and blended. The oil and sour cream turn the cake into something crazy moist that keeps fresh for ages. The coffee makes chocolate pop, but honestly, the cake doesn’t end up tasting like a cup of coffee. Make sure your mix is cool enough so you won’t cook the eggs but not freezing cold either.
Combine Carefully
Tip the wet stuff into the dry and gently fold with a spatula just until you don’t see any dry flour bits. Don’t stir too much—overdoing it makes cake tough. You’re looking for a thin but glistening batter. Once it’s mixed, tap the bowl on the counter to bump out big air bubbles that could leave holes when you bake.
Pour It Evenly
Divide the batter between the three cake pans, using a scale if you want. That way, you get perfectly even layers every time. Only fill pans about two-thirds full so they don’t overflow. Give each pan a gentle wiggle to spread out the batter and get rid of hidden air pockets. The tops should look flat and ready for the oven.
Best Way to Bake
Pop the pans in for 28 to 30 minutes. You want a toothpick to come out with just a few soft crumbs, not goopy batter. The slightly cooler oven keeps cakes flat on top, so you don’t have to trim later. They’ll feel springy in the middle and just start to pull away from the sides. Don’t peek in the oven for the first 20 minutes or so, or they might deflate.
Buttercream Bliss
While cakes are cooling, get on the buttercream. Dissolve the instant coffee in a splash of hot water or leftover brewed coffee for extra flavor. Beat your softened butter at high speed for a good 6 minutes—don’t skip this, it makes it super fluffy. Slowly shake in powdered sugar bit by bit, letting it blend in each time. Add your coffee mix and a hit of vanilla, then keep beating until it’s soft, fluffy, and great for spreading. You’ll end up with a frosting that’s buttery, light, and packs a coffee punch.
 Pin
Pin
My grandma made legendary chocolate cakes and never shared her secrets. After she was gone, I spent years chasing that magic moist crumb from memory. The real trick? She swapped in oil instead of butter and snuck in coffee—something she never told anyone. Since discovering that, my cakes became so much better, and it always makes me feel like she’s baking right there with me. I make mine different with coffee buttercream these days, but the heart of the cake is her gift for bringing people joy with homemade treats.
Serving Ideas
For max wow, set your cake on a spinning stand when you show it off. Top with espresso beans in a circle if you want to make it look pro. Slices are awesome with a scoop of vanilla ice cream or a dollop of whipped cream to mellow out all that chocolate. If you're a big coffee fan, pair each piece with an espresso or cappuccino. For extra flair at a party, surround it with some fresh berries for a colorful, tangy hit next to all that gooey chocolate.
Tasty Twists
Switch things up and try new stuff with this cake as your base. Go mocha by layering in chocolate ganache with the coffee buttercream. Want a nutty vibe? Mix a spoonful of hazelnut liqueur into both batter and frosting. Try a tiramisu spin by brushing each layer with coffee liqueur before frosting. Ready for holidays? Sprinkle in cinnamon and nutmeg to the batter and you’ve got cozy spiced cake that pairs perfectly with the coffee icing.
Keeping It Fresh
Just cover and leave out on the counter for up to three days for peak flavor—it gets even better as it sits. To keep longer, stick it in the fridge for up to a week, but let slices warm up before you eat for the best texture. For make-ahead events, freeze the unfrosted cake layers: wrap tightly in plastic, then foil, and pop in the freezer for up to three months. Thaw them overnight in the fridge still wrapped, then frost once they're back to room temp. Cakes with oil instead of butter stay moist even after freezing, so this one’s ideal for planning ahead!
I’ve made a mountain of cakes, but this coffee chocolate combo is what friends and family keep asking for. There’s just something cool about the way the coffee makes chocolate more exciting but never too strong. People always look surprised and happy with the first bite—like it’s a trick they never saw coming. It’s that reminder that baking is about shared moments and turning simple ingredients into something that sticks with you long after every slice is gone.
 Pin
Pin
Recipe Questions & Answers
- → Can I make this cake without coffee?
- You sure can swap coffee for hot water. Just keep in mind you’ll miss out on that hint of coffee that boosts the chocolate. The cake's still good though.
- → How do I store leftover cake?
- You can cover it and keep it on the counter for about 2-3 days, or chill in the fridge for up to a week. Let it come back to room temp before eating for the softest bite.
- → Can I freeze this cake?
- Of course! Pop whole slices or the entire thing (with or without frosting) in the freezer for up to three months. Let it thaw in the fridge overnight before eating.
- → What can I substitute for sour cream?
- Go for Greek yogurt instead of sour cream—it gives your cake the same tang and keeps it nice and moist.
- → Why did my cake sink in the middle?
- A sunken cake might mean you peeked too soon, mixed too long, or your baking soda or powder needs replacing. Let the cake set so it doesn’t collapse.