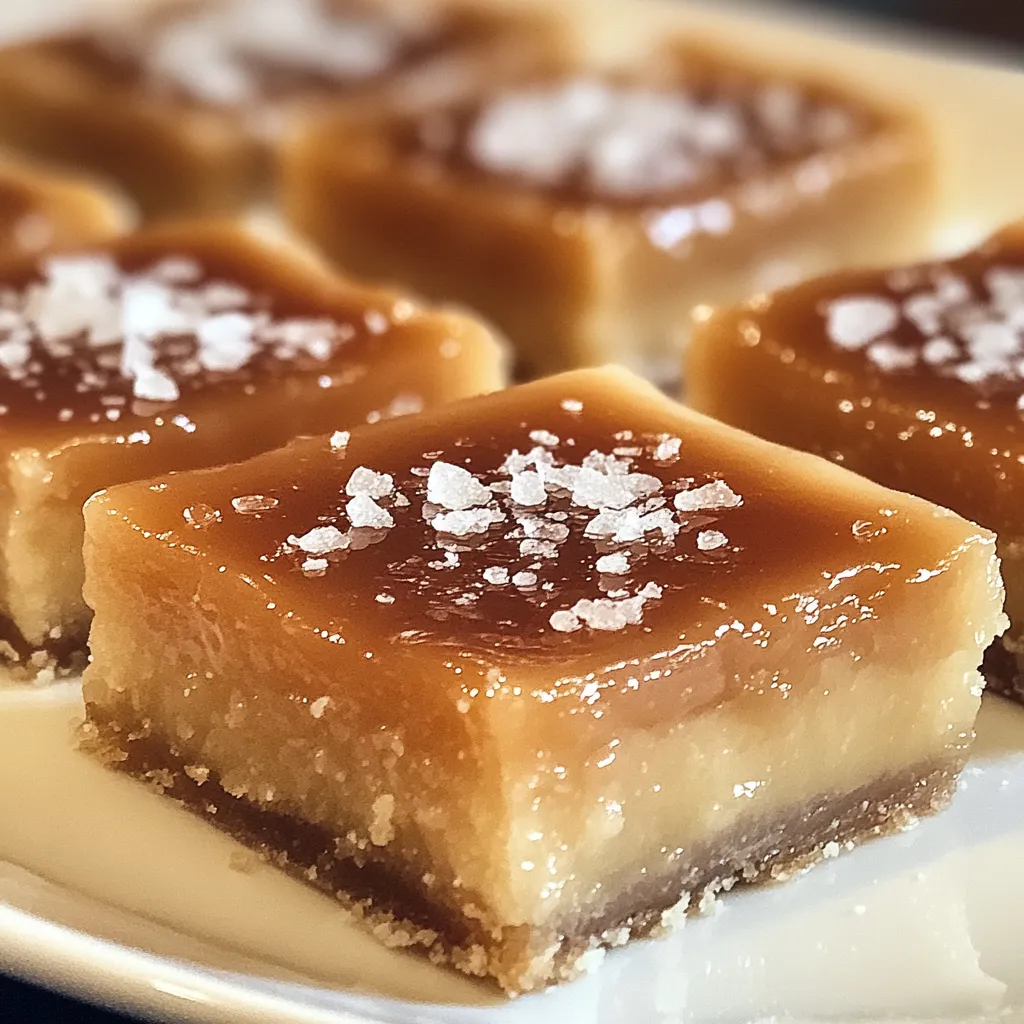
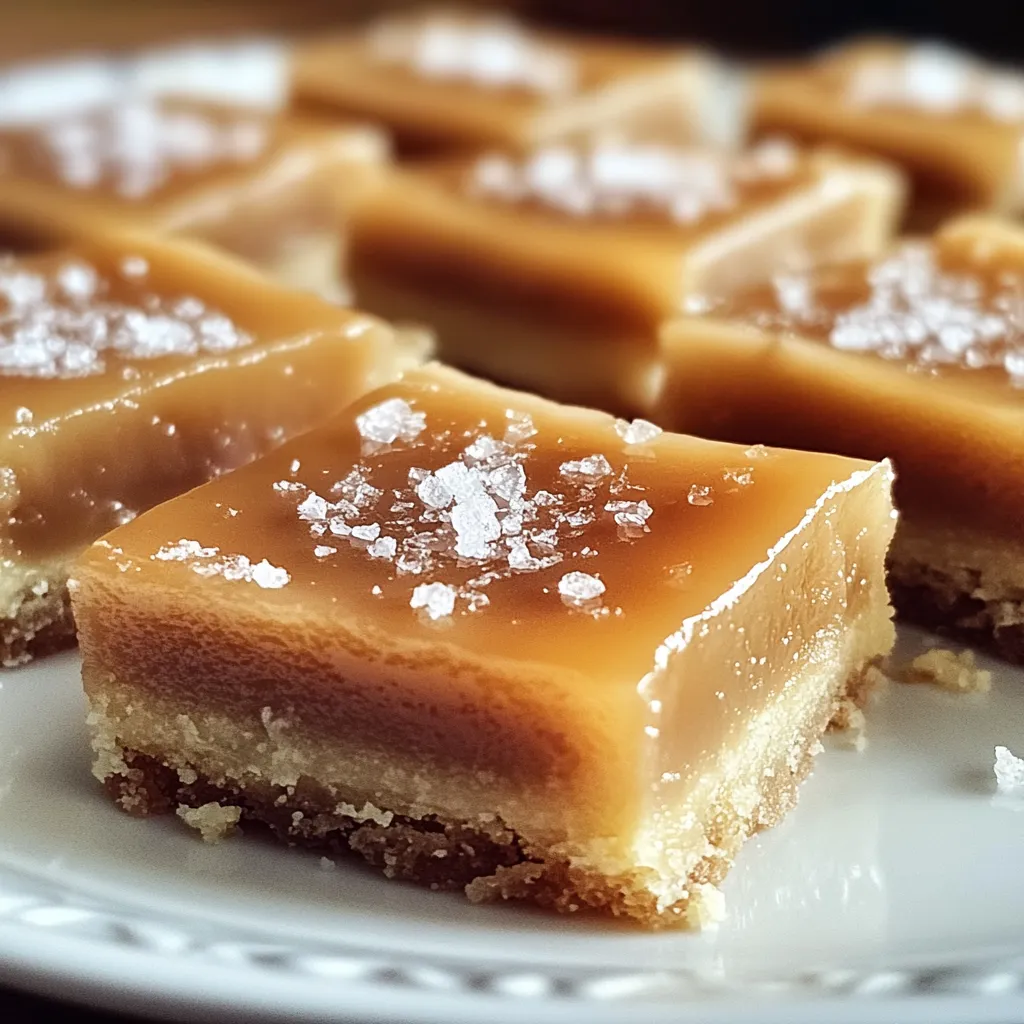
Buttery shortbread meets sticky caramel in these Salted Caramel Butter Bars, giving you that perfect sweet-salty combo in every bite. The contrast between the crisp, butter-loaded base and smooth caramel layer, topped with bits of sea salt, makes for a treat that's both fancy and totally indulgent.
While training as a pastry cook, I learned that making great caramel bars needs time and careful attention. The first batch where I got that caramel just right - golden and smooth - I knew this would be my go-to dessert forever.
Must-Have Ingredients Breakdown
Butter: Grab unsalted, high-quality stuff for the best taste
Brown Sugar: Go for dark brown to get richer caramel flavors
Sweetened Condensed Milk: This makes your caramel silky smooth
Sea Salt: Pick the flaky kind for that nice texture difference
All-Purpose Flour: This creates a tender, crunchy shortbread
Vanilla Extract: Just a bit makes the caramel taste more complex
Mastering Your Caramel Creation
Nail The Bottom Layer
Smash that dough down evenly so it bakes the same all over.
Get The Caramel Just Right
Take it slow and keep stirring so it doesn't get lumpy.
Put It Together Carefully
Make sure the caramel covers the pre-baked crust completely.
Watch The Baking Time
Keep an eye out for that perfect golden brown color.
Add The Finishing Touch
Sprinkle salt bits here and there for the best taste combo.
PinSalted Caramel Butter Bars Recipe | chefemmakitchen.com
My teacher always told me, 'You can hear when caramel's done - just listen for it.' After making tons of batches, I've figured out how to read those bubbling golden hints.
Tasty Serving Ideas
Try these squares with a scoop of coffee ice cream, some melted dark chocolate on top, or a shot of espresso on the side for an awesome afternoon snack.
Fun Twists To Try
Shake things up by mixing in some toasted nuts, throwing in chocolate chips, or drizzling white chocolate over the top. When fall comes around, add some warm spices to your shortbread mix.
Keeping Them Fresh
Keep them in a sealed container with parchment between layers for about five days. Want to save them longer? Freeze the whole thing uncut and let it thaw in your fridge overnight.
After years of tweaking this recipe, I think these bars hit that sweet spot between fancy technique and simple cooking. When you nail each part of the process, you end up with something that brings a smile with every bite.
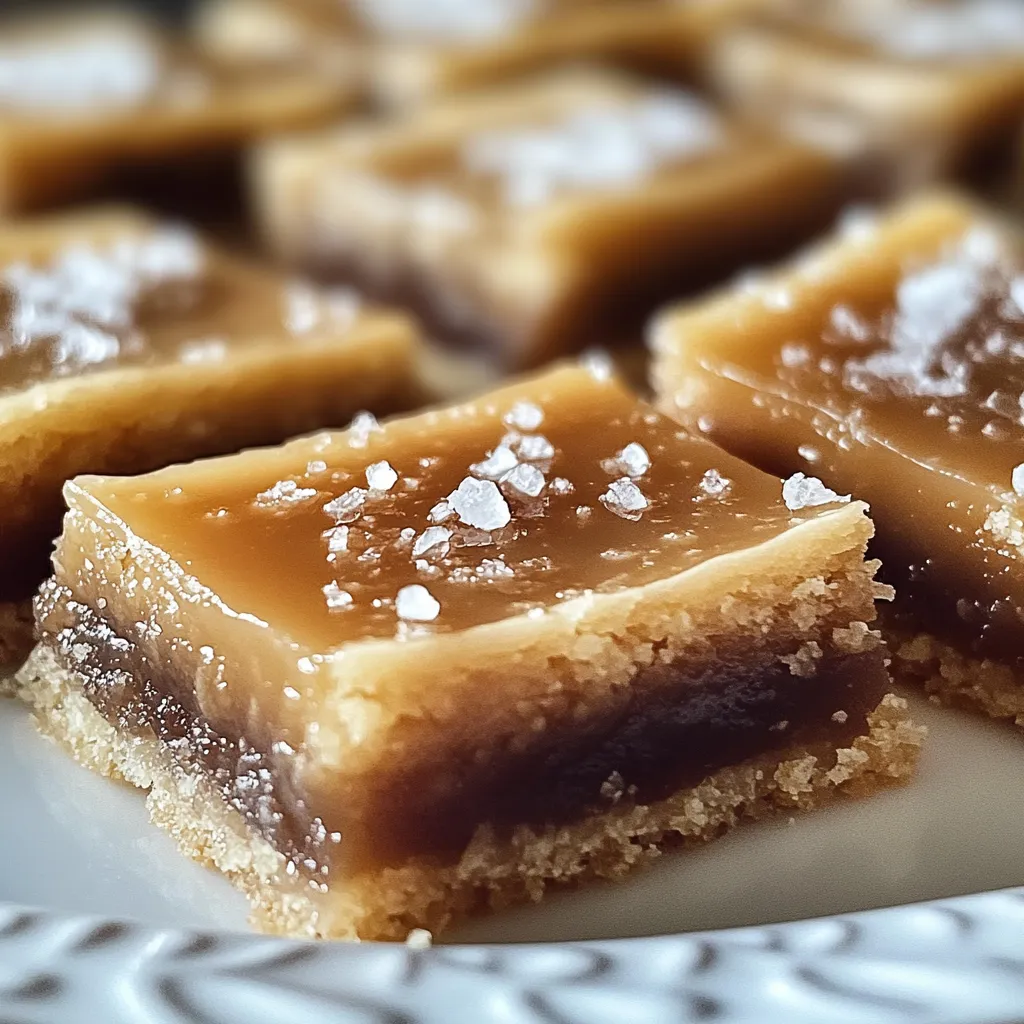
PinEasy Salted Caramel Butter Bars | chefemmakitchen.com
Recipe Questions & Answers
→ Can store caramel sauce be used?
Totally! Just ensure it’s thick enough to hold its shape. Thin ones like ice cream topping won't work well.
→ What causes caramel to seep out?
Your bottom crust needs to be pressed firmly and baked first. Thicker caramel sauce helps too.
→ Are these bars freezer-friendly?
Yes, they freeze wonderfully. Wrap airtight and store for up to 3 months. Thaw slowly in the fridge.
→ Tips for slicing perfectly?
Chill the bars in the fridge for half an hour. Use a sharp knife cleaned after every cut.
→ Can I make caramel from scratch?
Sure! Homemade gives the best control over how thick or salty you want it.
Salted Caramel Butter Bars
Tender shortbread base with gooey salted caramel inside. Perfectly rich for your sweet cravings.
08A pinch (1/4 teaspoon) of sea salt, or as per taste
Steps to Follow
Step 01
Preheat the oven to 325°F (165°C). Use parchment paper or lightly oil up the bottom of your 9x13-inch pan.
Step 02
Blend together the softened butter, white sugar, and brown sugar until fluffy—this will take about 2 minutes. Add in the vanilla, then slowly mix in flour and salt until it forms a crumbly dough texture.
Step 03
Take half the dough and press it evenly into the base of your prepared pan. Bake for around 15 minutes until the edges just start to turn golden. Remove and let this cool down.
Step 04
While the crust cools, mix your caramel sauce with the sea salt. Try it out and add more salt if you like it saltier.
Step 05
Spread the salted caramel over the cooled crust evenly, then crumble the rest of the dough across the top so it slightly covers the caramel filling.
Step 06
Pop the pan back in the oven and bake for another 25-30 minutes until the top is just lightly golden and set. Wait for it to fully cool, or chill it in the fridge for 30 minutes before slicing into squares.
Additional Notes
For extra flavor, try swapping in dulce de leche instead of caramel sauce.
Sprinkle flaky sea salt on top after baking for a tasty finish.
Store leftovers at room temp for up to 3 days, or in the fridge for a week.
Tools You'll Need
Rectangular 9x13-inch pan
Electric hand mixer
Baking parchment paper
Mixing bowls, various sizes
Allergy Information
Check every ingredient for potential allergens. Consult a healthcare professional for concerns.

 Pin
Pin
 Pin
Pin
 Pin
Pin