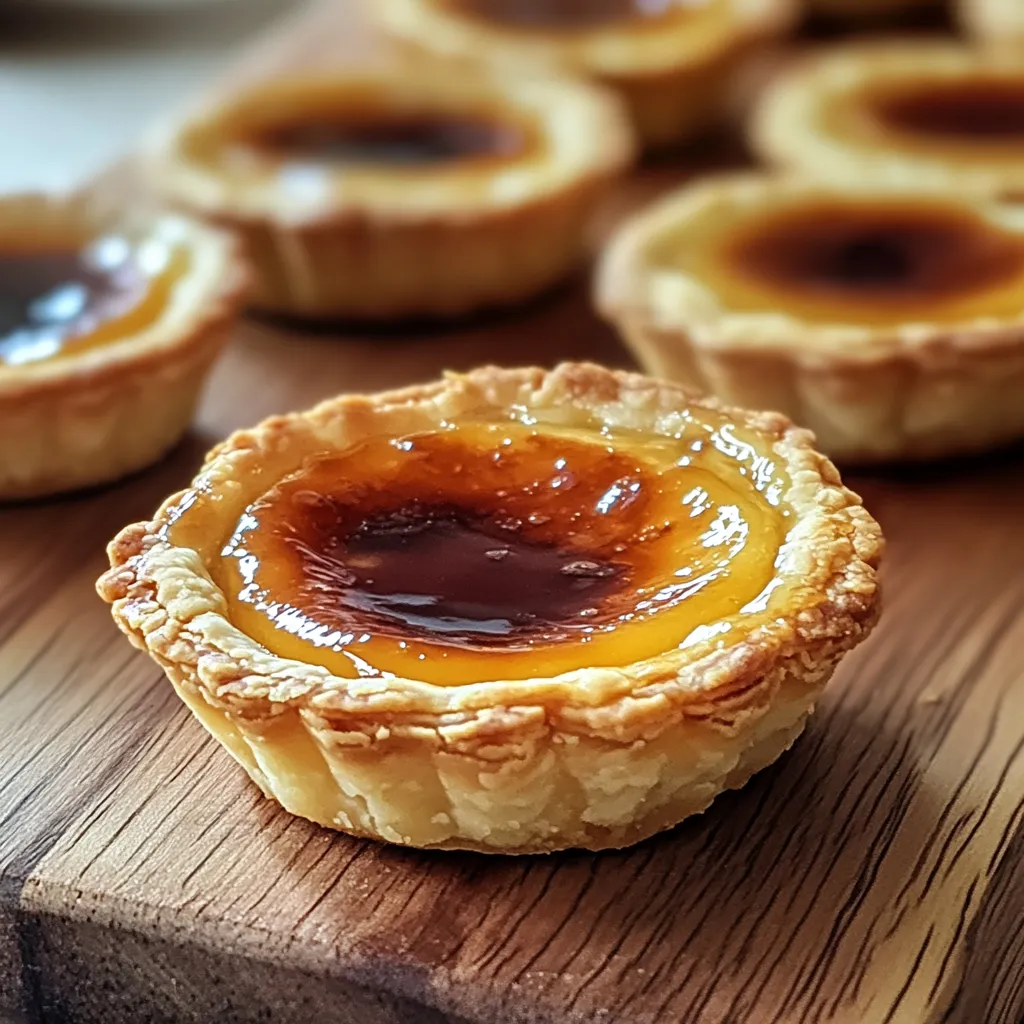
PinClassic Canadian Butter Tarts | chefemmakitchen.com
Old-school Canadian butter tarts turn pantry staples into something amazing with their crisp, feather-light shell packed full of gooey, sweet filling. Biting into one hits you with that crazy-good mix—a crunchy pastry outside and a sticky, caramel-like middle.
I first came across these treats while wandering Toronto. A friendly local baker shared her family's handed-down method. Her main tip: Watch your texture. You want that filling to be wobbly, not soup but not set hard either.
Irresistible Ingredients Guide
* Unsalted butter: Let it sit out till soft. That gives the richest taste and the best melt-in-your-mouth bite
* Dark brown sugar: Adds a deep, almost toffee flavor and helps create that oozy filling
* Corn syrup: Makes everything come together smooth and shiny, keeps things from turning grainy
* Eggs: Bring to room temp so the inside stays creamy
* Good vanilla: Bumps up all the flavors and brings a little warmth
Winning Tart-Making Steps
Let the tarts cool in the pan for structure.
Bake at 375°F—watch for wonky centers with golden edges.
Don’t overfill—leave some space for the filling to puff up.
Mix everything for the filling till you get a silky smooth batter.
Fit the dough gently in your pans so you don’t rip it.
Roll your dough evenly for light, tender layers.
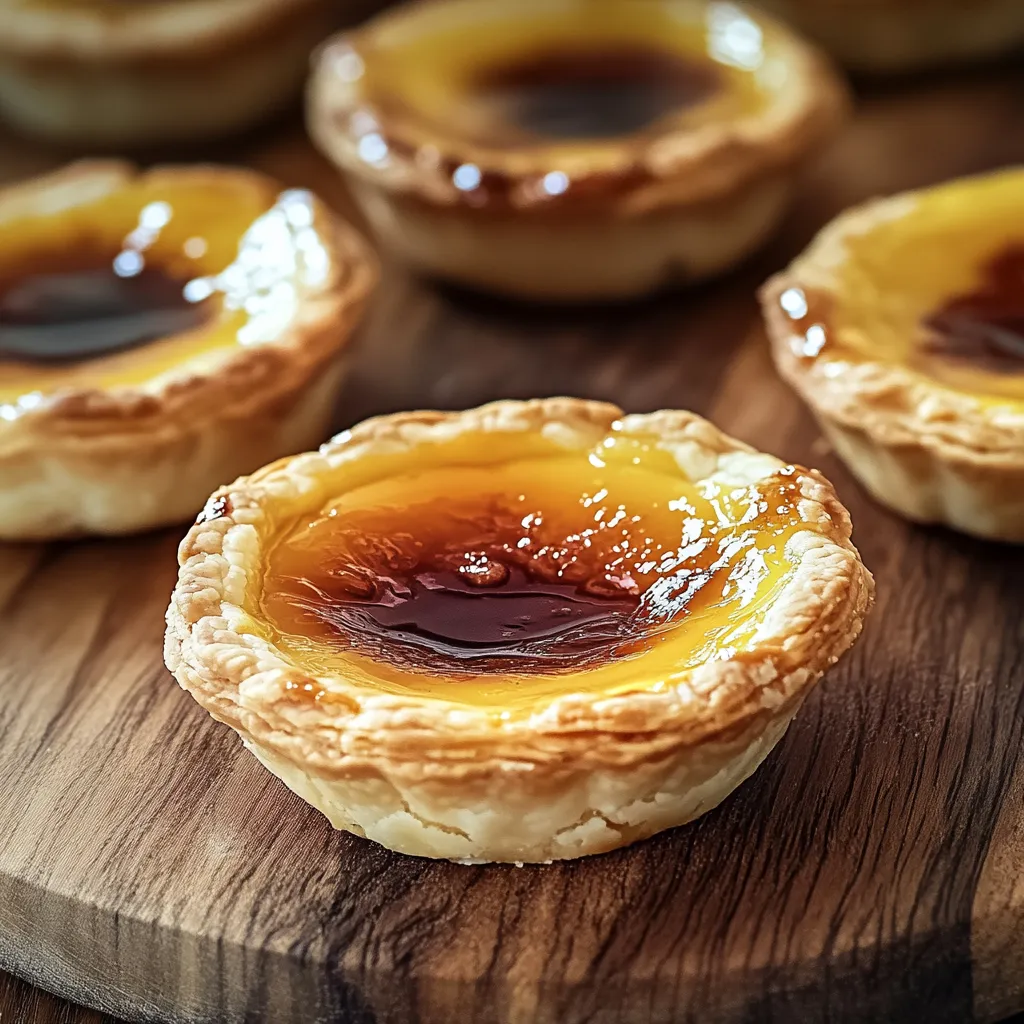
PinOld-School Canadian Butter Tarts | chefemmakitchen.com
After baking tons of these, I learned from Grandma that less is more in each tart shell. Overfilling leads to sticky messes. She always reminded me, 'Give that filling space to wiggle!'
Tasty Pair Ideas
Serve these best with hot tea or coffee for a cozy pick-me-up. Top with vanilla ice cream if you want to go all-out. Drizzle a bit of maple syrup for straight-up Canadian flavor. Or set them out with some berries for a pretty dessert plate.
Fun Twists
Shake things up with tasty tweaks—toss in chopped walnuts or pecans for crunch. Throw in raisins for an old-school taste. Sprinkle in chocolate chips for an extra treat. Add a splash of rum or bourbon if you feel fancy. Make mini ones for easy snacking.
Best Ways to Keep 'Em
Store in a super tight container for three days on your counter. Freeze unfrosted ones up to a month if needed. When ready to eat, pop into a warm oven to bring back that lovely gooey bite.
Whenever I bring these butter tarts to family get-togethers, everyone lights up. There's just something amazing about that combo of melt-in-your-mouth pastry and sticky-sweet filling.
Step-by-Step Magic
Slow down and focus on each part, especially shaping the shells. A little patience makes all the difference for beautiful results.
Year-Round Upgrades
In cold months, mix in some cinnamon for a cozy twist. Add juicy berries on top when it’s hot out for a summery finish.
Storage Tricks
Layer parchment in between rows so they won't stick. Let them cool all the way first before packing them up.
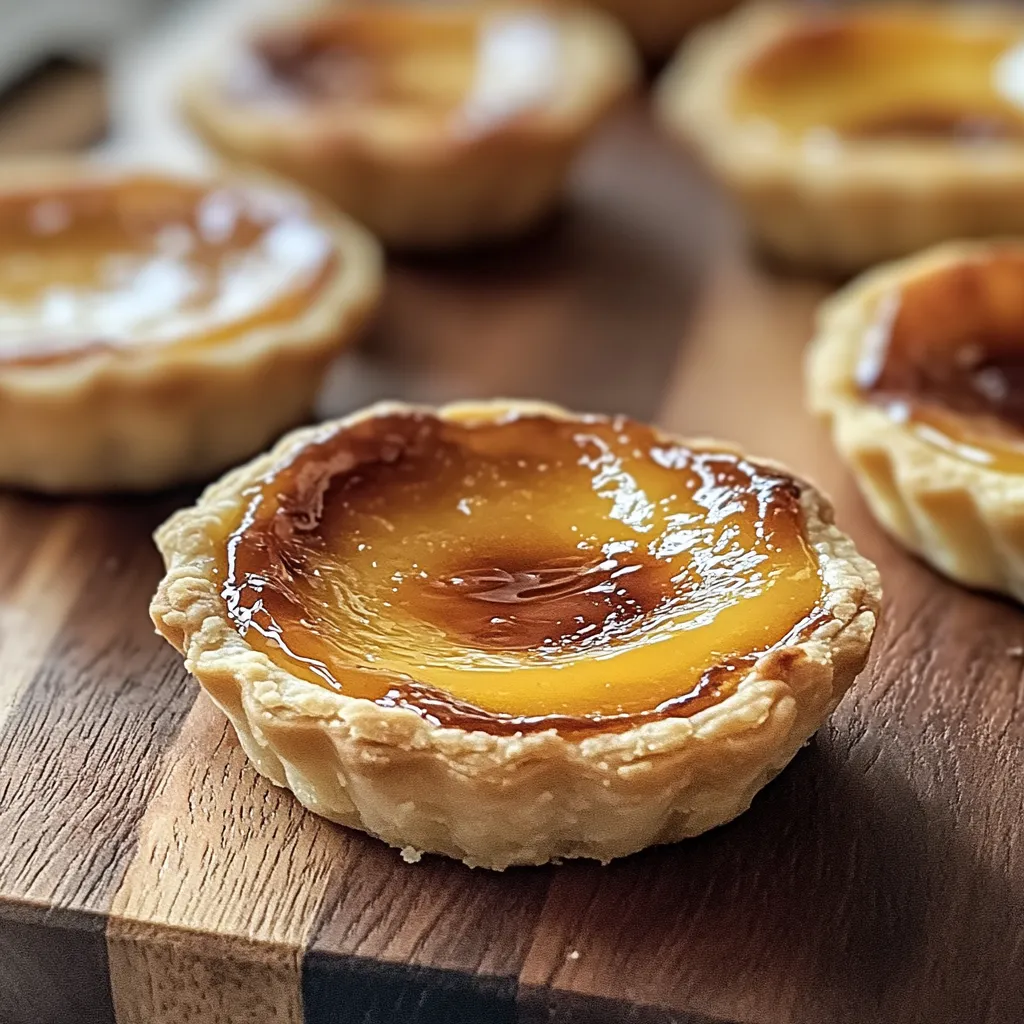
After dozens of tries, I've found these treats are the heart of Canadian kitchens. With just the basics and some care, you get something that brings everyone together—with loads of happy smiles.
PinEasy Old-School Canadian Butter Tarts | chefemmakitchen.com
Recipe Questions & Answers
→ Can I freeze butter tarts?
Definitely! Pop them in a sealed container, and they'll keep for about 3 months. Let them thaw in the fridge and give them a quick warm-up before you snack.
→ Why put vinegar in the dough?
Vinegar in the dough keeps the pastry flaky and soft. It just keeps the crust from getting tough.
→ How do I tell when they’re ready?
The edges set while the middle wobbles just a bit. That’s your sign they’re done—they’ll set up more as they cool off.
→ Is store-bought pastry okay?
Totally fine! Grab ready-made tart shells if you’re short on time, though homemade will taste richer.
→ Raisins or pecans: which is the old-school pick?
Raisins are the OG choice for Canadian butter tarts, but nowadays, folks love pecans too.
Classic Canadian Butter Tarts
Rich gooey little tarts with crisp pastry—these Canadian classics will win over any sweet tooth at your table.
061/2 cup melted unsalted butter (let it cool a little)
071/2 cup raisins or small pecan bits (if you want)
081/4 teaspoon salt
091 teaspoon vanilla flavor
102 big eggs, gently beaten
111 cup packed brown sugar
121/2 cup light corn syrup
Steps to Follow
Step 01
Press the dough into two flat circles, wrap them up, and leave them in the fridge for half an hour. Don’t over mix when adding your ice water and vinegar, just stir until it comes together. You want the butter cut in (it should look rough and crumbly), so mix the salt into your flour first. Grab a bowl and toss those together.
Step 02
Spray your muffin tin with a bit of grease. Roll your cold dough out till it’s nice and thin—about as thick as two stacked coins. Cut out circles, 4 inches across, and squish them gently into the muffin holes. Don’t be stingy, get ‘em all the way down.
Step 03
Beat together the eggs, vanilla, salt, melted butter (that’s cooled a bit), brown sugar, and corn syrup. Toss in a handful of raisins or some chopped pecans if you like. Make sure it’s all blended smooth.
Step 04
Heat your oven up to 375°F. Spoon the sweet filling into the pastry cups till they’re about two-thirds full. Now bake them for 20 to 25 minutes. You’re looking for puffed up middles that still jiggle a little and pastry that’s gone golden. Let them sit in the pan for 10 minutes after so they firm up before you pop them onto a cooling rack.
Additional Notes
This sweet treat pops up at every Canadian get-together—everyone swears their family’s is the best.
Give the centers a little shake in the oven—if they wobble just a bit, that's perfect. Don’t worry, they'll finish setting as they cool.
It’s totally normal to make these with pecans, raisins, or neither—depends on your mood or family tradition.
Tools You'll Need
Muffin tin for 12
A cooling rack for setting the baked treats
Pastry slicer (if you want, but fingers work)
Rolling stick
Cutter for 4-inch rounds
Allergy Information
Check every ingredient for potential allergens. Consult a healthcare professional for concerns.
Has dairy (butter)
Has eggs
Has gluten from wheat
May have nuts if you add pecans
Nutrition Info (Per Serving)
These details are for informational purposes and don’t replace medical advice.

 Pin
Pin
 Pin
Pin
 Pin
Pin