
 Pin
Pin
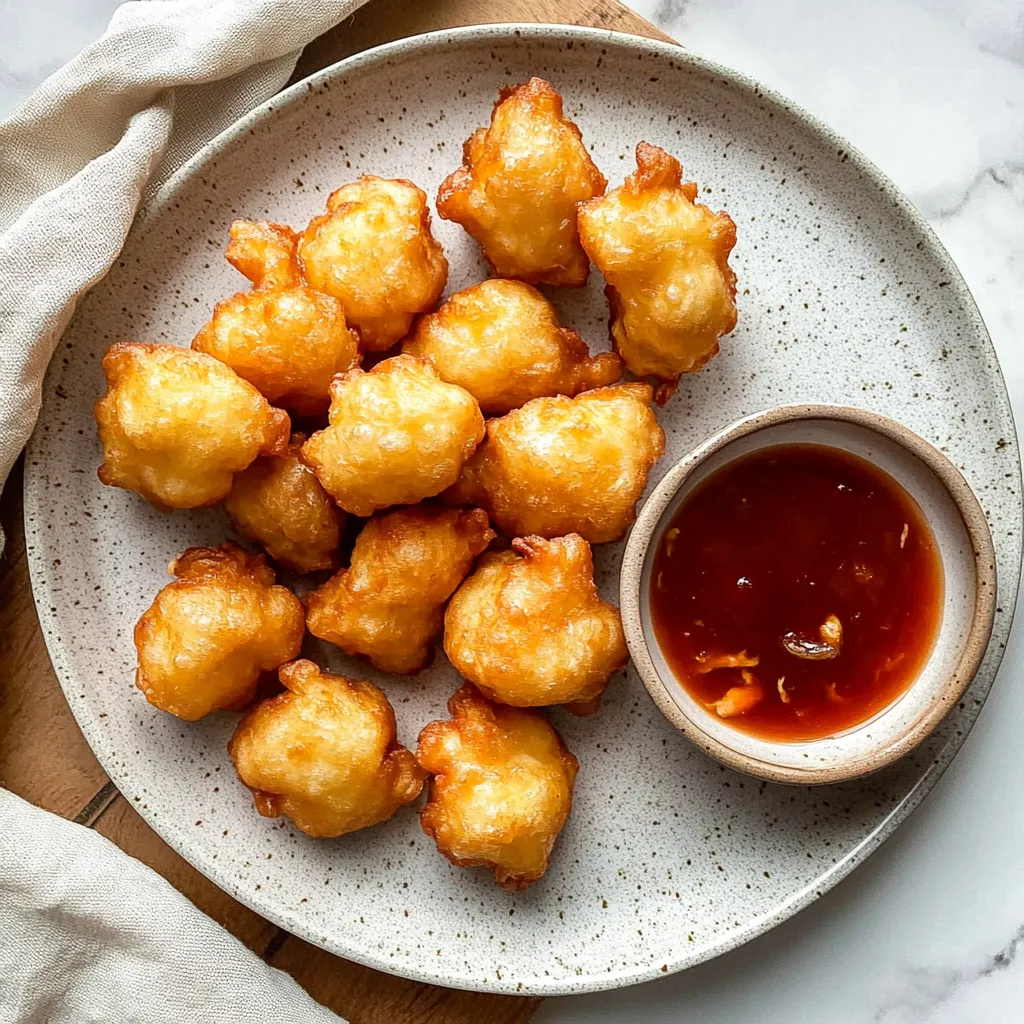
Golden crispy orbs of battered chicken give you that wonderful mix of crunchy outside and moist inside, along with a sweet-tangy sauce that makes this a can't-miss homemade version of a takeout favorite. Each puffy ball delivers that signature airy crunch before you hit the tender chicken - bringing the beloved Chinese restaurant classic to your dinner table with all the flavor and nostalgia you crave.
I tried many times to recreate those amazing Chinese chicken balls I loved as a kid and kept failing until I finally cracked the code for that special puffy coating. What started as a frustrating kitchen test has turned into our family's go-to weekend treat, and my kids now beg for 'puff balls' almost every Friday.
Key Ingredients
- Chicken Breast: Gives you clean, juicy centers that make the crunchy outside stand out.
- Cornstarch: The must-have item that helps create that super crispy exterior.
- Baking Powder: The trick to getting that iconic puffed look when you fry them.
- Cold Water: Using ice-cold water stops gluten from forming too much, making a lighter, crunchier coating.
- Fresh Lemon Juice: Adds a zingy freshness to the sauce that you just can't get from bottled stuff.
Making Knockout Chicken Balls
- Mixing Your Batter:
- Start by combining all dry stuff thoroughly so the baking powder spreads evenly. This ensures every chicken ball puffs up nicely during frying.
- Getting It Just Right:
- Pour in cold water bit by bit until you've got a thick batter that covers the chicken pieces fully but drips off slowly. This exact thickness helps the coating keep its round shape while frying.
- Smart Frying:
- Keep your oil at 350°F for best results. Carefully drop battered chicken into hot oil, cooking just a handful at once so the temperature doesn't drop and leave you with oily, soggy balls.
- Watching The Color:
- Let each chicken ball cook without moving until they turn golden brown, which shows they're perfectly crispy. Don't flip them too early or the coating might pull away from the chicken.
- Proper Cooling:
- Put finished chicken balls on a wire rack instead of paper towels. This key step lets air flow all around them, keeping them super crispy.
 Pin
Pin
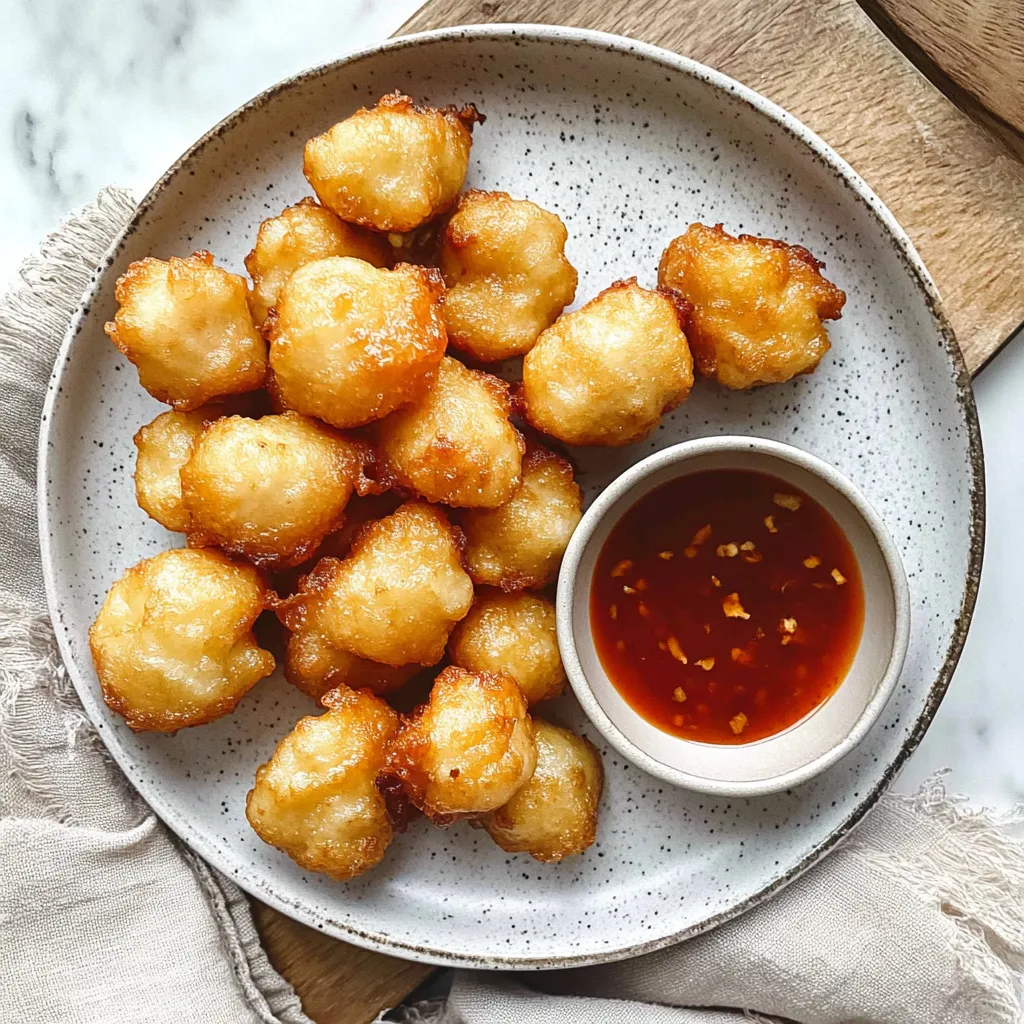
My grandma, who grew up near a Chinese restaurant in San Francisco, showed me her sauce recipe after watching me struggle with my early tries. She told me the mix of sweet and sour should let you taste each flavor on its own while still blending together perfectly.
Great Side Dishes
Enjoy these golden treats with some veggie fried rice and steamed broccoli for a full homemade Chinese meal. If you're making appetizers, they go great with crab rangoons and veggie spring rolls.
Tasty Twists
Change things up by adding some chopped ginger and garlic to your chicken before coating for extra flavor. Make them spicy by mixing Sriracha into your sweet and sour sauce, or try them with honey garlic sauce for something different.
Keeping Leftovers
Keep any leftover chicken balls away from the sauce in a sealed container in your fridge for up to three days. Warm them in a 375°F oven for 10 minutes to get them crispy again.
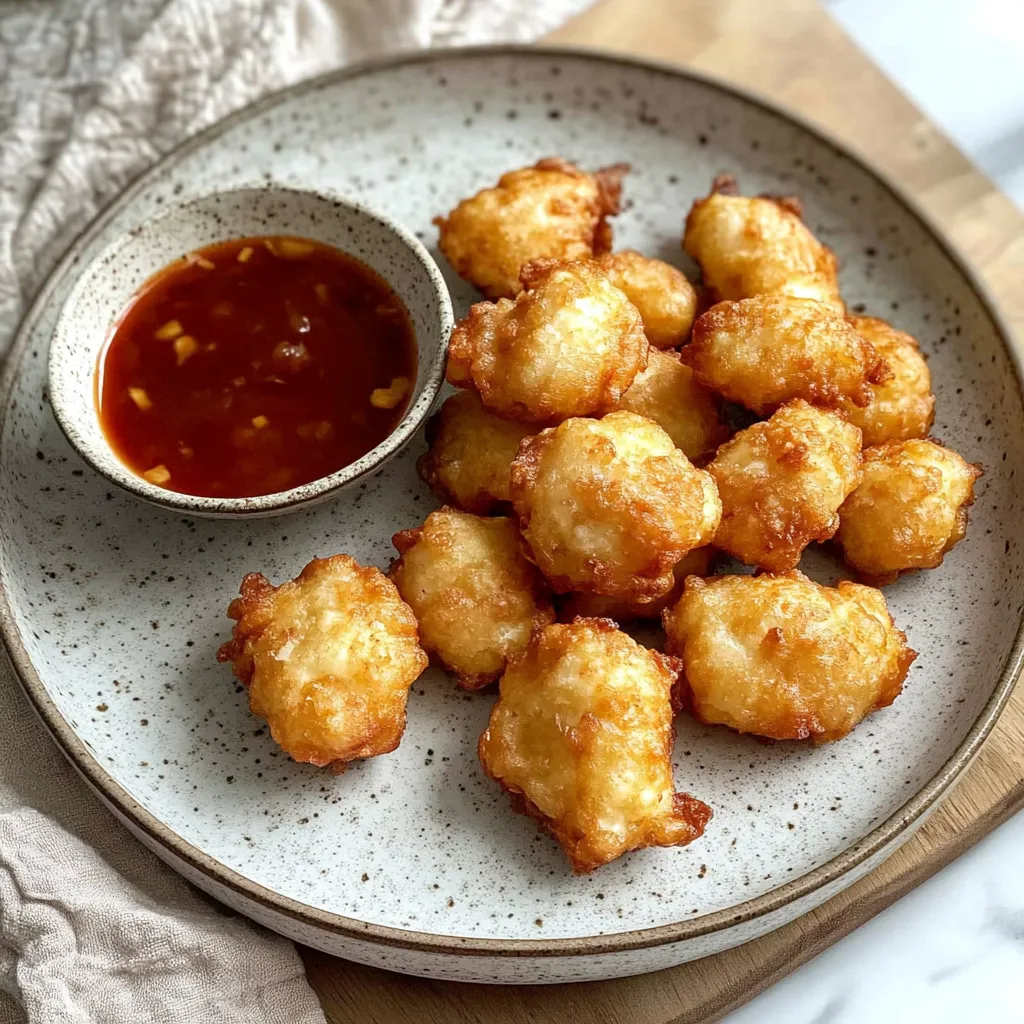
After getting this recipe just right through lots of practice, I've found the real secret is paying attention to the technique while having fun with the process. These chicken balls take some work, but when you bite through that perfectly crispy outside into juicy chicken, you'll see why this takeout classic has been loved for so long.
 Pin
Pin
Recipe Questions & Answers
- → Can I prep this earlier?
- The sauce holds well for two weeks, but the crispy chicken is best fresh and hot from the fryer.
- → What kind of oil should I fry in?
- Choose a neutral oil that handles high heat like peanut, canola, or vegetable oil. Keep the temp at 350°F (175°C) for best crispiness.
- → Will chicken thighs work instead?
- Absolutely! Thighs are juicier than breasts. Just trim the extra fat and cut into even pieces.
- → My batter isn't crispy. Why?
- Hot oil is key! Cold oil won’t crisp the batter. Make sure not to crowd the pan, which can lower the oil’s heat.
- → What tastes good with these?
- Pair them with fried rice, stir-fried veggies, or ramen noodles. Add egg rolls or crab rangoon for that takeout vibe.